Recipe 2.5. Tone separations
"Soot and Snow." That's what this effect was called in the days of wet-process photography. The phrase refers to the extremes of high-contrast black and white, where all that remains of a monochrome image are the darkest darks and the lightest lights. The effect may be familiar, but used wisely it still has the potential to create some truly arresting images.
Boiling down an image to its bare essentials tonally also reduces it to its essence graphically. A creatively lit figure or portrait can be distilled into a few essential contours, taking on a hand-drawn and sometimes even abstract effect. Used alone, or as an element in a more complex photomontage, tone separation still has a certain charm.
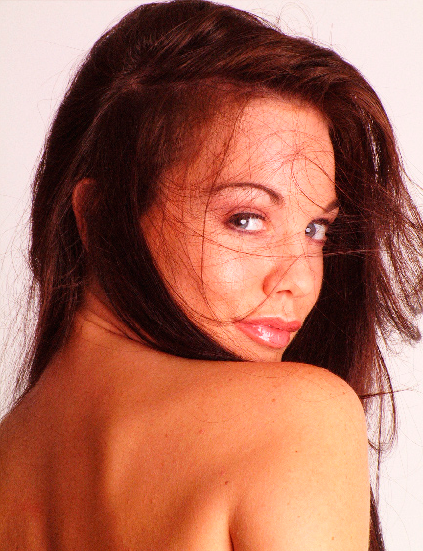
1 To achieve the best results with this technique, it's important to begin with the right kind of image. The ideal candidate is a subject shot against a plain white background, as it already contains the element of contrast we're seeking to exaggerate.
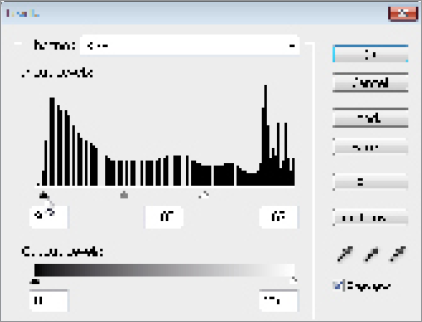
2 Duplicate the background layer by hitting Ctrl/Cmd+J on the keyboard. On the duplicate layer, go to Image > Adjustments > Levels to make the initial tonal adjustments. To increase the contrast, grab the White Point marker below the histogram and drag it left until the Output Levels value reads 167. Now, ...
Get Photoshop CS3 Photo Effects Cookbook now with the O’Reilly learning platform.
O’Reilly members experience books, live events, courses curated by job role, and more from O’Reilly and nearly 200 top publishers.

