Recipe 2.1. High-key and low-key effects
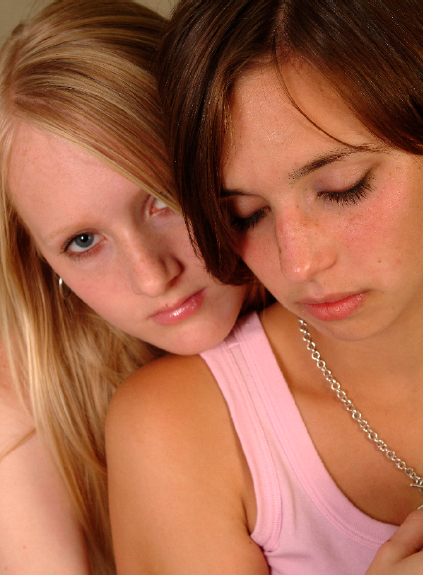
As a general rule, we all aim for images that are well-balanced tonally, with a fairly equal range of light and shadow throughout. However, there are times when deliberately narrowing this tonal range can yield interesting results. For high-key images, we restrict the tonality to the upper range of the tonal scale, resulting in a soft, milky, and rather romantic effect. Low-key uses the lower end of the scale, and inspires moody and rather somber images.
The ultimate advantage of doing this with Photoshop is that we can experiment and fine-tune the effect. It is important not to confuse high-key and low-key effects with simple over- or underexposure. In the completed images, the full tonal range should remain, but with a higher percentage of certain tones represented. Here we'll give a single image the high-key and low-key treatment to demonstrate the dramatic difference between the two effects.
High-key effect
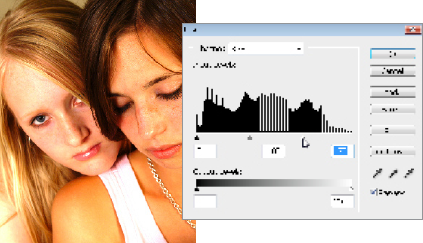
1 Open the original image in Photoshop, and go to Image > Adjustments > Levels. For high-key we need to restrict the majority of the tones to the upper tonal range. Begin the adjustment by moving the White Point slider below the histogram to the left. Move the slider until the input value for the white point reads 175.
2 Duplicate ...
Get Photoshop CS3 Photo Effects Cookbook now with the O’Reilly learning platform.
O’Reilly members experience books, live events, courses curated by job role, and more from O’Reilly and nearly 200 top publishers.

