Recipe 5.6. Creating snow
Here we'll take a distinctly un-winter-like shot and dress it in a blanket of snow, adding quite a blizzard to boot. For a relatively simple technique, the end result is surprisingly sophisticated and effective. To generate the first covering of snow we'll make a simple selection via the Color Range selection command. For the falling snow we'll use the Noise filter, modifying this so the snowflakes clump together. Of course, snow is at its most picturesque when it's being blown around by a chill winter wind, and we can use the Motion Blur filter here.
So, get wrapped up and ready to create a winter wonderland, courtesy of Photoshop!
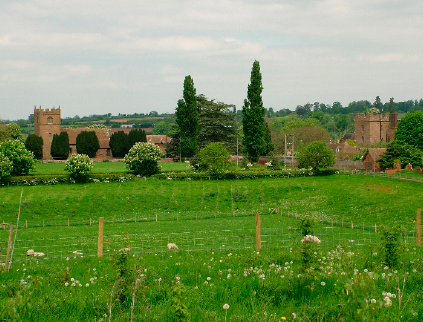
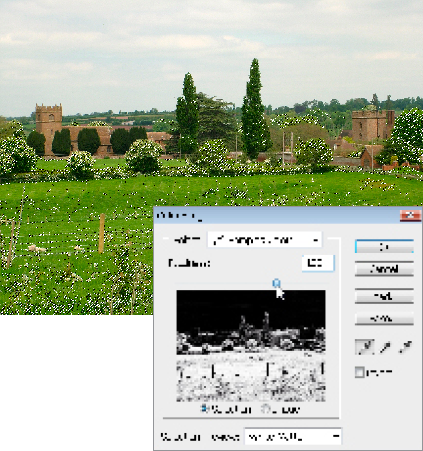
1 First, we need to begin with this distinctly summertime image and generate a layer of snow to cover the ground and trees. Choose the Eyedropper tool from the Toolbar and click in the field to sample a mid-range green color. We now need to make a selection based on the distribution of this colour throughout the image. Go to Select > Color Range. Use a Fuzziness slider setting of 132 and choose Sampled Color from the Select box. Click OK.
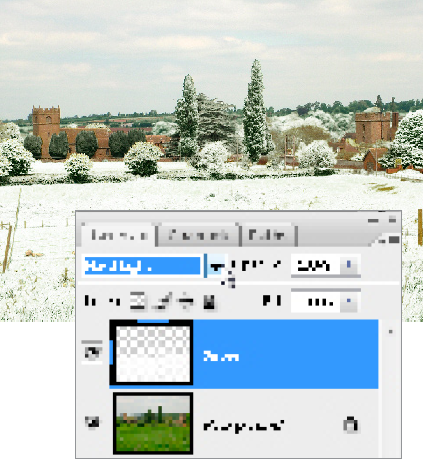
2 Add a new layer, naming it "Snow." We need to fill this active selection with white ...
Get Photoshop CS3 Photo Effects Cookbook now with the O’Reilly learning platform.
O’Reilly members experience books, live events, courses curated by job role, and more from O’Reilly and nearly 200 top publishers.

