Recipe 4.4. Creating a star-filled sky
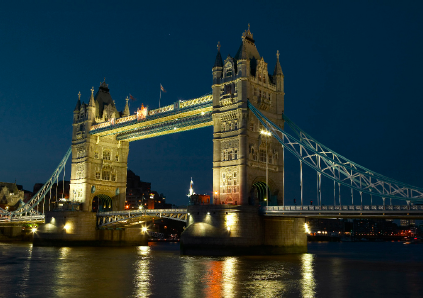
Sometimes, a really good nighttime shot will be missing one vital component—the celestial majesty of a star-filled sky. Sadly, a cloudless night sky is not something that can always be relied on, but with the power of Photoshop at our fingertips, this is easily remedied.
The basic building blocks for the randomly placed stars are supplied by the Noise filter. This gives a random scattering of light-toned pixels that can be blurred and clumped together to create the starfield. We'll then add a simple moon and use a few basic layer blending modes to recreate that classic starry, starry night.
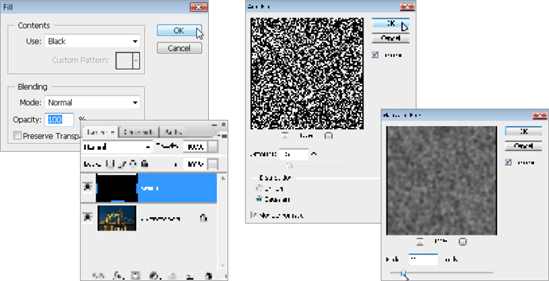
1 Open an appropriate nighttime image. Begin by adding a layer for the main collection of stars (Ctrl/Cmd+Shift+N). Call it "Stars," and fill it with black, using Edit > Fill > Use: Black.
2 Now, we'll apply some noise to this layer to create the foundation for the stars. Go to Filter > Noise > Add Noise. A fairly high level of noise is needed here, so drag the Amount slider up to 154%. Select Gaussian for Distribution and check the Monochrome box. Click OK to apply the noise. We need to blur this noise layer a little, so go to Filter > Blur > Gaussian Blur. Use a small value of about 2.5 pixels.
3 Before moving on, set the blending mode for the Stars ...
Get Photoshop CS3 Photo Effects Cookbook now with the O’Reilly learning platform.
O’Reilly members experience books, live events, courses curated by job role, and more from O’Reilly and nearly 200 top publishers.

