Designing a Website Favicon
You know those tiny little icons on the left edge of your web browser’s address bar (see Figure 18-7). They’re called favicons (short for “favorites icons”), and they’re great for adding a bit o’ branding to web pages. They show up not only in web browsers, but also in news feeds (clickable headlines from your favorite websites that you can access through a newsreader program or your browser). Creating them in Photoshop is a snap, and you’ll be designing them like a pro after you read this section.
The first step is to spend some quality time looking at other sites’ favicons. Your goal is to brand your website with a graphic that’s exactly 16x16 pixels—no more, no less. It’s tough to design anything that small that’s recognizable, but it can be done. For example, you might use a portion of your logo rather than the whole thing, or your company’s initials rather than its full name.
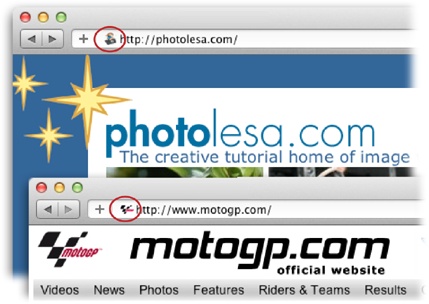
Figure 18-7. Here are the favicons for a couple of websites (circled). Designing favicons is a good way to test your design skills, since you’re limited to 16 pixels square!
Next, you need to download a plug-in that lets Photoshop save the file in the Windows Icon (ICO) file format. The free plug-in ICO Format is a good option: www.telegraphics.com.au/sw. Just quit Photoshop and follow the instructions on Adding and Removing Plug-Ins to install this plug-in. When you relaunch Photoshop, ...
Get Photoshop CC: The Missing Manual now with the O’Reilly learning platform.
O’Reilly members experience books, live events, courses curated by job role, and more from O’Reilly and nearly 200 top publishers.

