Chapter 3. Implementing security on the PDA management environment 77
Figure 3-15 Response file for ezinstall
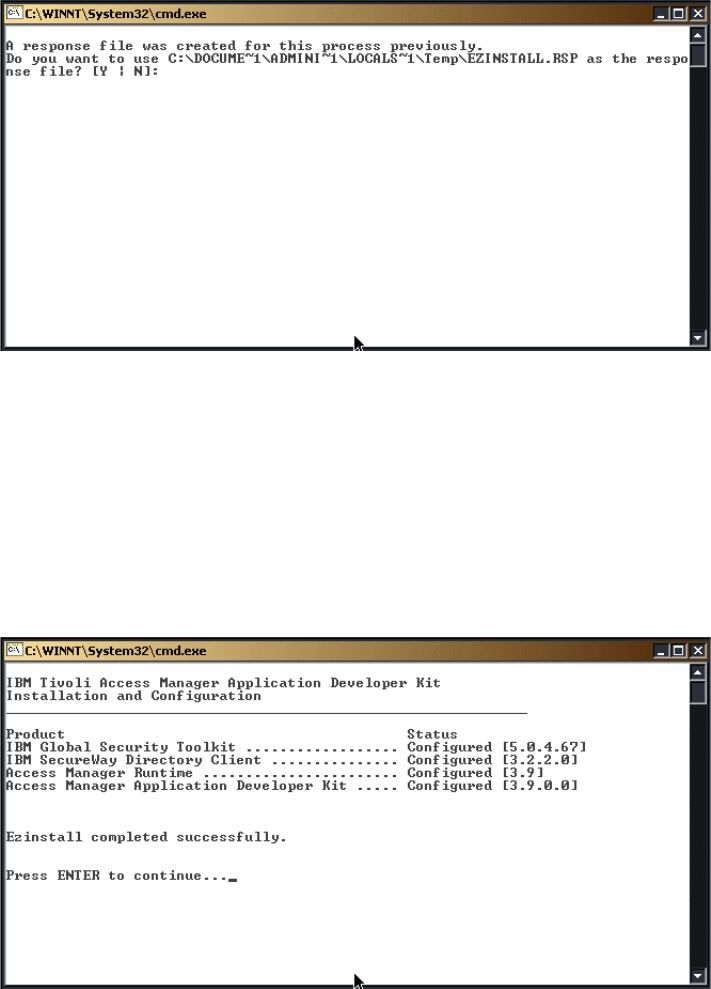
This window indicates that a response file was created previously for this
process. The response file stores all the parameters of the previously
installed software modules of IBM Tivoli Access Manager. This prevents
users from reinstalling specific modules or reconfiguring previously
configured software. Press Y to use the response file.
2. The installation process ends as soon as the configuration of the related
Access Manager components end, as shown in Figure 3-16. Press Enter to
exit the script.
Figure 3-16 Access Manager ADK Installation and Configuration window
78 PDA Management with IBM Tivoli Configuration Manager
3.2.5 Installing Access Manager - WebSEAL
In this section, we describe the Access Manager WebSEAL installation process
using the
easy install method of IBM Tivoli Access Manager. This step should be
performed on the Access Manager system.
The WebSEAL installation separates file extraction from package configuration.
Use an InstallShield program to install the WebSEAL files. Next, use the IBM
Tivoli Access Manager configuration utility to configure the WebSEAL Server.
1. From the root directory of the IBM Tivoli Access Manager 3.9 Base System
installation drive, run the following command:
<CD_Drive>:\windows\PolicyDirector\Disk Images\Disk1\WebSEAL\Disk
Images\Disk1\setup.exe
2. Select the language. We are using the English version.
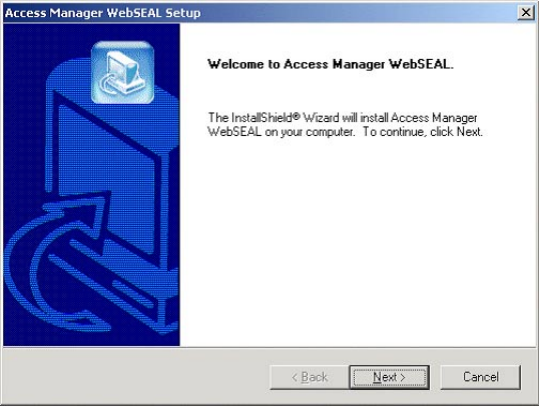
3. The Access Manager WebSEAL Setup window appears (Figure 3-17). Select
Next.
Figure 3-17 Access Manager WebSEAL Setup window
4. Click Yes to accept the License Agreement.
5. Select the installation directory or accept the default value provided.
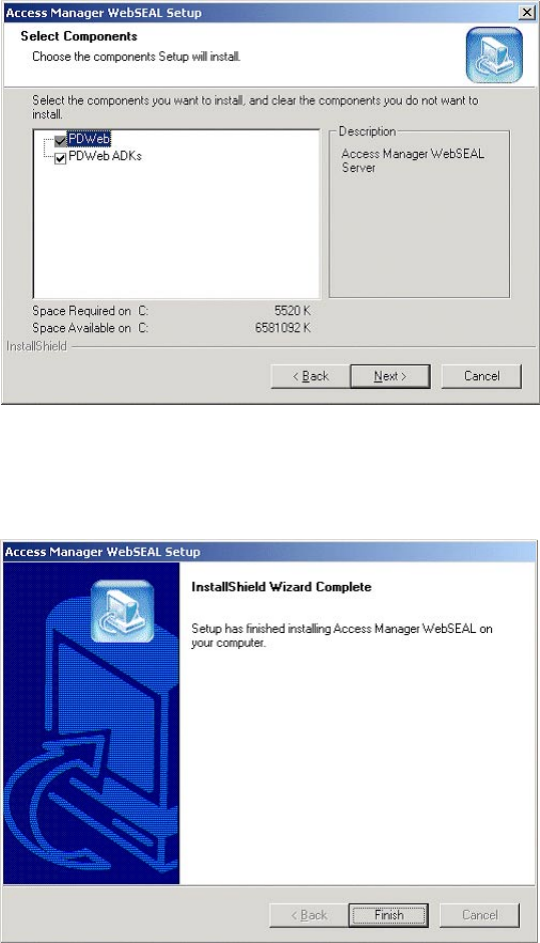
6. As shown in Figure 3-18 on page 79, select the available components to be
installed. They are Access Manager WebSEAL Server (PDWeb) and Access
Manager WebSEAL Application Development Kit (PDWebADK). Click Next to
accept these components and continue.
80 PDA Management with IBM Tivoli Configuration Manager
Configuring Access Manager WebSEAL
After the installation of WebSEAL has completed, we need to use the Access
Manager configuration utility to configure the WebSEAL Server.
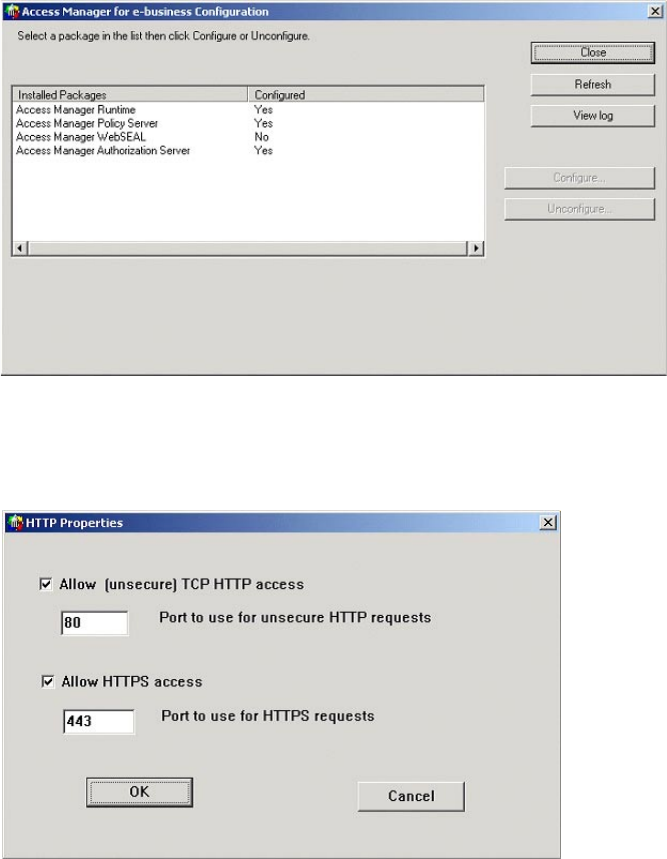
1. Select Start -> Programs -> Access Manager for e-business ->
Configuration. The Access Manager Configuration window appears. This is
shown in Figure 3-20.
Figure 3-20 Access Manager for e-business Configuration
2. Select Access Manager WebSEAL, and click the Configure button. The
HTTP properties window appears.
Figure 3-21 Setting WebSEAL HTTP properties
Chapter 3. Implementing security on the PDA management environment 81
Select Allow [unsecure] TCP HTTP access and Allow HTTPS access and
specify their port numbers.
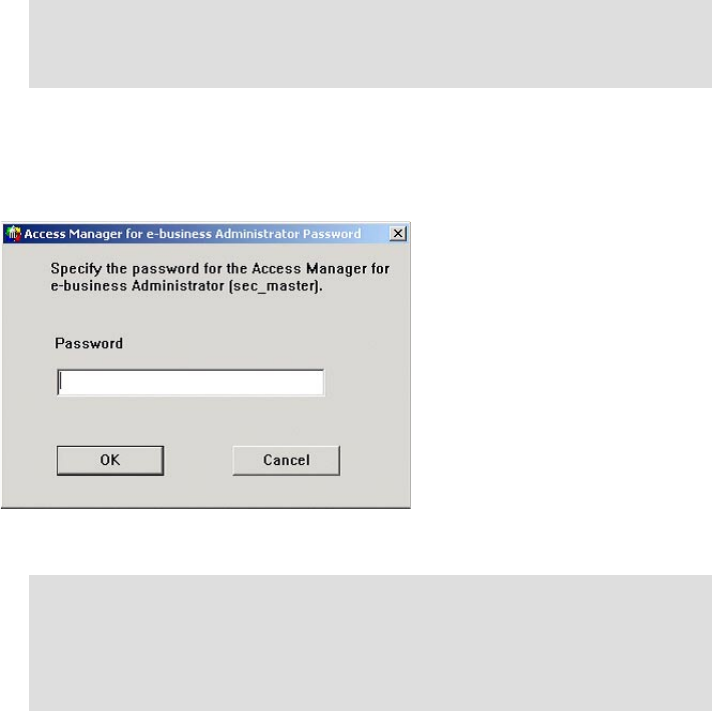
3. The Access Manager Administrator Password window appears. Enter the
password for the sec_master user ID specified during the Authorization
Server installation.
Figure 3-22 Access Manager Administrator Password
4. When configuration completes, a status message states that the
configuration was successful. The Access Manager Configuration window
appears.
Note: If you are running any other Web servers on this computer, verify
that the TCP HTTP port for the other servers does not conflict with the
WebSEAL TCP HTTP port.
Note: if you repeatedly enter an incorrect password, you may see the error
message: Error: This account has been temporarily locked out due
to too many failed login attempts. If this occurs, obtain the correct
password, wait five minutes for the lock to clear, and then restart the
configuration program.
Get PDA Management with IBM Tivoli Configuration Manager now with the O’Reilly learning platform.
O’Reilly members experience books, live events, courses curated by job role, and more from O’Reilly and nearly 200 top publishers.

