
22 PDA Management with IBM Tivoli Configuration Manager
2.2.2 IBM DB2 Fixpack 7 installation
This session describes the installation of DB2 Fixpack 7 on AIX. Here are the
steps for installing IBM DB2 Fixpack 7:
1. Stop all database activity before applying this fixpack. To stop all database
activity, issue the commands:
# db2stop
# db2admin stop
2. Unzip the fixpack using the following command to get a tar file:
# gzip FP7_U484480.tar.Z
3. Un-tar the fixpack using the following command to extract the fixpack files.
# tar -xvf FP7_U484480.tar
4. Run the following command to install the fixpack from the location where you
un-tar the fixpack files.
# ./installFixpack
5. Provide the DB2 instance password if prompted.
6. The installation wizard copies the files and finishes the installation of the
fixpack.
2.2.3 IBM WebSphere installation
For our environment, we decided to use the IBM WebSphere Application Server
Advanced Edition Version 4.0. In this section, we describe the IBM WebSphere
Application Server Advanced Edition Version 4.0 installation steps on AIX.
In order to install IBM WebSphere Application Server Advanced Edition Version
4.0, perform the following steps:
1. Logged in as a user with root authority, create the WAS40 database on DB2.
Next the server and the database need to be cataloged, as shown in
Example 2-1, where <hostname> is the host name of your machine.
Example 2-1 Creating and cataloging WAS40 database on DB2
# su - db2inst1
# db2 create database was
# db2 update db config for WAS using applheapsz 256
# db2 catalog tcpip node db2svr remote <hostname> server 50000
Note: If you are using a 32-bit IBM DB2 Server, make sure to install the 32-bit
Fixpack 7. Or if you are using a 64-bit IBM DB2 Server, make sure to install
the 64-bit Fixpack 7.
Chapter 2. Getting the environment up and running 23
# db2 catalog database was as was40 at node db2svr
# db2 connect to was user dmsadmin using dmsadmin
2. Logged in as a user with root authority, issue the following command from the
directory where the IBM WebSphere Application Server CD-ROM is mounted:
# ./install.sh
3. You are then prompted to select the type of installation. We have selected
Typical Installation, as it will automatically install all the required
components, such as the WebSphere Application Assembly Tool (AAT). If you
decide to use a different installation method, make sure you select the AAT
option.
4. In the next window, the installation wizard asks for the database information.
WebSphere Server uses this database repository to store configuration
information. In our scenario, we used the local DB2 Server installed on the
Server machine.
Database type: DB2
You should also provide the database name:
Database name (SID): was40
The DB2 instance owner home directory:
DB home: /home/db2inst1
And the user ID and password of the DB2 instance owner:
Database user id: db2inst1
Database password: ****
5. In the following window, you need to specify the installation directories. We
used the default values /usr/WebSphere/AppServer and /usr/HTTPServer.
6. A final installation window informs you that the setup program has finished.
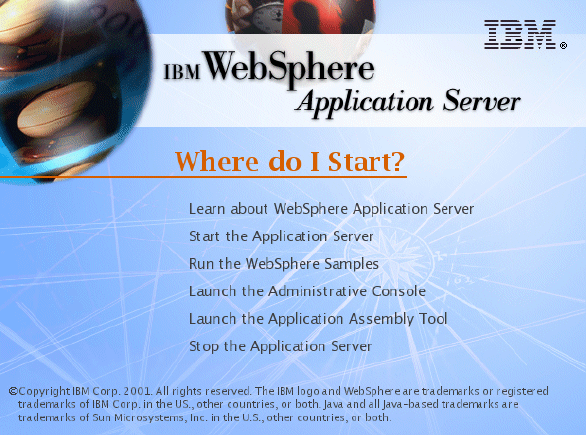
7. When the installation of WebSphere completes successfully, the window
shown in Figure 2-5 on page 24 appears. Select Start the Application
Server.
24 PDA Management with IBM Tivoli Configuration Manager
Figure 2-5 IBM WebSphere Application Server configuration window
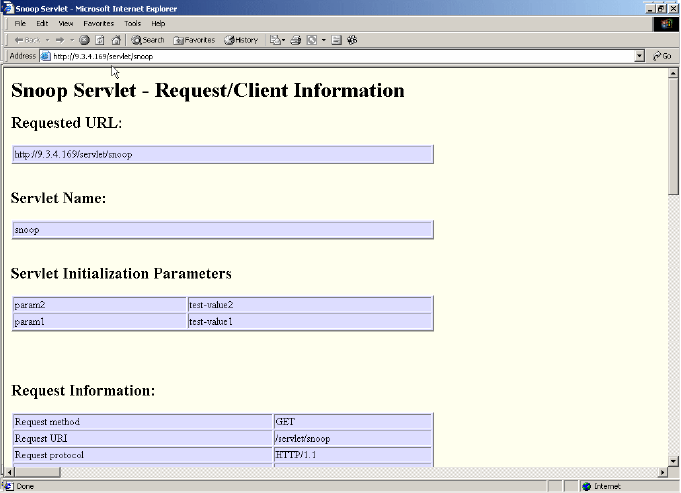
8. Launch the Administrative Console and start the Default Server.
9. Open a Web browser and type in the following URL:
http://WebSphere_Server/servlet/snoop
Where WebSphere_Server can either be the Administration server’s host name
or IP address. Information about /servlet/snoop is displayed.
Chapter 2. Getting the environment up and running 25
Figure 2-6 WebSphere Servlet/Snoop information
10.The IBM WebSphere Application Server runs as root and requires access to
the IBM DB2 environment. You should insert the following line at the end of
root’s .profile file:
./home/db2inst1/sqllib/db2profile
Assuming that the db2inst1 is the IBM DB2 instance owner.
2.2.4 IBM WebSphere Fixpack 3 installation
Because the Tivoli Web Gateway Server requires IBM WebSphere Application
Server Advance Server 4.0.3, here are the steps for installing IBM WebSphere
Fixpack 3:
1. Make sure you stop IBM HTTP Server and IBM WebSphere Application
Server before installing the fixpack, as follows:
a. To stop the HTTP Server, type the following command:
# cd /usr/HTTPServer/bin
# ./apachectl stop
Get PDA Management with IBM Tivoli Configuration Manager now with the O’Reilly learning platform.
O’Reilly members experience books, live events, courses curated by job role, and more from O’Reilly and nearly 200 top publishers.

