Creating a Minimal Sales Conduit
When you use Visual C++ and the development kit, only a few steps are required to create a minimal conduit. We assume that you’ve installed the 4.02 CDK in its default location: the C:\CDK402 folder. Let’s walk through the steps:
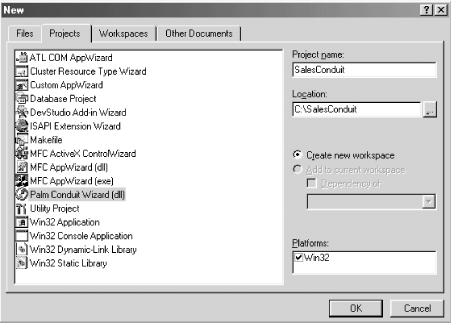
Create a new project of type Palm Conduit Wizard (dll) (see Figure 14-4).
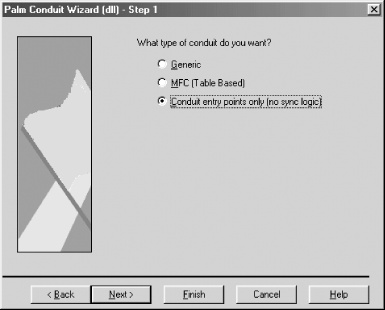
Specify that you want Conduit entry points only (no sync logic), as shown in Figure 14-5.
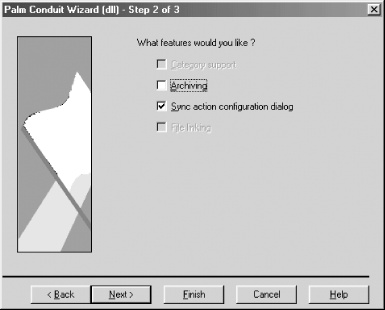
Specify that you want a Sync action configuration dialog box (see Figure 14-6).
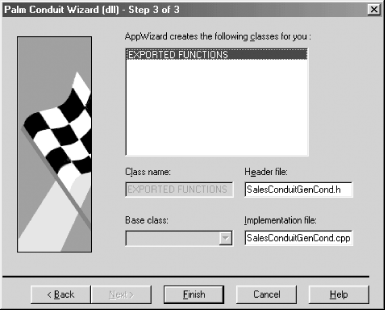
Verify the filenames that the Wizard will create (see Figure 14-7).
Code for the Sales Conduit
As we said before, this is a conduit that does very little—it considers itself successful if it writes a message to the log file. It’s great, however, at distilling the process you use for creating the outer shell of a conduit. First, let’s show you the code. Then we’ll look at what ...
Get Palm OS Programming, 2nd Edition now with the O’Reilly learning platform.
O’Reilly members experience books, live events, courses curated by job role, and more from O’Reilly and nearly 200 top publishers.

