Using Photo Booth
Apple has moved the old-fashioned photo booths — the kind that we used to cram ourselves into with our friends on Friday nights at the mall — to our Macs. Simple as it is, there are still a few features that could use an explanation. When I purchase something new, I’m one of those people who actually like to read the instructions and learn what all the buttons and gadgets are for. Hence, my insistence on covering the Photo Booth features shown in Figure 12.12.
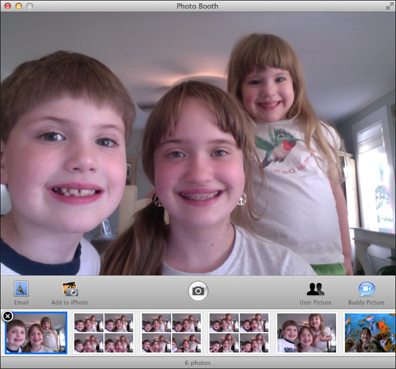
12.12 The main Photo Booth window in Snapshot mode.
Taking snapshots
Any kind of picture that you take with Photo Booth is considered a snapshot, whether it’s a still picture or a video. You can take three kinds of snapshots: Single still picture, four quick snapshots (which are much more fun than you might think), and video. Use the snapshot-type buttons under the bottom-left corner of the viewer window to select the kind that you want to take.
Taking a single snapshot
Single snapshots (or still pictures) are so easy to take, it’s ridiculous. Follow these steps:
1. Click the single still picture button under the bottom-left corner of the Viewer window.
2. Position yourself in front of the Mac camera so that your image fits inside the Viewer window.
3. Click the Camera button.
4. Photo Booth begins its countdown from 3, flashes, and then takes the picture. That’s it!
Taking four quick snapshots
Taking ...
Get OS X Mountain Lion Portable Genius now with the O’Reilly learning platform.
O’Reilly members experience books, live events, courses curated by job role, and more from O’Reilly and nearly 200 top publishers.

