
640 office x for macintosh: the missing manual
The Properties dialog box is also the place to “delete” a clip from a certain category.
When you turn off a checkbox on the Categories tab, the clip will no longer appear
on that category’s panel.
Search
When you enter a word in the Search box at the top of the Clip Gallery and click
Search, Word finds all the clips that match (or are related to) that keyword. For
instance, if you type in automobile, Word pulls up all the clips that have “automo-
bile” as keywords. Cooler yet, it also finds clips with “car” or “vehicle” as keywords—
it relies on the Office X Thesaurus to figure out which possible keywords mean the
same thing as what you typed!
Working with Clip Art
After placing a piece of clip art into your document, you can click it to produce eight
tiny square handles at its perimeter. By dragging these handles, you can resize the
illustration in a variety of ways:
•Drag a handle to resize the figure in that dimension—drag the top one to make it
taller, a side one to make it wider, and so on.
• Shift-dragging a corner handle keeps an object in its original proportions as you
resize it.
• Option-dragging any handle resizes the object from the center outward in the
direction you’re dragging. (This method does not maintain proportion.)
• Shift-Option-dragging a corner handle resizes an object from the center out-
ward and maintains its proportions.
•
cc
cc
c-dragging any handle overrides the drawing grid (see page 648).
You can also move a graphic around the screen by dragging it freely.
AutoShapes and WordArt
There are two kinds of drawings in Word: those you make yourself using Word’s
drawing tools (see page 644), and those Word makes for you, through features such
as AutoShapes and WordArt.
AutoShapes
An AutoShape is a ready-made drawing object. As with the simple circle, square,
and triangle of times past, you simply drag to size and place them in your docu-
ment. However, you now have many more choices. The AutoShapes in Office X in-
clude a smiley face, callout balloons, flowchart boxes, and all manner of star shapes.
To use an AutoShape in your document, click the AutoShapes button on the Draw-
ing toolbar. (If it’s not already open, choose View→Toolbars→Drawing. Or, if you
can’t get enough of that genie effect, click the Drawing button on the Standard
toolbar.)
The Clip Gallery
chapter 18: the graphics programs of office x 641
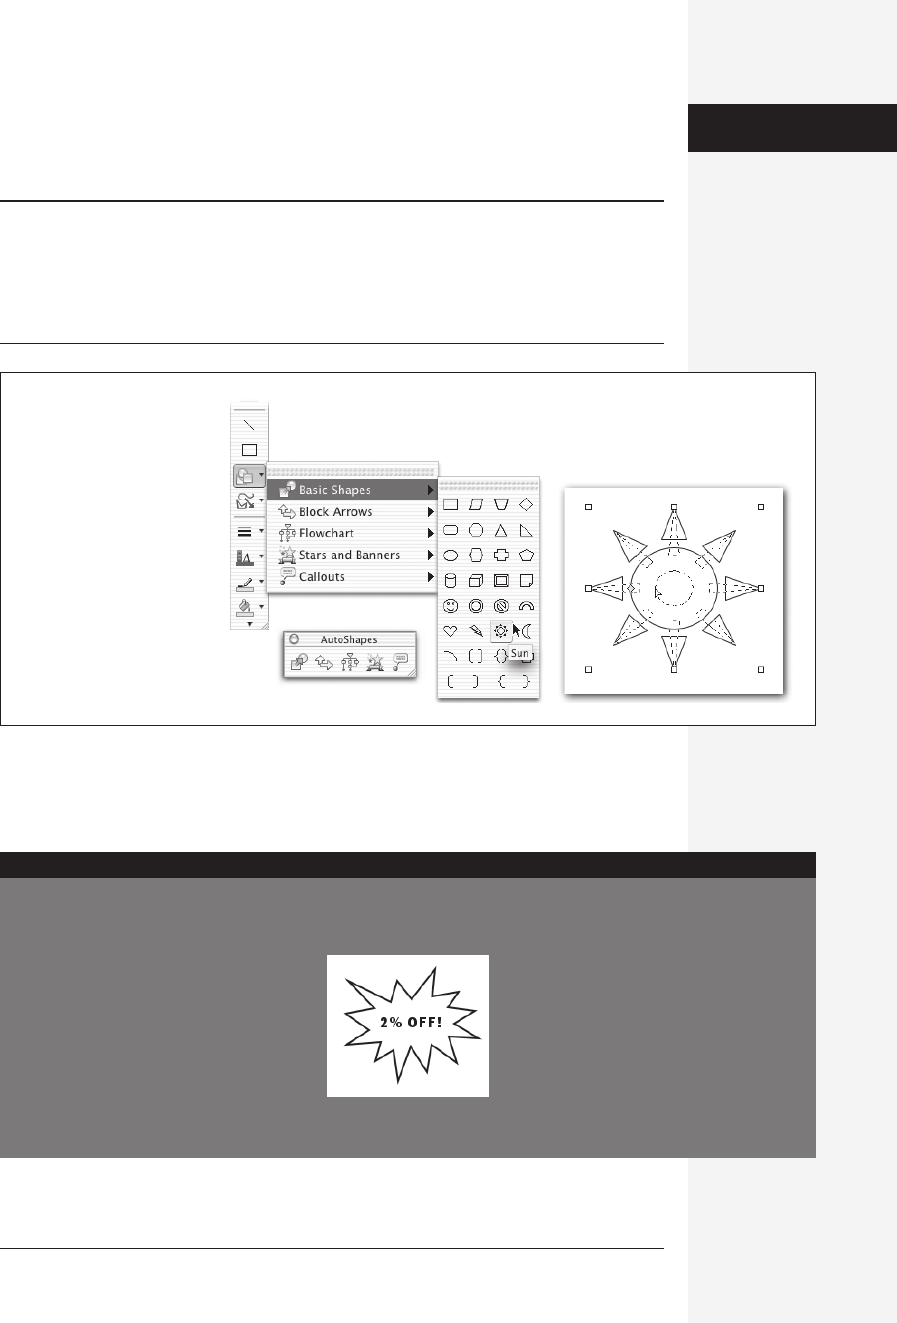
As shown in Figure 18-3, each AutoShape menu provides a palette of choices. Click
one, then release the mouse; now drag in your document to place the AutoShape—
you can always resize or move it later.
Note: In Word, adding an AutoShape flips you automatically into Page Layout mode; that’s because Word
treats such shapes as objects rooted to a certain spot on the printed page, not embedded into the text. In
fact, if you return to Normal view, the AutoShape doesn’t appear at all. Many a Word fan has grown
alarmed, thinking that the carefully modified shape has disappeared forever.
You can convert the new AutoShape so that it interacts with your text, however; see page 164.
Like other drawing objects, AutoShapes can be grouped (see page 646) and com-
bined with other drawing objects, such as lines. For example, you can combine the
Flowchart AutoShapes with arrows to create a flowchart.
Figure 18-3:
Left: The drawing tools on
the Drawing toolbar give
you (top to bottom): lines,
rectangles, AutoShapes,
and other assorted lines.
You can keep a mini palette
(bottom) of them open by
dragging the palette off the
Drawing toolbar.
Right: Called the “adjust-
ment handle,” the yellow
diamond lets you play with
the AutoShape’s shape
without actually resizing it.
Make Your AutoShapes Talk
You can add text to any enclosed AutoShape.
When you do, the text becomes part of the
shape and moves along with it, as shown
here—a great way to use AutoShapes as
callouts and flowcharts.
To begin, Control-click the AutoShape and
choose Add Text from the contextual menu.
The AutoShape changes to look eerily like a text box, with
an insertion point waiting for you to start
typing.
There’s just one little hitch worth mention-
ing: When you rotate an AutoShape, the text
direction doesn’t change. To rotate the text,
select it and choose Format→Text Direction,
or use the Orientation tool on the Alignment
and Spacing section of the Formatting Palette.
POWER USERS’ CLINIC
AutoShapes
and WordArt
Get Office X for Macintosh: The Missing Manual now with the O’Reilly learning platform.
O’Reilly members experience books, live events, courses curated by job role, and more from O’Reilly and nearly 200 top publishers.

