584 office x for macintosh: the missing manual
Moving slides around
The easiest way to rearrange your slide sequence is in the Outline pane (by dragging
the tiny slide icons up and down) or in Slide Sorter view (by dragging thumbnails
around). In either case, the Cut, Copy, and Paste commands work.
Tip: The trick in Slide Sorter view is, before pasting, to select the slide just before the spot where you want
the pasted slides to appear.
How to Build a Slide
The outliner is an excellent tool for building the overall flow of your slide show. But
sooner or later, you’ll probably want to visit the actual slide pictures themselves—to
add charts or other graphics, to edit your concluding slide when new data becomes
available five minutes before a meeting, and so on.
Using Backgrounds
Creating an individual slide is a bit like painting on a canvas: You first paint the
background and work your way to the foreground, layer by layer.
For example, PowerPoint lets you set a background color, gradient, pattern, or graphic
for your slide. You can also create a backdrop by adding shapes and importing
graphics.
Changing backgrounds
Every slide begins life with a backdrop, courtesy of its slide master. If you’d like to
override or enhance that backdrop on a particular slide, however, choose Format→
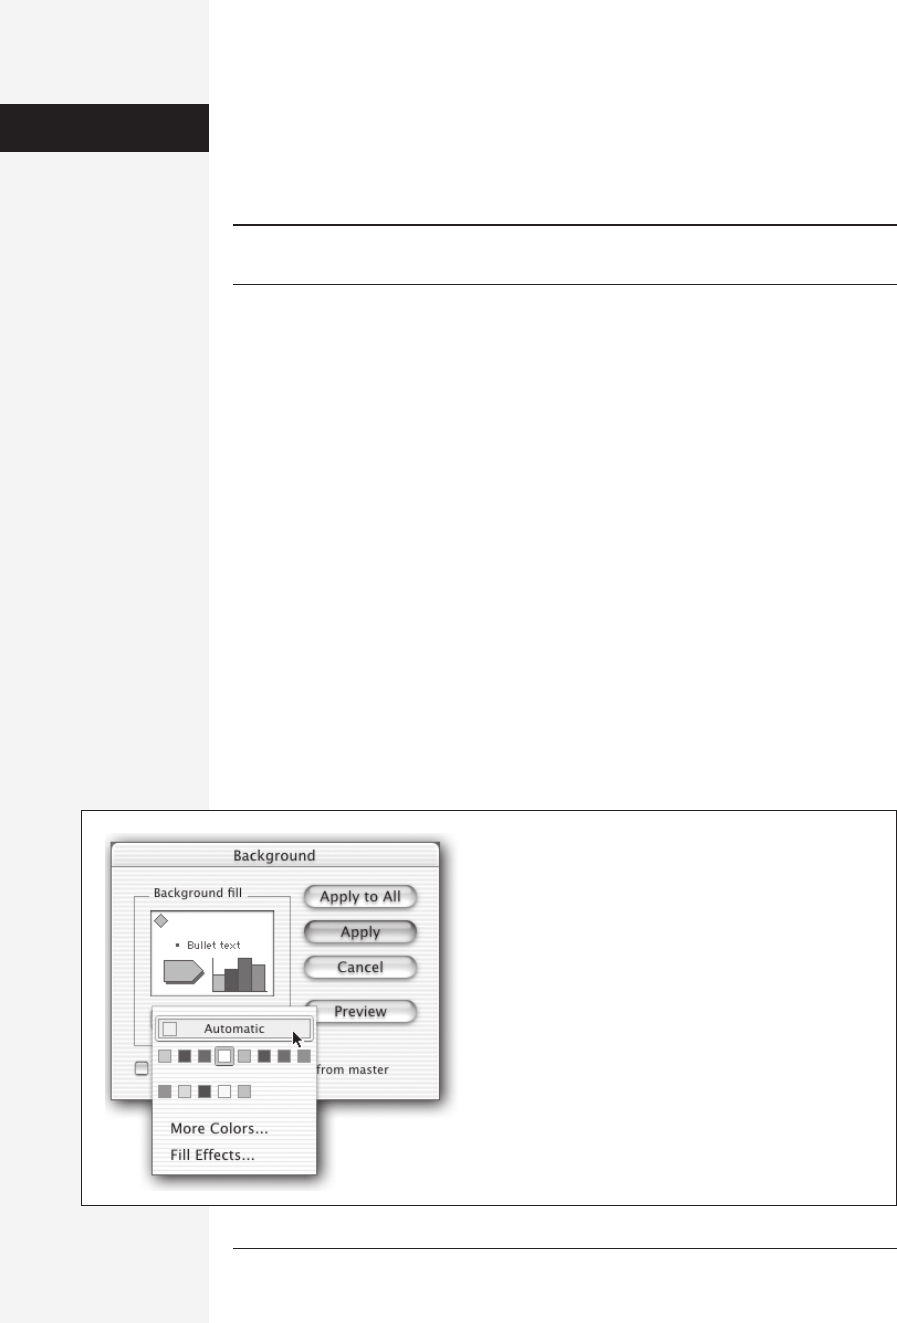
Slide Background, which brings up the Background dialog box (Figure 15-8). In
this box, you see a sample slide with the current color scheme. At the bottom, a pop-
Figure 15-8:
The Background dialog box shows how your background fill
color looks when applied to a slide with the current color
scheme. (If you feel confident overriding Microsoft’s profes-
sional color groups, choose More Colors from the pop-up
menu; the standard Apple color picker dialog box appears,
offering access to any color under the sun via several different
Color Pickers, as described on page 651.)
Step 3:
Building the Show

chapter 15: basic powerpoint 585
up menu lets you choose, from a swatch of eight coordinated colors, a new back-
ground color.
Note: The technique described here overrides the background fill color specified by the slide master, just
for a single slide. To change the background for all of the slides, choose View→Master→Slide Master, and
then edit the background of that master slide. Doing so changes the backgrounds of all corresponding
slides—except for those that you’ve changed yourself.
If you want something more than a solid background color, choose Fill Effects from
the pop-up menu, which brings up the Fill Effects dialog box. This box lets you
choose one of four effects by clicking one of the four tabs along the top: Gradient (a
smoothly shifting color blend), Texture (a photograph of some natural material,
such as wood grain, marble, or burlap), Pattern (simple, two-color patterns, such as
stripes and dots), or Picture (a graphics file from your hard drive). See Chapter 18
for much more on these special tabs.
Tip: Be careful with this feature. Photos, textures, and gradients can make your text very difficult to read.
(On the other hand, depending on the news you have to share with your colleagues, that may be exactly
what you were hoping.)
Working with Text
There are two ways to add text to your slides; both are quite straightforward. First, if
your slide master includes text placeholders, as shown in Figure 15-6, you can click
the individual placeholder text items (which typically read something like “Click to
Add Text”), and then type in your own words to replace the dummy text. Because
these placeholders are linked to the slide master, they reflect its font characteristics.
Shutting Off Two Annoying PowerPoint Features
If, as you add text to a box, you notice that the words and
paragraphs are shrinking, don’t be alarmed. PowerPoint is
just trying to make your text fit into the placeholder text
box. PowerPoint makes the text spill over onto another line
only if shrinking the font size and line spacing fails.
If you find this feature annoying, never fear. You can turn
it off easily enough: Just choose PowerPoint→ Preferences,
and, in the dialog box, click the Edit tab. On the Edit panel,
turn off the option called “Auto-fit text to text placeholder,”
and then click OK.
Another favor PowerPoint tries to do you: When you select
more than one word and end your selection halfway
through a word, PowerPoint selects the rest of that word
for you. (This feature may sound familiar; the same thing
happens in Word.)
This behavior can be frustrating when all you want to do is
get rid of an errant suffix. To turn this feature off, choose
PowerPoint→Preferences→Edit tab and turn off “When
selecting, automatically select entire word.” Now you can
select as much or as little of a word as you like.
WORKAROUND WORKSHOP
How to
Build a Slide
Get Office X for Macintosh: The Missing Manual now with the O’Reilly learning platform.
O’Reilly members experience books, live events, courses curated by job role, and more from O’Reilly and nearly 200 top publishers.

