chapter 15: basic powerpoint 575
Step 2: Writing the Outline
The built-in PowerPoint starter slide shows save you a few minutes of design effort,
but sooner or later you’ll actually have to write the words that will appear on your
slides. Outlining your presentation helps you organize your thoughts and write those
all-important words.
One great way to go about this is to use PowerPoint’s Outline view, which looks
much like Normal view except that the Outline pane is wider. You switch into Out-
line view by clicking the Outline View button near the bottom left of the main win-
dow.
Tip: You can use the secret of Outline view anytime the sluggishness of PowerPoint’s Normal view makes
you feel like you’re jogging through quicksand. It’s not sold in stores, not listed in the View menu; you get
to it by clicking the second tiny icon at the lower-left corner of the main window.
The Slide pane and Notes pane shrink a bit, but at least your typing won’t be shackled to a slug.
The basics of typing an outline are simple: Each slide icon at the left of the Outline
pane represents an individual slide. Whatever you type adjacent to the slide icon
becomes the corresponding slide’s title (see Figure 15-5).
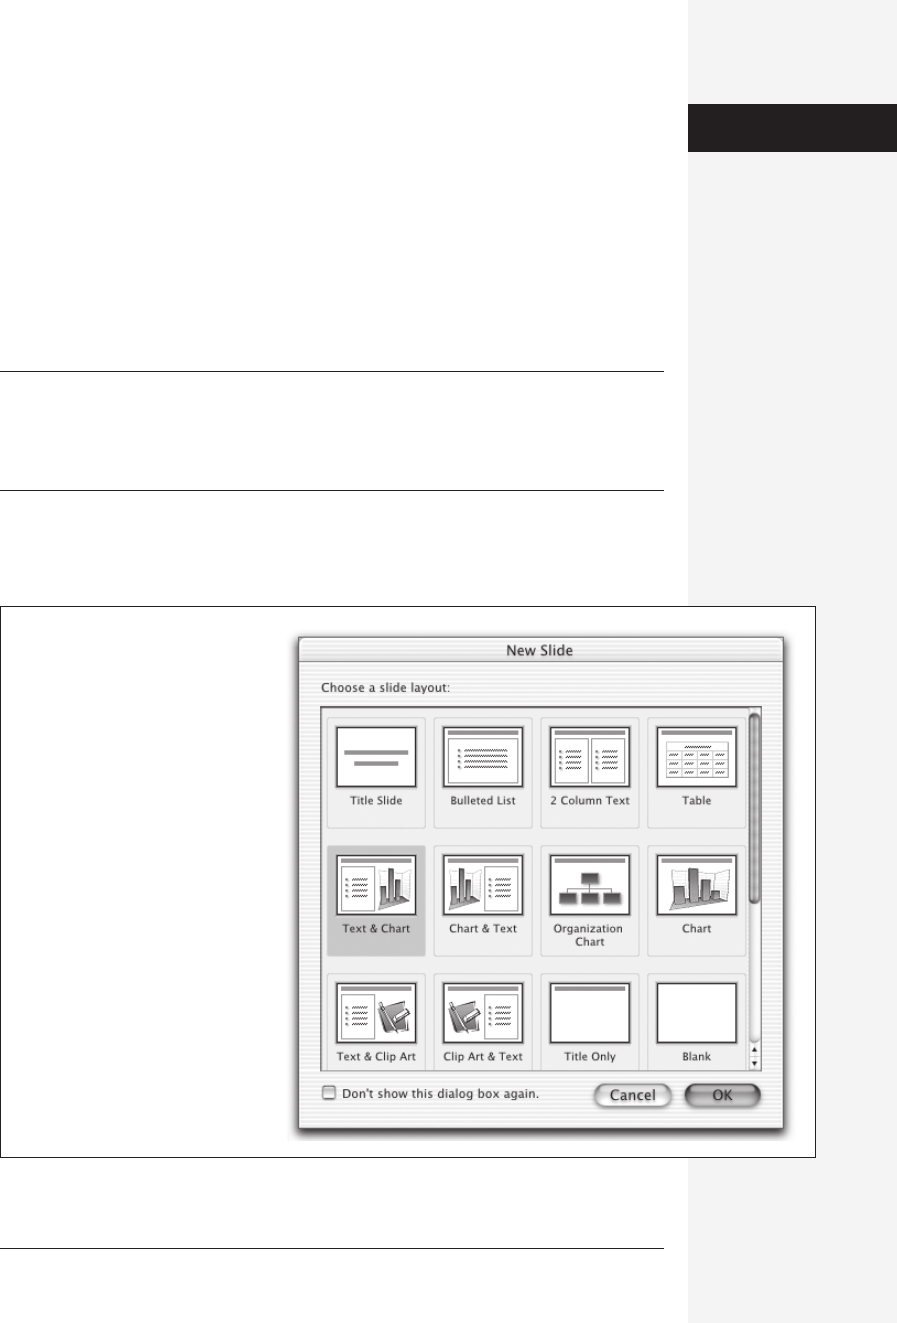
Figure 15-4:
When you add a new slide to your
presentation, you’ll be presented with
the New Slide dialog box, from which
you can choose one of 24 different
layouts. These layouts make it easy to
add various elements to your slides
by providing placeholders for bullet
lists, charts, artwork, tables, and even
movies.
Step 1:
Specify a Design

576 office x for macintosh: the missing manual
To generate more outline text, you can:
• Press Return after typing a title to start another title. Each title corresponds to a
slide.
• Press Tab to demote a title into a bullet point under the previous title. If you
continue pressing Tab, you can continue the demotion, down to five levels below
the title. (Demote is outlining jargon for “make less important,” or “move down
one level in the outline.”)
• Press Shift-Tab to promote a bullet point into a more important bullet point or a
title. (Promote, as you might guess, means to “make more important,” or “move
up one level in the outline.”)
• Press Return after typing a bullet point to start another bullet point.
• Press Control-M after typing a bullet point to start a title for a new slide.
If you create more than an occasional PowerPoint show, you’ll make your life much
easier if you master a few of these key combinations:
Keystroke What it does
Tab Demotes a heading
Shift-Tab Promotes a heading
Return Creates a new heading at the same level
Figure 15-5:
You can drag topics or bullet
points into a different order
as you build your outline, just
by dragging a tiny slide or
bullet icon. A horizontal line
indicates where PowerPoint
thinks you want to place the
item when you release the
mouse. As you work on your
outline in the left-hand Outline
pane, you get to see the
matching slide in the Slide
pane.
Step 2:
Writing the Outline
Get Office X for Macintosh: The Missing Manual now with the O’Reilly learning platform.
O’Reilly members experience books, live events, courses curated by job role, and more from O’Reilly and nearly 200 top publishers.

