Publisher Lesson 2: Microsoft Publisher 2013 Jumpstart
In this lesson, you will discover how to create a basic publication from scratch in Microsoft Publisher 2013. You will also learn how to bring text and graphics into a publication, as well as prepare it for printing or distribution via e-mail.
What you’ll learn in this lesson:
- • Preparing a document for printing and e-mail distribution
- • Changing documents margins, page size, and orientation
- • Creating text boxes and learning to flow text between text boxes in a Publisher document
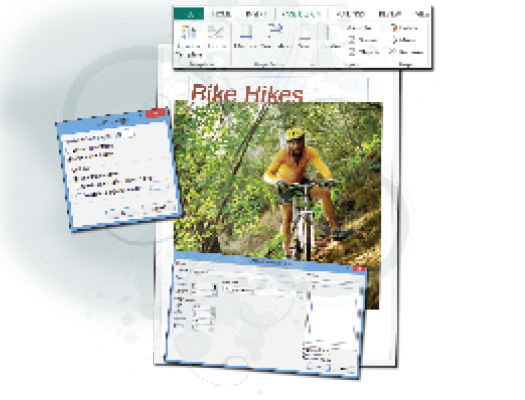
- • Inserting and modifying images in a Publisher document
Starting up
You will work with files from the Pub02lessons folder. Make sure that you have loaded the OfficeLessons folder onto your hard drive from www.digitalclassroombooks.com/Office2013. If you need further instructions, see “Loading lesson files” in the Starting up section of this book.
Creating a blank publication
In Lesson 1, you saw how Publisher’s preset design templates can help you create a new publication. In this lesson, you’ll explore how to create a new blank publication, for those times when the provided templates don’t meet your needs.
To create a blank publication:
1 Choose Start > Programs > Microsoft Office 2013 > Microsoft Publisher 2013.
2 Click the File tab, if you are not already in Backstage view, and then click New. If you are in the Recent section, choose Open Publications ...
Get Office 2013 Digital Classroom now with the O’Reilly learning platform.
O’Reilly members experience books, live events, courses curated by job role, and more from O’Reilly and nearly 200 top publishers.

