Word can display your document in any of five different views, including the just-introduced Publishing Layout view. Each offers different features for editing, reading, and scrolling through your work. Some people spend their entire lives—or at least their Mac lives—in only one of these views, while power users may switch regularly back and forth between them.
In any case, using the views feature doesn’t change your actual document in any way unless you change to Notebook view or Publishing Layout View. If you’re using Draft or Print Layout View, the document prints exactly the same way. Views are mostly for your benefit while preparing the document onscreen.
Here are the five Word views, as they appear in the View menu.
Tip
You can also switch views by clicking one of the four icons at the very lower-left corner of your document window. (Except Web Layout view, which you can only get to via the View menu.)
Formerly known as Normal View, Draft view presents the Standard toolbar, the Ruler, and all the window accessories described in the previous section (see Figure 1-4). In Draft view, your entire document scrolls by in a never-ending window, with only a thin blue line to indicate where one page ends and the next begins. Draft view is where you can focus on writing your document. Many page-layout elements, including headers and footers, drawing objects, and multiple columns, don’t appear at all in Draft view. As a result, Draft view offers the fewest distractions and the fastest scrolling.
This view shows what your document will look like if you convert it to a Web page, as described in Chapter 9. (And if you’d never in a million years dream of using Microsoft Word as a Web-design program, then this is only the first of many discussions you can safely skip in this book.)
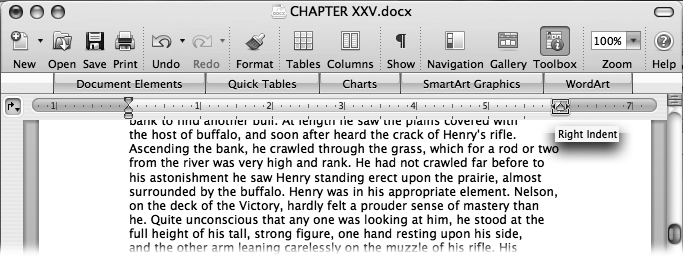
For example, in Web Layout view, you don’t see any page breaks, even if a particular page requires 47 consecutive feet of scrolling. After all, unlike a printed document when a Web page is long, you don’t turn pages, you just keep scrolling. The Ruler goes away, too, because Web pages don’t offer true indents or tabs. (Your existing tabs and margins still work, but you can only change them by using the various commands in the Format menu.) Any backgrounds, drawings, and images you’ve added to your document are visible, and look as they would when your document is viewed in a Web browser.
In Outline view, Word automatically formats your paragraphs into outline form, saving you from remembering whether your next point should be labeled I., a., i., or whatever. Outline view lets you move your topics and supporting facts up and down, and in and out of the hierarchy, using the mouse or keyboard—and remembers everything on the fly. Chapter 6 has a full tutorial on using Word’s outliner.
This view gives you a second ruler along the left side of the page—a vertical ruler. (The parts of the ruler that are your page margins are blocked out with blue shading.) In Page Layout view, you can see—and manipulate—everything. You can adjust margins by dragging them as described in Figure 1-9. You can edit headers and footers by double-clicking where the cursor changes (see Headers and Footers). You can create drawing objects using the tools found in the Drawing toolbar, summoned by clicking View → Toolbars → Drawing (see Chapter 18 for more detail on drawings), and move them around by dragging. To see more of your page at once while in Page Layout view, simply change the Zoom box setting in the Standard toolbar.
You may want to use this layout for your personal or scholastic note-taking needs, or as an information organization tool. This view lets you draw images directly on the Notebook using the Scribble tool, and reorganize notes or even entire sections with a simple drag and drop. Choosing this view converts your document to a notebook complete with lined pages, and places the Notebook Layout tools on the toolbar. See Chapter 6 for more details on the Notebook Layout view.
Note
Notebook Layout view offers many of the features of a full-fledged note-taking program, such as Circus Ponies’ Notebook or Microsoft’s OneNote. You can use it to take notes and rapidly rearrange them, organize graphics and photos, sketch out ideas, and even record notes to yourself or lectures using the Audio Notes feature. Unless you require specialized features like keywords or notebook sharing, you can organize your life without investing 50 bucks in a separate notebook program.
New to Office 2008, the Publishing Layout view brings a complete page-layout program to Word. Like the other document views, you can switch to this view to see or convert your document to a publishing layout document. Usually, however, page-layout documents begin life in this view—often by choosing one of the Publication Templates from the Elements Gallery. Here you’ll find dozens of brochures, flyers, menus, and so on, which you can choose as a basis for your page-layout project. Of course—if you have more time and more creativity—you can also start with a completely blank page. See Chapter 8 for an in-depth look at this new view.
Get Office 2008 for Macintosh: The Missing Manual now with the O’Reilly learning platform.
O’Reilly members experience books, live events, courses curated by job role, and more from O’Reilly and nearly 200 top publishers.

