Creating a Section
Each new section in a notebook works much like a tabbed divider added into a three-ring binder. The section sets off the pages within and provides a label for them. If you create a notebook for client information, for example, you might create a new section for each client. If you create a notebook for school studies, you might create a section for each class during the current semester.
To add a new section to a notebook:
1. | In the Notebooks navigation bar, click the name of the notebook to which you want to add a section. The contents of the selected notebook appear.
|
2. | Choose File Figure 38-5. Type a name to replace the placeholder in the new section’s tab.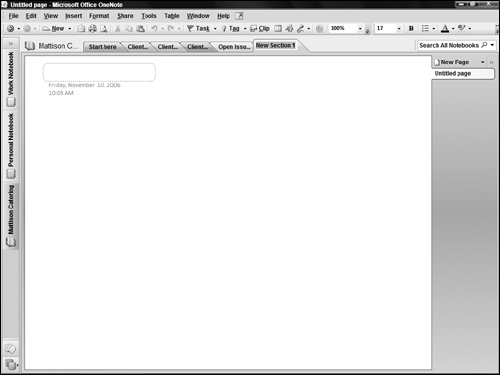
|
3. | Type the name for the new section and press Enter. The finished section appears, waiting for you to add pages, notes, and other content.
|
Get Office 2007 Bible now with the O’Reilly learning platform.
O’Reilly members experience books, live events, courses curated by job role, and more from O’Reilly and nearly 200 top publishers.

