8
Working with Control Points
In Chapters 6 and 7, you learn how to make global changes to your HDR images. However, there are times when you want to adjust only a part of the image, not the entire image. HDR Efex Pro includes a tool called a Control Point that allows you to do this by simply clicking on the area you want to change and making the adjustments. There is no need to create selections or masks.
In the next two chapters, you see how to do this using Nik Software's patented U Point technology to power Control Points. Before you start adjusting your images, however, first look closely at how best to create and control single and multiple Control Points.
Selective Editing with the U Point Tool
If you are familiar with Photoshop or similar image-editing software, you know that a large part of your time during editing can be consumed with creating selections. This is especially true when the area to be selected is complex, has very soft edges, or appears in a number of disconnected areas in the image.
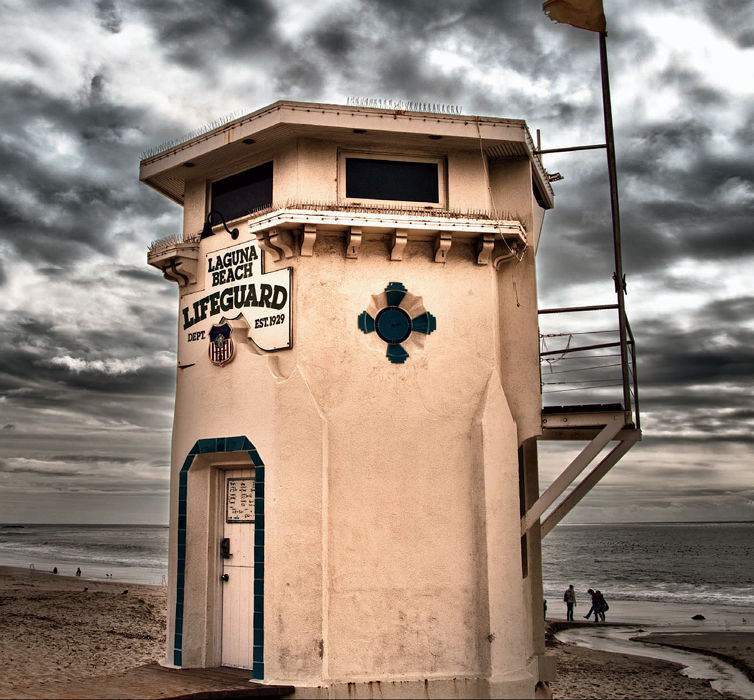
In HDR imaging, you constantly encounter the need to adjust a portion of the image. In Figure 8.1, for example, if you want to change the look of the clouds by adjusting their exposure or change their structure without affecting the sky or the rest of the image, creating a mask for the clouds would be a daunting task in an image-editing program.
Figure 8.1
Using the U Point-powered ...
Get Nik® Software HDR Efex Pro™ After the Shoot now with the O’Reilly learning platform.
O’Reilly members experience books, live events, courses curated by job role, and more from O’Reilly and nearly 200 top publishers.

