Step 3: Manually Add a Local Printer
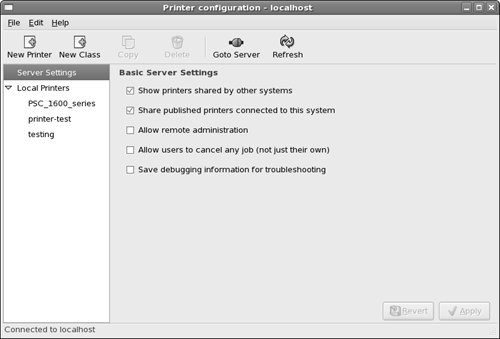
Fedora uses the Printer Configuration tool to add and manage all printers. If you are using a parallel printer cable, you have to manually add your printer in the Printer Configuration window. Here are the steps for doing this:
1. | Select System |
2. | Click the New Printer button.
The New Printer Wizard starts. You must assign the new printer a name that the server will use both on the local system and to advertise the printer on the network. You also have the option of defining a description and the location of the printer. In a network environment, the server advertises these items along with the printer name. This can help users find the right printer if you have more than one.
After you have finished typing in your entries, click the Forward button to move on to the next wizard window.
|
3. | Select the connection method. For a parallel ... |
Get Linux® For Dummies®, 8th Edition now with the O’Reilly learning platform.
O’Reilly members experience books, live events, courses curated by job role, and more from O’Reilly and nearly 200 top publishers.


