Implement the Classes of Currency Converter
The final step in building the Currency Converter application is to implement the classes you defined in the previous steps.
Generate the Source Files
Go to the Classes display of the nib file window.
Select the ConverterController class.
Choose Create Files from the Classes menu.
Verify that the checkboxes in the Create column next to the
.hand.mfiles are selected.Verify that the checkbox next to Currency Converter is selected.
Click the Choose button.
Repeat for the Converter class.
Save the nib file.
Now we leave Interface Builder for this application. You’ll complete the application using Project Builder.
Examine an Interface (Header) File in Project Builder
When Interface Builder adds the header and source files to the Currency Converter project, it tries to put them in the same group folder as other source files in the same disk folder. Since the newly created files are class implementations, move them to the Classes group if Interface Builder did not do so automatically.
Click Project Builder’s main window to activate it.
Select all four files in the Groups and Files list and drag them into the Classes group, as shown in Figure 7.23.
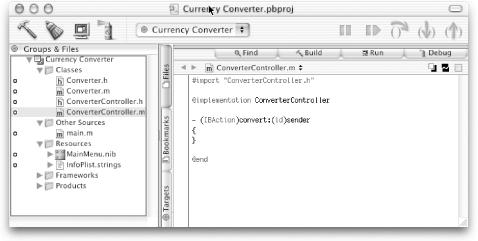
Figure 7-23. Adding the source files to the Classes group
Add a Method Declaration
You can add instance variables or method declarations to a header file generated by Interface Builder. This is commonly ...
Get Learning Cocoa now with the O’Reilly learning platform.
O’Reilly members experience books, live events, courses curated by job role, and more from O’Reilly and nearly 200 top publishers.

