ORGANIZING YOUR PROGRAM CODE
In example Ex8_12, you distributed the code among several files for the first time. Not only is this common practice with C++ applications generally, but with Windows programming it is essential. The sheer volume of code involved in even the simplest program necessitates dividing it into workable chunks.
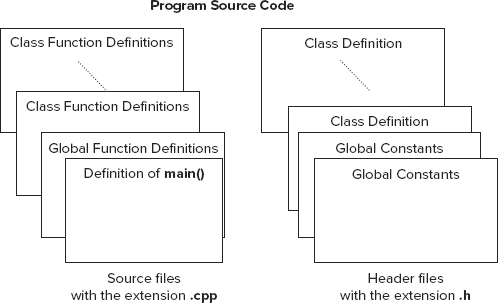
As I discussed in the previous section, there are basically two kinds of source code files in a C++ program, .h files and .cpp files. This is illustrated in Figure 8-12.
From time to time, you might want to use code from existing files in a new project. In this case, you only have to add the files to the project, which you can do by using the Project ⇒ Add Existing Item... menu option, or by right-clicking either Source Files or Header Files in the Solution Explorer tab and selecting Add ⇒ Existing Item... from the context menu to add the file to your project. You don’t need to add .h files to your project, although you can if you want them to be shown in the Solution Explorer pane immediately. The code from .h files will be added at the beginning of the .cpp files that require them as a result of the #include directives that you specify. You need #include directives for header files containing standard library functions and other standard definitions, as well as for your own header files. Visual C++ automatically keeps track of all these ...
Get Ivor Horton's Beginning Visual C++ 2012 now with the O’Reilly learning platform.
O’Reilly members experience books, live events, courses curated by job role, and more from O’Reilly and nearly 200 top publishers.

