Chapter 18
Creating Views That Scroll
The applications you have built in the previous lessons have one thing in common—all their content fits neatly into a single view the size of the device screen. Sometimes that is not the case, and when that happens you have two strategies to deal with the situation. You can either try to break up the content of your application and present it across multiple views using tab bars or navigation controllers, or you could still keep all the content in a single view but allow the user to scroll through the content of the view.
UIKit provides the UIScrollView class, specifically designed to help you create scrolling views. In this lesson you learn to use UIScrollView instances in your applications.
The UIScrollView class
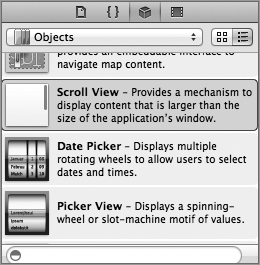
To create a UIScrollView instance using the Xcode Interface Builder, simply drag and drop a Scroll View object from the Object library onto a scene, and create an outlet using the assistant editor (Figure 18-1).
You can add one or more instances of UIView subclasses as subviews of the scroll view.
The collective dimensions of these subviews can be much larger than the dimensions of the scroll view itself (Figure 18-2).
The dimensions of the content managed by a scroll view can be read (or set) using the contentSize property. The contentSize property is a CGSize structure and contains two float members, height and ...
Get iPhone and iPad App 24-Hour Trainer now with the O’Reilly learning platform.
O’Reilly members experience books, live events, courses curated by job role, and more from O’Reilly and nearly 200 top publishers.

