
160 Implementing WebSphere BI Express for Item Synchronization
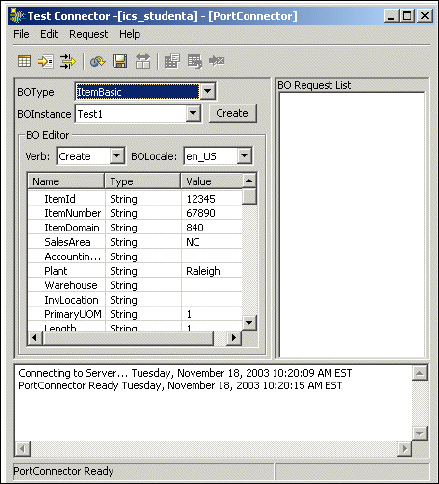
Figure 8-67 Sent business object
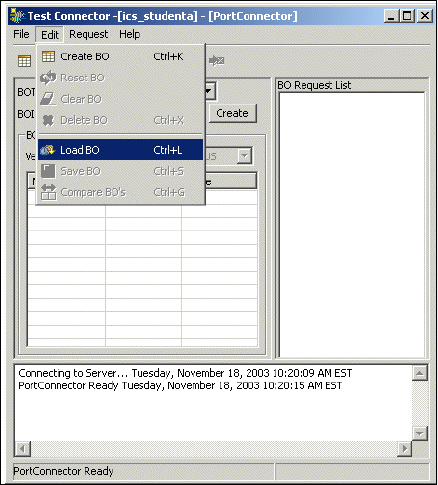
18.Wait to see a response from the server, as shown in Figure 8-67.
19.Check the InterChange Server log for any errors.
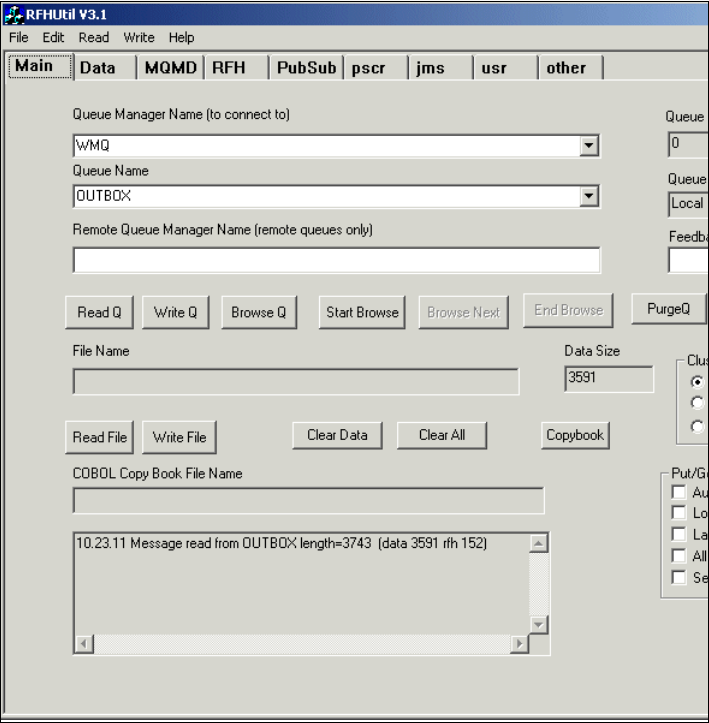
20.Verify that the message has gone to the iSoft OUTBOX queue. See
Figure 8-68 on page 161.
Note: We used RFHUTIL as the tool to check the contents of the queue
because it shows XML data in a friendly and readable format. This tool can be
found in the Additional Materials.

162 Implementing WebSphere BI Express for Item Synchronization
Figure 8-69 Message data
We have now completed the basic configuration for the collaborations. In the
next chapter, we move on to configuring the objects to link in our back-end
application to the solution.
Get Implementing WebSphere Business Integration Express for Item Synchronization now with the O’Reilly learning platform.
O’Reilly members experience books, live events, courses curated by job role, and more from O’Reilly and nearly 200 top publishers.

