Chapter 8. WebSphere BI Express configuration 153
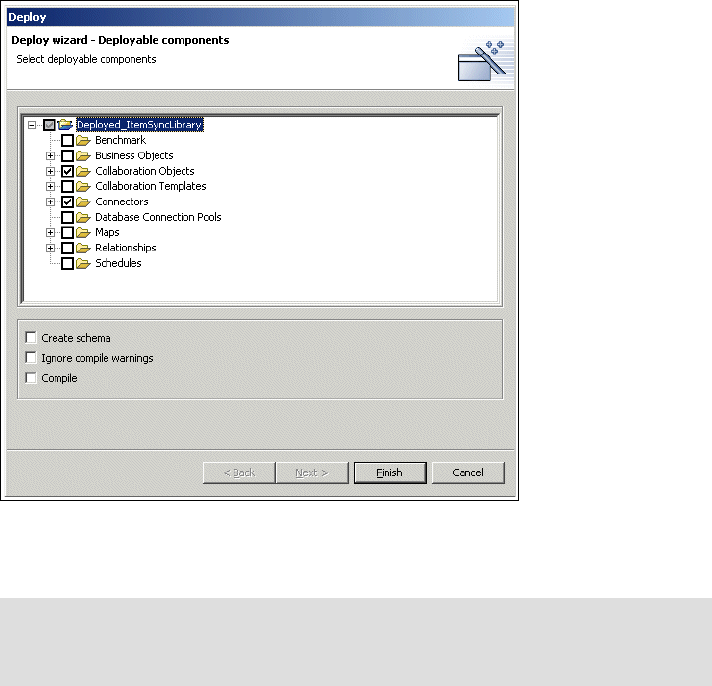
Figure 8-59 Deploy
18.Click Finish.
O
19.Once you have received a message indicating a successful deploy, shutdown
and restart the InterChange Server.
We have now completed the
basic configuration of the objects that are not
application-specific. The last thing we need to do is to verify the configuration we
have built using a series of Test Connectors and test data.
8.6 Unit Test
First we must populate the TRADING_PARTNER table that is used to fill values
for our GLN and partner IDs. Perform the following steps:
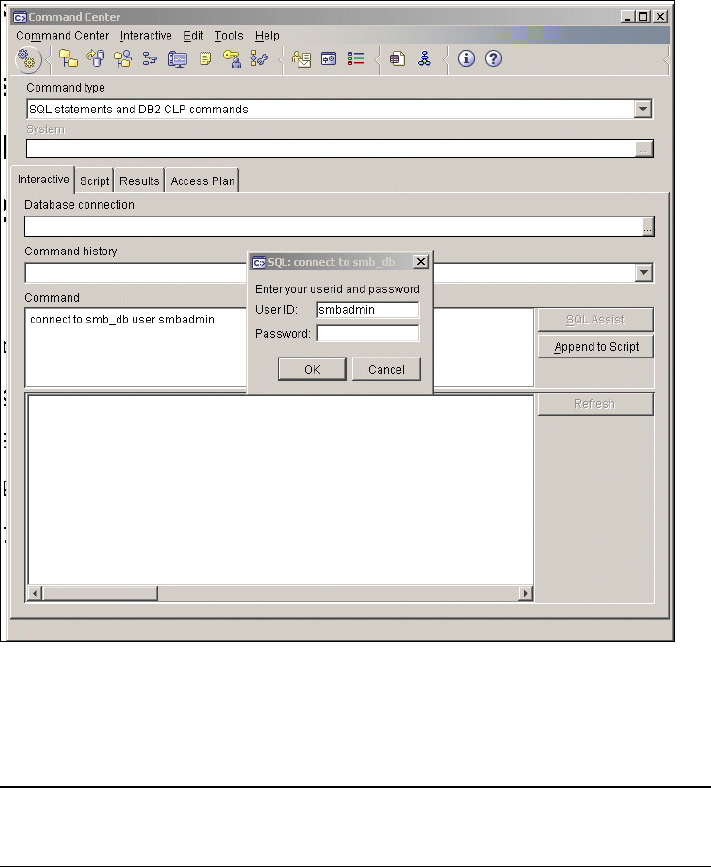
1. Open a DB2 command Window or Command Center session.
Note: You will notice here that you do not receive a message about
overwriting duplicate objects because the server has no prior knowledge of
these objects. They are new.
154 Implementing WebSphere BI Express for Item Synchronization
2. Connect to the smb_db database as smbadmin. See Figure 8-60.
Figure 8-60 Connect to database
3. Insert a row onto the TRADING_PARTNER table as follows, where GLN_CODE
is your UCCnet GLN. See Example 8-3.
Example 8-3 Populate trading partner table
insert into trading_partner
(GLN_CODE,TRADING_PARTNER_NAME,TRADING_PARTNER_CONTACT,TRADING_PARTNER_TYPE)
values('7789333002006', 'ITSOSUPPLY2', '918912760079', 'SOURCE')
4. Verify your results by checking the contents of the database.
5. Change the shortcut for the iSoft connector to point to your InterChange
server. (Remember that when the product was installed the default ICS name
was used in all of the shortcuts that were created.)
6. Start the iSoft Connector.

Chapter 8. WebSphere BI Express configuration 155
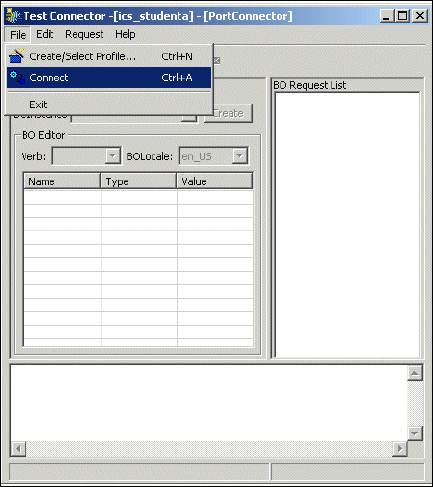
7. Start a Test Connector.
8. Create a new profile for the Port Connector. See Figure 8-61.
Figure 8-61 Create profile
9. Enter the details for the configuration file (the InterChange Server
configuration file when using a Port Connector) and the server. See
Figure 8-62.
Figure 8-62 Enter details
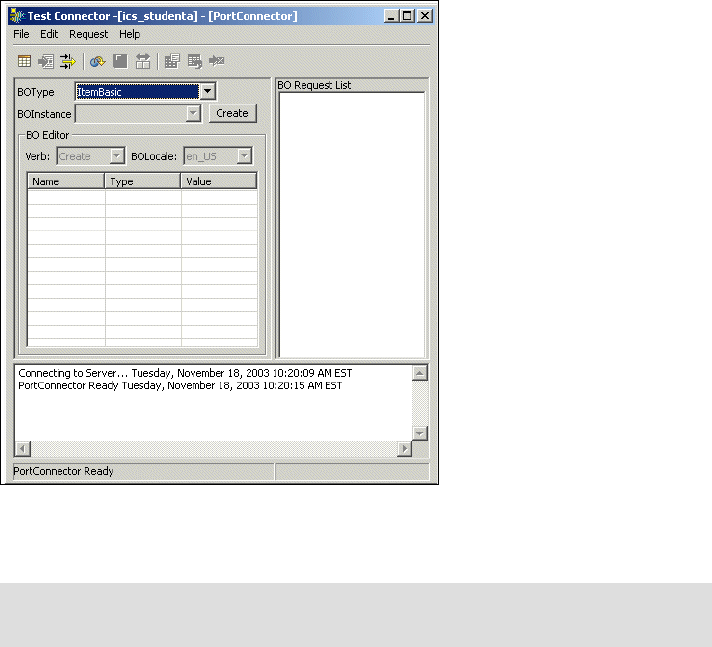
10.Connect to the server. See Figure 8-63 on page 156.
Get Implementing WebSphere Business Integration Express for Item Synchronization now with the O’Reilly learning platform.
O’Reilly members experience books, live events, courses curated by job role, and more from O’Reilly and nearly 200 top publishers.

