Chapter 7. WebSphere BI Express installation and verification 81
The installation of WebSphere BI Express is complete after your machine has
restarted. We will now move on to verify that the installation has completed
successfully.
7.7 Installation verification
We will now review the installed components and verify that all of the installation
and behind the scenes deployment has been successful.
19.Start the System Manager using the following path: IBM WebSphere
Business Integration Express for Item Sync
→ Toolset Express →
Administrative
→ System Manager.
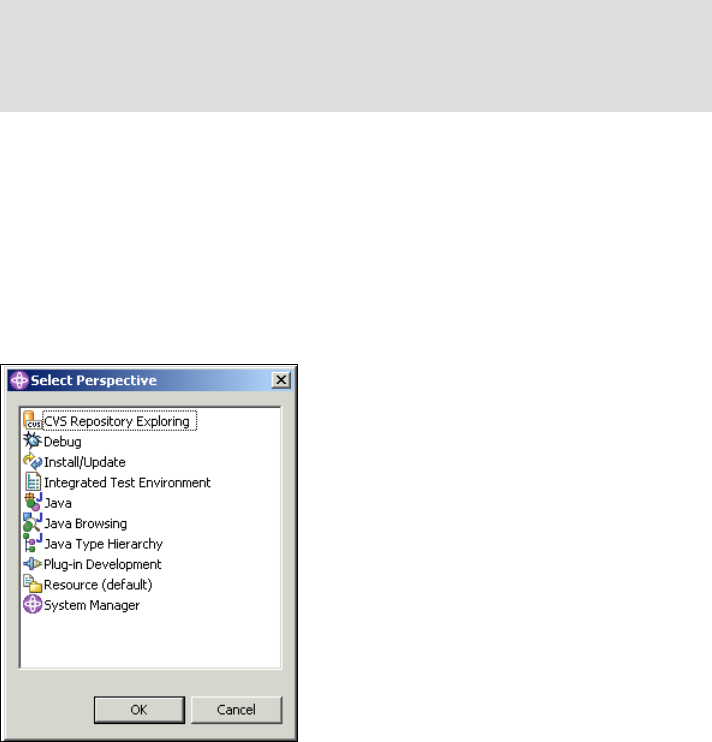
20.The Studio might open in the Resource perspective instead of the System
Manager perspective. If so, select Window
→ Open Perspective → Other
and select System Manager perspective from the presented list of available
perspectives. See Figure 7-14.
Figure 7-14 Open the System Manager perspective
Important: Before we continue, the userid smbadmin is created as part of the
installation of this product for all repository database accesses. Before
continuing, carefully check that this userid is part of the Windows
Administrators group and that there is no password expiry enabled.

82 Implementing WebSphere BI Express for Item Synchronization
7.7.1 Review initial start-up of the InterChange Server
Before starting the InterChange Server, we are going to review the log file that
was generated during the first start-up of the InterChange Server, which is done
under the covers during the installation of WebSphere BI Express.
1. Open an Explorer window and browse to the folder
C:\IBM\WebSphereItemSync.
2. Locate the file InterChangeSystem.log and open it in Notepad or WordPad.
3. Verify that the creation of the repository went well and that the ICS has
reached its
ready state without any major errors.
If you browse the log file, you will see that the name of the InterChange
Server that is started is WebSphereICS. You will also see the creation of all of
the repository tables and a number of deployment sessions for repository
objects.
4. Open the file deploy.log in the folder C:\IBM\WebSphereItemSync\bin and
confirm your findings.
The log file indicates that a number of relationships have been deployed. This
means that stored procedures are generated and deployed in DB2 and that
tables have been created.
5. Open the following folder:
C:\SQLLIB\FUNCTION\ROUTINE\ sqlproc\
SMB_DB\SMBADMIN
.
6. This should contain a number of C files, SQC files, DLLs, and log files. The
deployment of an ICS relationship results in the generation of the C and SQC
file and the compilation of a DLL.
7. Open a log file (in this folder) to verify that the compilation ran successfully. If
relationship deployment problems arise due to an incorrect set-up of Visual
C++, this log file is likely the only place where you are going to find
information about the failure.
8. Start the DB2 Control Center in the Start Programs folder General
Administration Tools and expand the tree structure on the left to locate the
stored procedures (shown in Figure 7-15 on page 83). Verify that the stored
procedures exist with the correct schema of SMBADMIN.
Important: If you need to run multiple InterChange Servers on the same
subnet, it will be necessary to change the name of the InterChange Server
prior to registering it because each ICS must have a unique name. We will
discuss this more as we go along.

Chapter 7. WebSphere BI Express installation and verification 83
Figure 7-15 Locate stored procedures
9. Switch to the folder Tables, as shown in Figure 7-16, and verify that tables
exist for the deployed stored procedures. You can right-click on these tables to
get a snapshot of the records in those tables. However those tables should be
empty at this time.
Figure 7-16 Locate tables associated with stored procedures
Get Implementing WebSphere Business Integration Express for Item Synchronization now with the O’Reilly learning platform.
O’Reilly members experience books, live events, courses curated by job role, and more from O’Reilly and nearly 200 top publishers.

