76 Implementing WebSphere BI Express for Item Synchronization
Figure 7-6 Welcome screen
10.When you see the Welcome screen, click Next to continue. See Figure 7-7.
Figure 7-7 Accept license agreement
11.Accept the license agreement and click Next to continue. See Figure 7-8 on
page 77.
Chapter 7. WebSphere BI Express installation and verification 77
Figure 7-8 Installation path
12.Select the type of installation required (Custom) and click Next to continue.
See Figure 7-9 on page 78.
78 Implementing WebSphere BI Express for Item Synchronization
Figure 7-9 Select custom installation
13.Select Custom and click Next to continue. See Figure 7-10.
Figure 7-10 Select required adapters
Chapter 7. WebSphere BI Express installation and verification 79
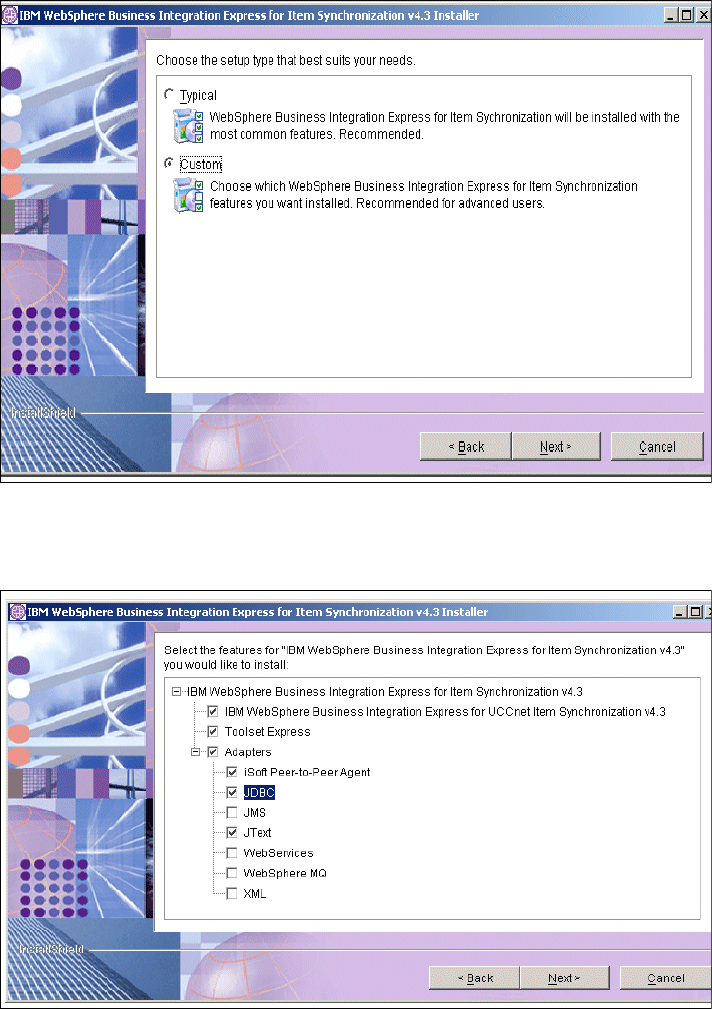
14.Select the Adapters required for your installation. We choose:
–iSoft
JDBC
JText
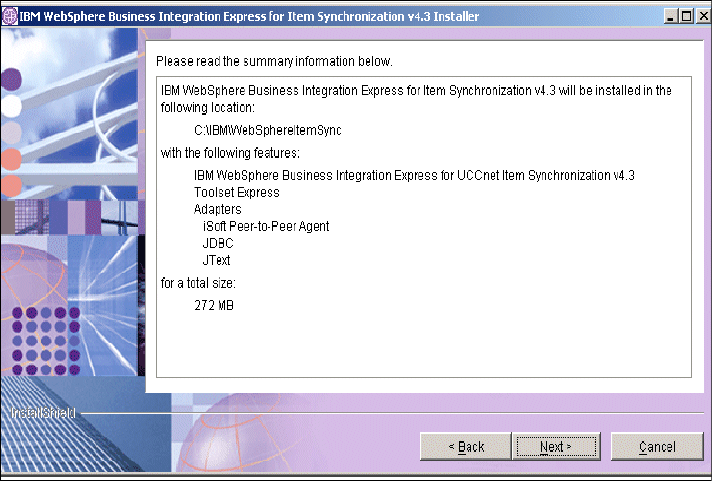
15.Click Next to continue and verify the selected components. See Figure 7-11.
Figure 7-11 Verify components
16.Verify the components for installation and click Next to continue.
This next stage may take a while because (1) the product is being installed
and (2) there are also InterChange Server Express deployments going on
under the covers. We check the outcome of these deployments as part of the
verification process. See Figure 7-12 on page 80.
80 Implementing WebSphere BI Express for Item Synchronization
Figure 7-12 Summary information
17.Read the summary information and click Next to continue. See Figure 7-13.
Figure 7-13 Restart your machine
18.Select Yes to restart the computer.

Get Implementing WebSphere Business Integration Express for Item Synchronization now with the O’Reilly learning platform.

O’Reilly members experience books, live events, courses curated by job role, and more from O’Reilly and nearly 200 top publishers.