181
Chapter 9, How to Build a Cubicle Intrusion Detection System
Hardware Assembly Instructions
I recommend using the BasicStamp2 SuperCarrier board, which has space
for a BasicStamp2 controller (as well as a prototyping space for additional
electronics). I used this board to save some time when I built my cube intru-
sion system, but you can also build the project on a blank printed circuit
board (PCB). The schematic diagrams at the end of this chapter show all
the components you’ll need.
Radio Shack makes an entry alert product that includes all the optics and
infrared light transmission/detection electronics. This product may be
substituted for the laser and photo-detector we’ll be installing in this hack.
The main advantages of using the Radio Shack box are that its optics are
prealigned and that you won’t have to assemble this part of the system.
You will spend a little more money, however; the entry alert costs more
than $60.
The laser module I used is a small component you can buy at Radio Shack.
If you want to use a pen-style laser pointer, you will need to devise your
own mounting system to hold it in place. DigiKey’s laser diode module
costs about the same as an inexpensive laser pointer pen. I chose the
DigiKey module as it is smaller and easier to work with.
The following instructions apply whether you choose to build everything
yourself (with or without a SuperCarrier board) or you use an entry alert.
1. Assemble the electronics
For this step you will need to gather the
BasicStamp2 controller, the SuperCarrier board,
and the electronic components listed in either
Exhibit A or B, depending on what kind of system
you’re building.
Solder components to the circuit board (laser-
based)
This step is applicable to those assembling the
laser-based system. If you are not using the
SuperCarrier board, you will need the small,
blank PCB.
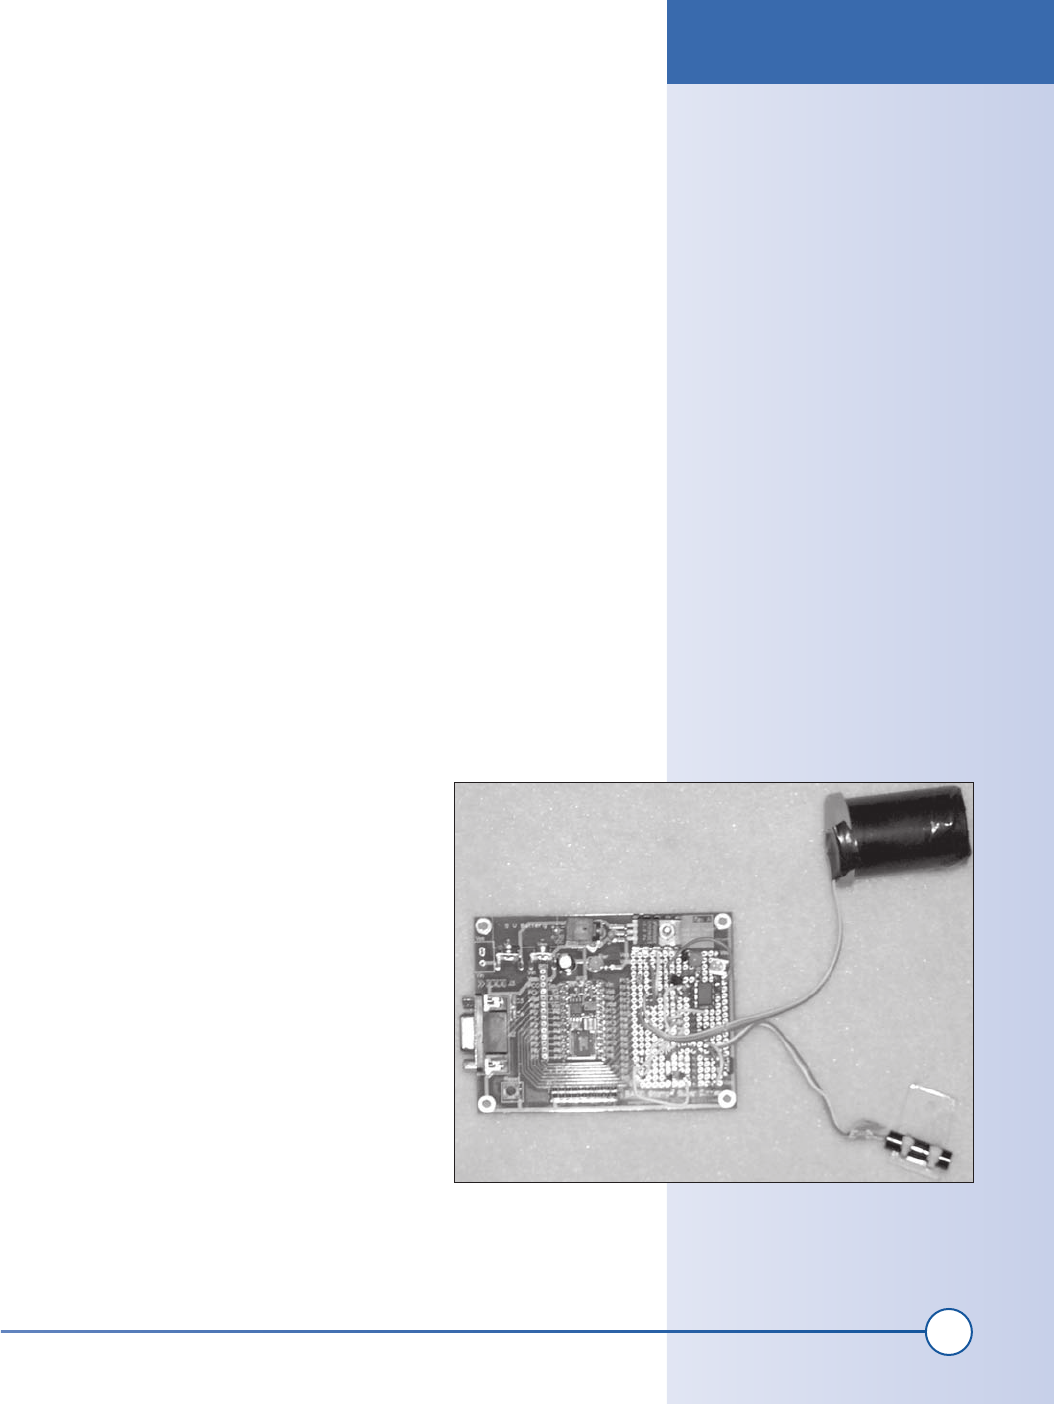
Mount the electronic components to the
SuperCarrier board prototyping area as specified
in Exhibit D. You can see a picture of the com-
pleted board in Figure 9-2.
When this task is completed, skip to Step 2.
Figure 9-2:
Controller board with components
Hardware Assembly Instructions
ch09_cube.indd 181
1/13/2002 4:14:33 PM
Get Hardware Hacking Projects for Geeks now with the O’Reilly learning platform.
O’Reilly members experience books, live events, courses curated by job role, and more from O’Reilly and nearly 200 top publishers.

