57
Chapter 4, How to Build a PC Water-Cooling System
board. Check this data against the lists of CPUs and
motherboards found on web sites such as http://www.
hardocp.com/ and the others listed at the end of this
chapter.
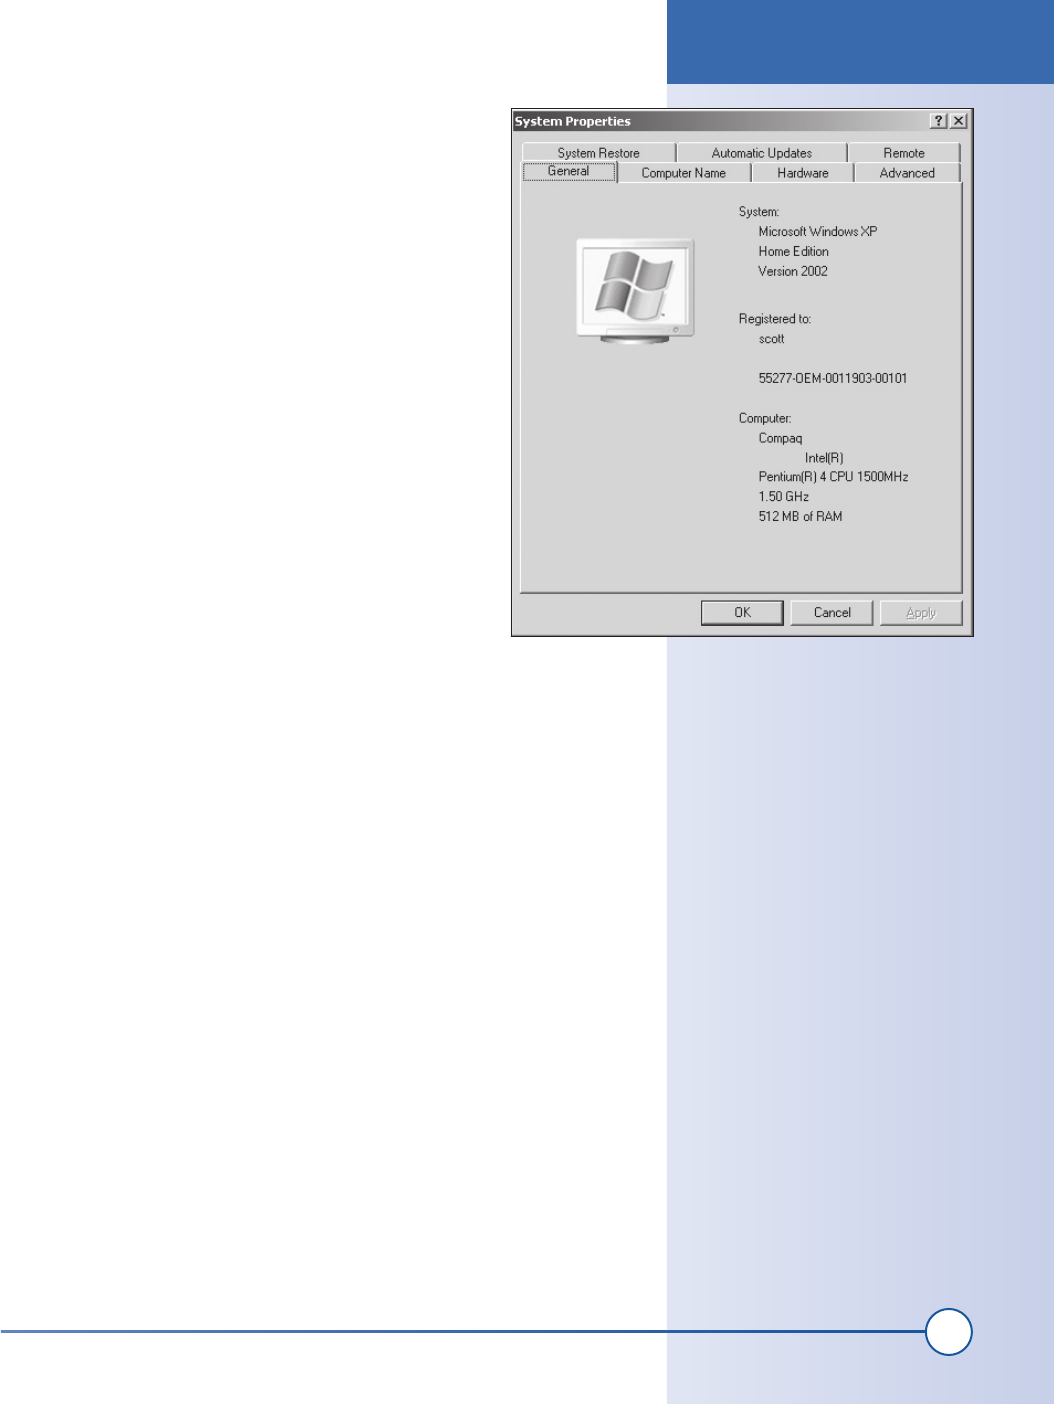
You can also check for overclocking compatibility by
restarting the PC into the BIOS screen. To do this, press
the F4 key just after the PC starts up. Look through the
various options for the one that lets you change the clock
speed. Most Pentium and AMD processors rated for
200MHz-plus installed in the motherboard and made in
the past four years can be overclocked. Search the forums
in the web sites listed at the end of this chapter for confir-
mation of your hardware.
Hardware Assembly Instructions
Follow these six steps to build your overclocked PC with
water-cooled processor.
1. Build the water block
The water block is a waterproof metal can connected to a water pump that is
attached to the CPU in your PC. Water is pumped through the water block,
which removes the excess heat from overclocking. You’ll then need to test
the water block for leaks and, finally, install it on top of the CPU and con-
nect the water piping.
This specific water block was designed with a few simple rules in mind:
the space inside of a PC is limited, so the system should easily fit; it should
cool an AMD or Pentium CPU; and it should be easy to secure the cooler
to the CPU.
In this step, you will construct a copper box that will be attached to the
CPU in your PC using cotton thread. This box will pull heat away from the
CPU and transfer it to the water that will flow through the box. You will
need a sheet of copper, a 75-watt soldering iron, the copper tubing, and
solder (see Exhibit A for more details on the parts you need).
Before you begin construction of the water block, look inside your PC and
locate the main processor. Look at the space around and above it. Make
sure that you have 1 to 2 centimeters of space around it for both the water
block and water tubing. You may need to modify the design presented here
to accommodate your specific motherboard and CPU if you do not have
this extra space. There are seven tasks you need to complete to build the
water block.
Figure 4-1: Processor operating speed
Hardware Assembly Instructions
ch04_cooler.indd 57
1/21/2002 12:26:13 PM
58
Part I: Basic Hacks, Tools, and Techniques
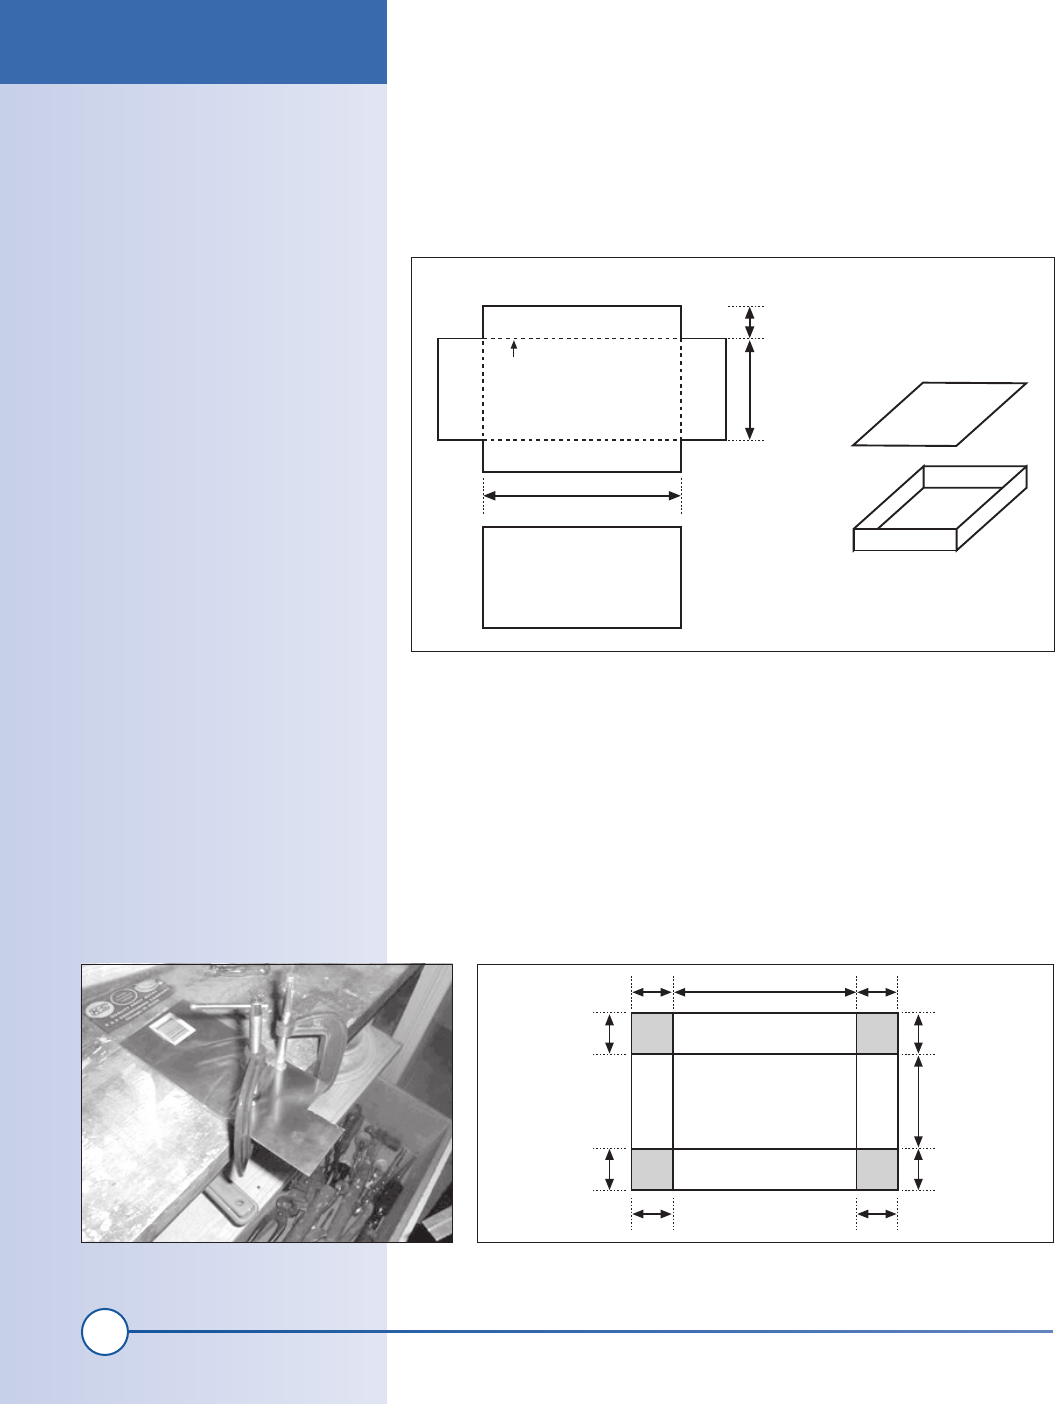
Task 1: Cut out the box parts from the metal sheet
Obtain a sheet of copper with the dimensions noted in the Bill of Materials.
You should be able to purchase the material from a local hobby shop or
online (http://www.onlinemetals.com/). Draw the design shown in Figure
4-2 onto the sheet.
Place the copper sheet into a bench vise and cut out the design using the
hacksaw. The photo in Figure 4-3 shows the metal sheet being held in place.
The best way to cut the pattern is to first cut out a rectangle of the overall
outline. You’ll cut out the corners in the next task.
Next, the copper has to be cut into shape. Begin by cutting the outline of the
box shown in Figure 4-4; then, cut out the shaded corner areas.
The cutting process will be easier if you hold the piece to be cut off with a
set of pliers while you use a saw to make the cut. See Figure 4-5.
Main block
Net diagram
9mm
27mm
Lid
46mm
Fold
3D image
Figure 4-2: Metal sheet cutting pattern
Figure 4-3: Secure the metal sheet
9mm
9mm 9mm
9mm
9mm
27mm
9mm
9mm
9mm46mm
Figure 4-4: Metal sheet cutting area
Hardware Assembly Instructions
ch04_cooler.indd 58
1/21/2002 12:26:20 PM
Get Hardware Hacking Projects for Geeks now with the O’Reilly learning platform.
O’Reilly members experience books, live events, courses curated by job role, and more from O’Reilly and nearly 200 top publishers.

