
26
Part I: Basic Hacks, Tools, and Techniques
Project Overview
To create your Macquarium, you’ll first take apart the Mac and remove the
electronics. You’ll then prepare the case, removing parts that would inter-
fere with the fish tank and grinding down parts that would scrape it. You’ll
build the tank, using Plexiglas that you buy at your local hardware store.
Finally, you’ll assemble the tank, place it inside the Mac case, and populate
it with your fish.
Hardware Assembly Instructions
The following steps walk you through the construction of your
Macquarium.
1. Disassemble the Mac
The first thing you need to do is to carefully take apart your Mac.
Remove all switches and screws
Begin by prying off the sliding programmer’s switch with a screwdriver, as
shown in Figure 2-1. (Keep in mind that not all Macs are equipped with
this switch.) Save the programmer’s switch, as it will be put back on later.
Mac SEs have a different switch that pries up from the bottom side. The
Mac Classics switch is part of the case and does not come off, so you will
leave it in place.
Now remove the battery door and the Torx screw behind it, as shown in
Figure 2-2. (Mac SEs and Classics do not have a battery door, so there is
nothing to remove here.) Save the battery door for later reattachment. Torx
screws have six-pointed star-shaped sockets that require a special screw-
driver, which can be purchased at DigiKey or perhaps a local hardware
store.
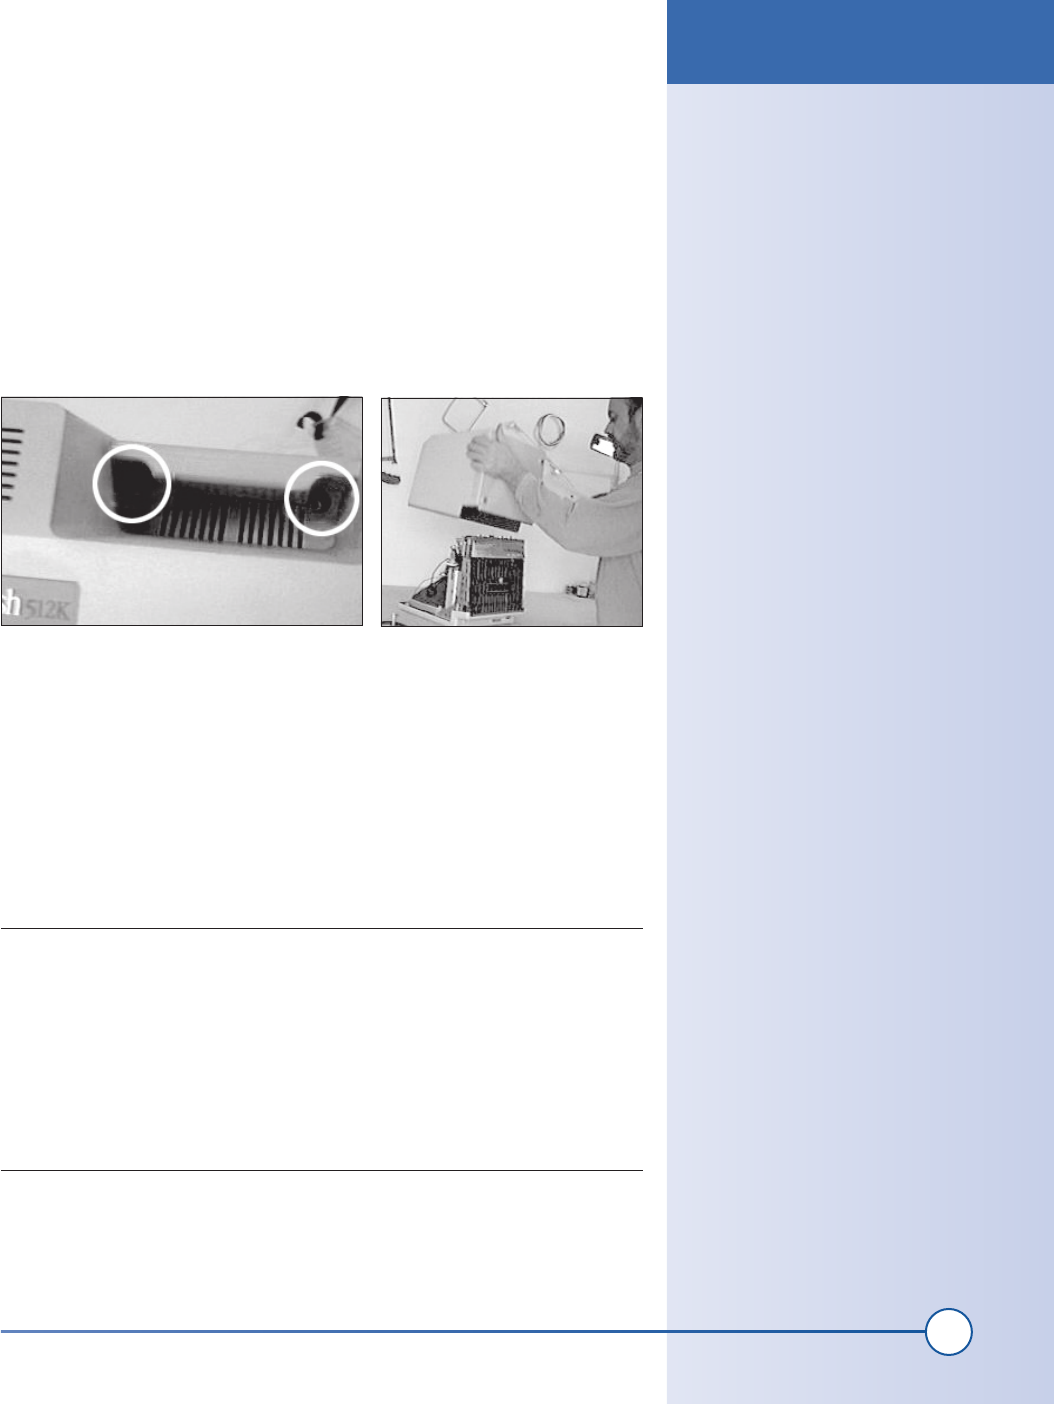
Look at the back side of the case and remove two Torx screws from the bot-
tom. You can see their location circled in Figure 2-3.
Figure 2-1: Power switch
Figure 2-3: Bottom Torx screws
Figure 2-2: Battery door
Currently, a Mac SE can be purchased
on eBay for less than $20.
Project Overview
ch02_aquarium.indd 26
1/13/2002 2:19:20 PM
27
Chapter 2, How to Build an Aquarium Inside a Macintosh
(On older Macs, you will notice the “Hyperdrive” sticker on the back.
This was one of the first internal hard drives for the Mac, with a cable that
clipped directly to the processor. It was very cool at the time, but quite
expensive.)
Look inside the carrying handle and remove the two Torx screws located
deep inside. Their location is circled in Figure 2-4.
Remove the back case. You can do this by laying the Mac on its face and
gently slapping the back. Position your hands on opposite corners of the
case and slap the sides of the case while pulling upward (see Figure 2-5). If
this doesn’t work the first time, try again and slap harder.
If this doesn’t work, you may need a special tool to crack the case. Try ask-
ing an Apple service provider or a repair shop employee. A thin-bladed putty
knife may also work, but don’t use a screwdriver; its blade is too narrow and
will mark up the edges of the case.
Remove all internal connectors
It’s now time to get your hands inside the case. Be sure to carefully follow
these instructions.
WARNING
There can be high voltages present inside the Mac. These voltages can be danger-
ous and may be present even on machines that have been turned off for some
time. Exercise caution when working on the inside by keeping one hand behind
your back when doing so. If both of your hands happen to touch high-voltage
parts of the circuit, the high-voltage electricity could flow from one hand to the
other across your chest. This high voltage could be enough to stop your heart.
Inside the old Macs, you will find the high voltages on the anode cap that touches
the picture tube.
Figure 2-5: Slide off back case
Figure 2-4: Handle Torx screws
Hardware Assembly Instructions
ch02_aquarium.indd 27
1/13/2002 2:19:20 PM
Get Hardware Hacking Projects for Geeks now with the O’Reilly learning platform.
O’Reilly members experience books, live events, courses curated by job role, and more from O’Reilly and nearly 200 top publishers.

