224
Part II: Advanced Hacks, Tools, and Techniques
Begin by opening up a sample file, and place a bunch of known characters
for each port. Run the KE72LOAD.EXE program and open Notepad. Now
just start pressing keys, and write down what you see on the screen for all
the Player 1 and/or 2 and MISC buttons. Once you’ve completed this step,
it is a simple matter to track down which character you assigned to which
port and to begin replacing that character with the MAME characters. If
you like, you can trace all the wiring back into the ribbon cable and all the
way down, but this can be tedious and error-prone. When you press the
keys and observe the results, you’re guaranteed to know which
port connects to what.
Once you’ve programmed all the keys, spend some time check-
ing out a few games and playing around with the config file.
It’s probably a good idea to go into the TAB configuration in
MAME and set up all the files (even if you basically use all the
same keys) for the General Control. For example, in games
that use two joysticks for one player control, like BattleZone
and Bezerk, MAME doesn’t use the Player 2 joystick as the
Player 1’s right joy. So go into the General Control and change
it so that all two-joystick games will be set up this way. Also,
MAME doesn’t have Player 2 buttons 5 to 10 assigned to any
keys. This can be fixed here also. Once you’ve completed this,
all of these games should play well by using the Player 1 joy as
the left control and the Player 2 joy as the right.
If you want more of an authentic feel, you can mount a button
on the front door for the “Game Start” signal.
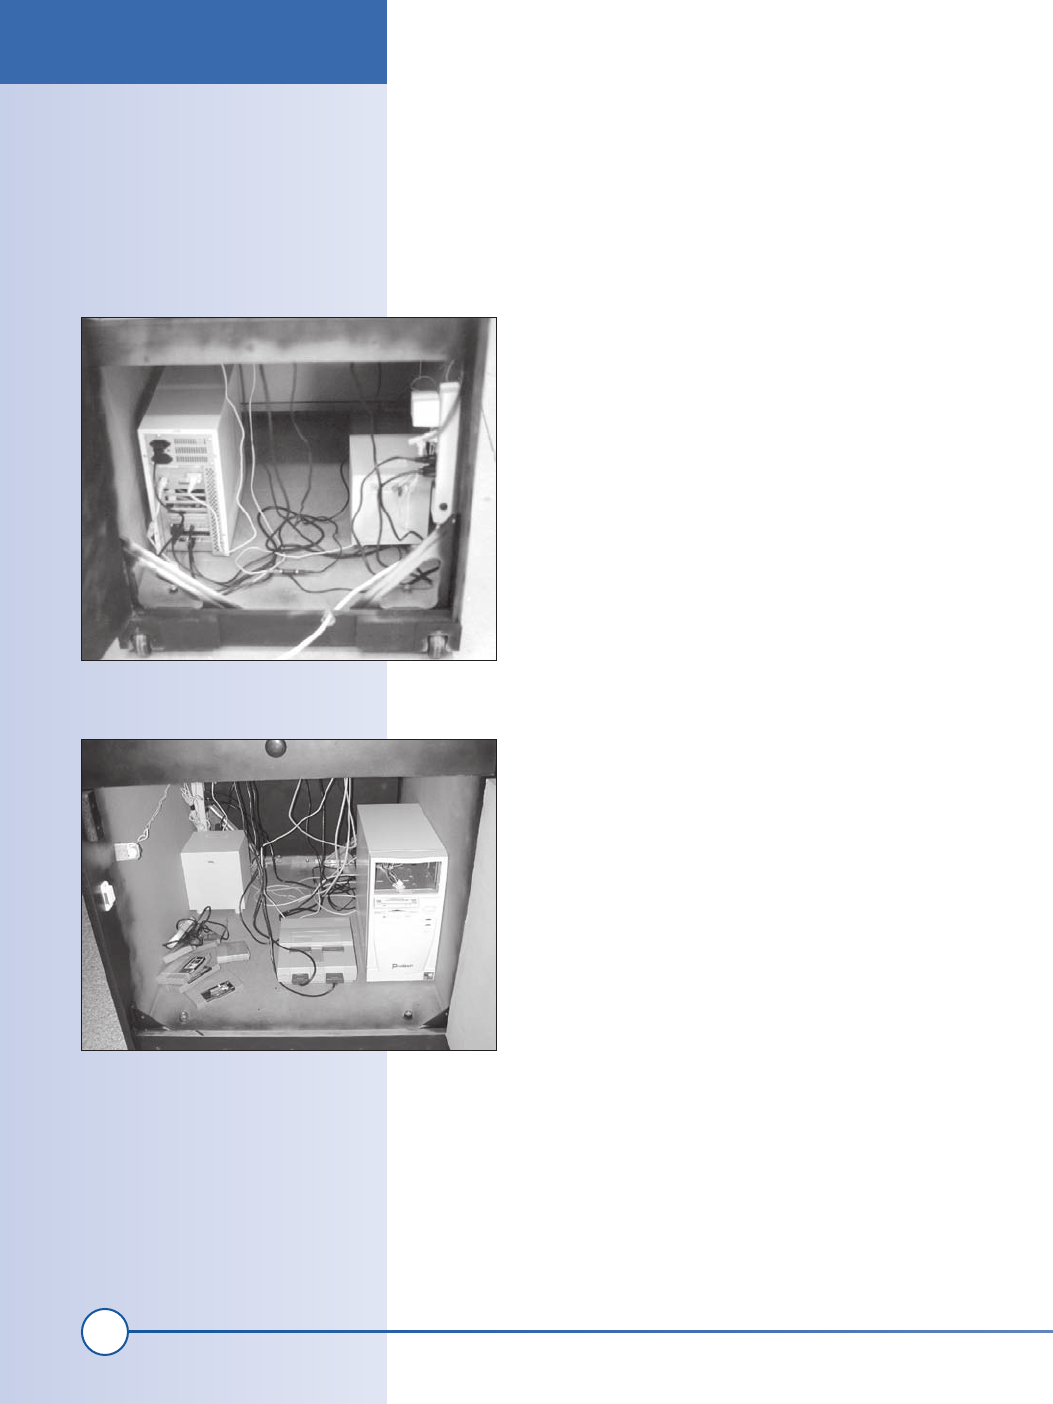
5. Install the monitor and PC
The monitor should slide into the shelf with the holding blocks
you built previously. The PC case should fit into the space
under the control panel; the door you built will allow easy
access to it. See Figure 11-15. The cabinet should have plenty
of room for your other video game systems as well.
After you have installed and tested out the PC, close up the
doors and you are ready to go. The interior will look something
like Figure 11-16.
Troubleshooting
If you find that the keyboard wiring is not working, there are some things to
try. Carefully inspect the ground wires. Make sure all of your connections
look good. Next, use a multi-meter set to measure resistance. Check that
each of the signals from the encoder board goes to the switch you think it
does. Inspect each solder and crimp connection.
Figure 11-16: Front view of PC
Figure 11-15: Back view of PC
Troubleshooting
ch11_arcade.indd 224
1/22/2002 4:40:38 PM
Get Hardware Hacking Projects for Geeks now with the O’Reilly learning platform.
O’Reilly members experience books, live events, courses curated by job role, and more from O’Reilly and nearly 200 top publishers.

