Before we get started, we should check that our board isn’t dead on arrival.
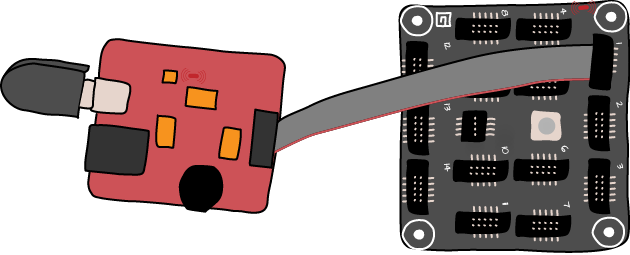
Identify the Mainboard, the “USB Client DP” module, and the USB lead (shown in Figure 1-3). Attach one end of a lead to the connector on the USB Client DP module and the other into the connector labelled “1” on the Mainboard. Note that the connectors have a little notch in one side so that they will connect only one way around.
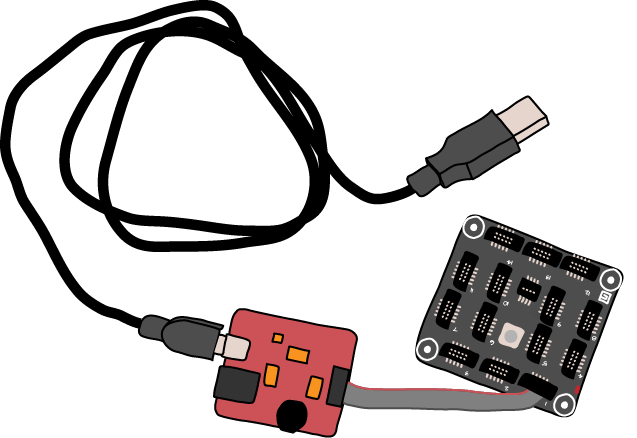
The USB Client DP module serves to supply power to the Mainboard and hence any other components attached to it. It also attaches the Mainboard to your computer via a USB lead so that programs can be loaded onto it.
If you plug the USB lead into your computer, you should see that LEDs light on both the Power and Mainboards (see Figure 1-4).
For the time being, ignore any messages about drivers coming from your computer; we will come to that in the next section.
Get Getting Started with .NET Gadgeteer now with the O’Reilly learning platform.
O’Reilly members experience books, live events, courses curated by job role, and more from O’Reilly and nearly 200 top publishers.

