
47
Drawing with a brush is so expressive, and it opens
an entirely new toolbox of possible marks. I have
completed this adventure using a bottle of India ink,
a rich and fluid medium that can be purchased quite
cheaply in a single bottle. India ink does stain, so take
particular care to roll up your sleeves and protect your
work surface.
If you don’t have any India ink, then you could
substitute:
O
Watercolors
O
Bottled writing ink
O
Kids' poster paints
O
Cup of cold, strong, black tea or coffee
You will also need a paintbrush. I used a size 4 round
watercolor brush for all the marks you see in this
chapter. Please ignore the cheap sets and just buy
one good brush (4 or similar size), taking care to wash
it carefully, reshape it with your fingers, and allow it to
air dry after each use.
We have already covered many of the techniques
referenced in this chapter using a pencil, but it’s
fascinating to see how different these effects can
look when created with a brush. Many artists prefer
the lyrical nature of drawing with a brush, and it is
definitely a very different physical experience from
the drag of graphite across the page.
Hello Brush
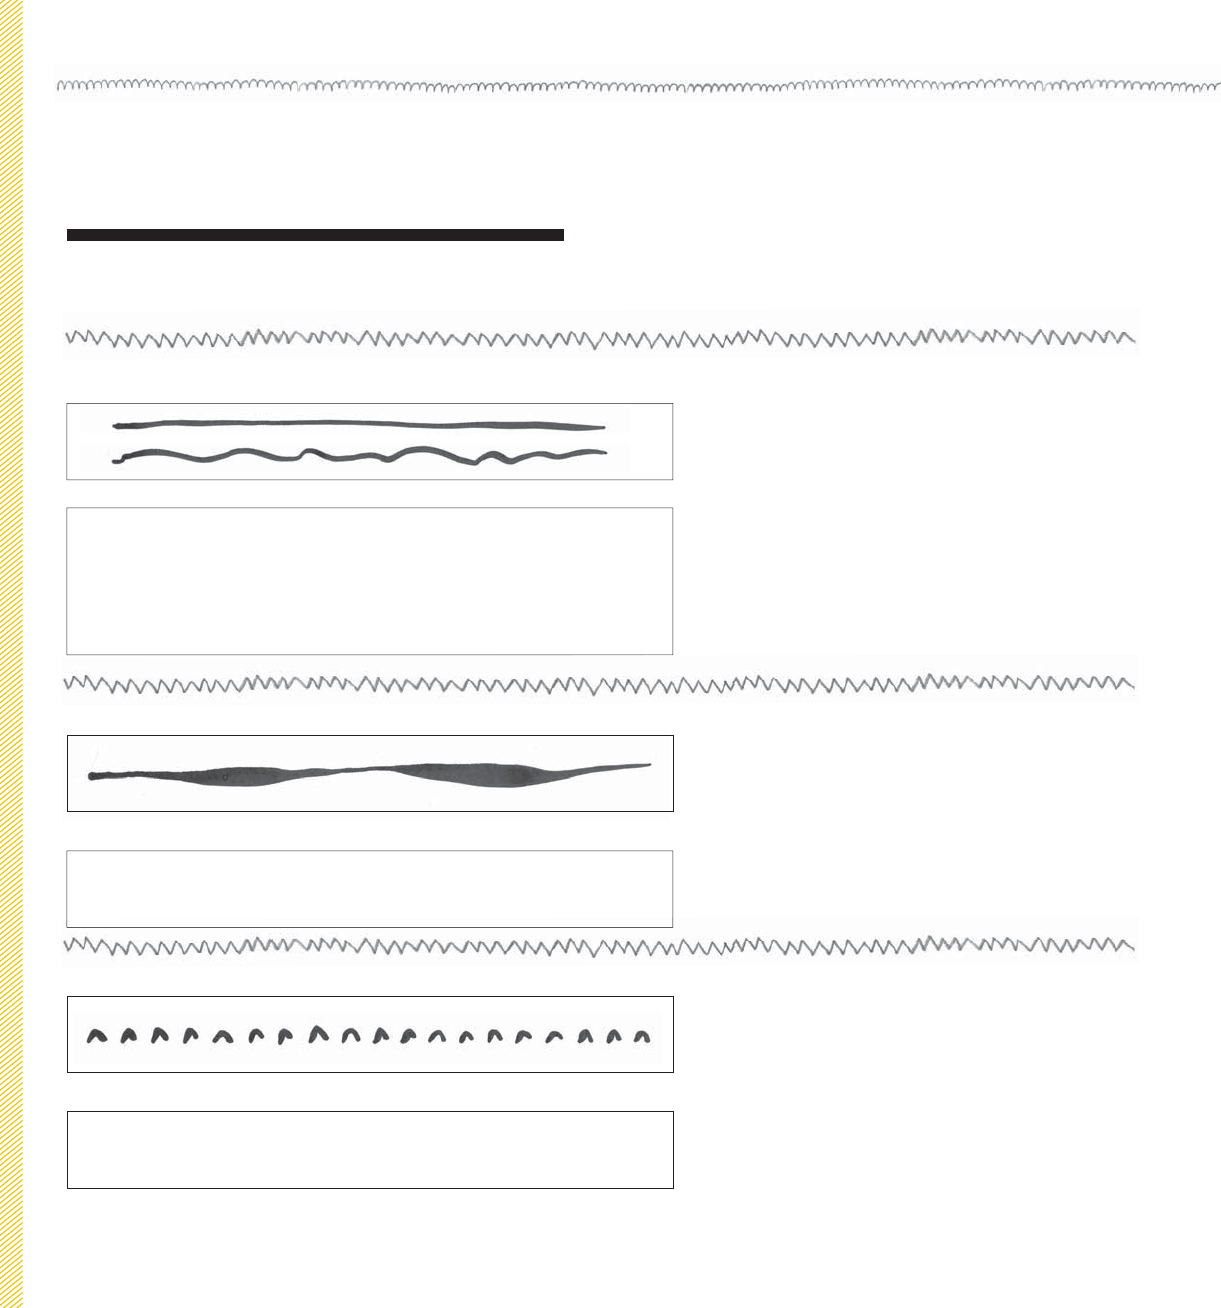
To draw a thin line, hold your brush vertically and
apply very little pressure, then increase pressure by
pressing down to create a thicker line. Adjust the
pressure over the course of the stroke to create a
line of variable thickness.
Create a curved mark by guiding the brush with
a small, semicircular movement of your wrist.
Let’s start out with a simple exercise of drawing
lines, making them straight, wavy, fast, and
slow. Draw as many different lines as you like,
taking time to really explore the feel of the
brush on the page.
PRACTICE BRUSH MARKS
The marks you make with your brush are more variable than those you can make with a pencil.
48 > Fearless Drawing
Mine:
Mine:
Mine:
Yours:
Yours:
Yours:
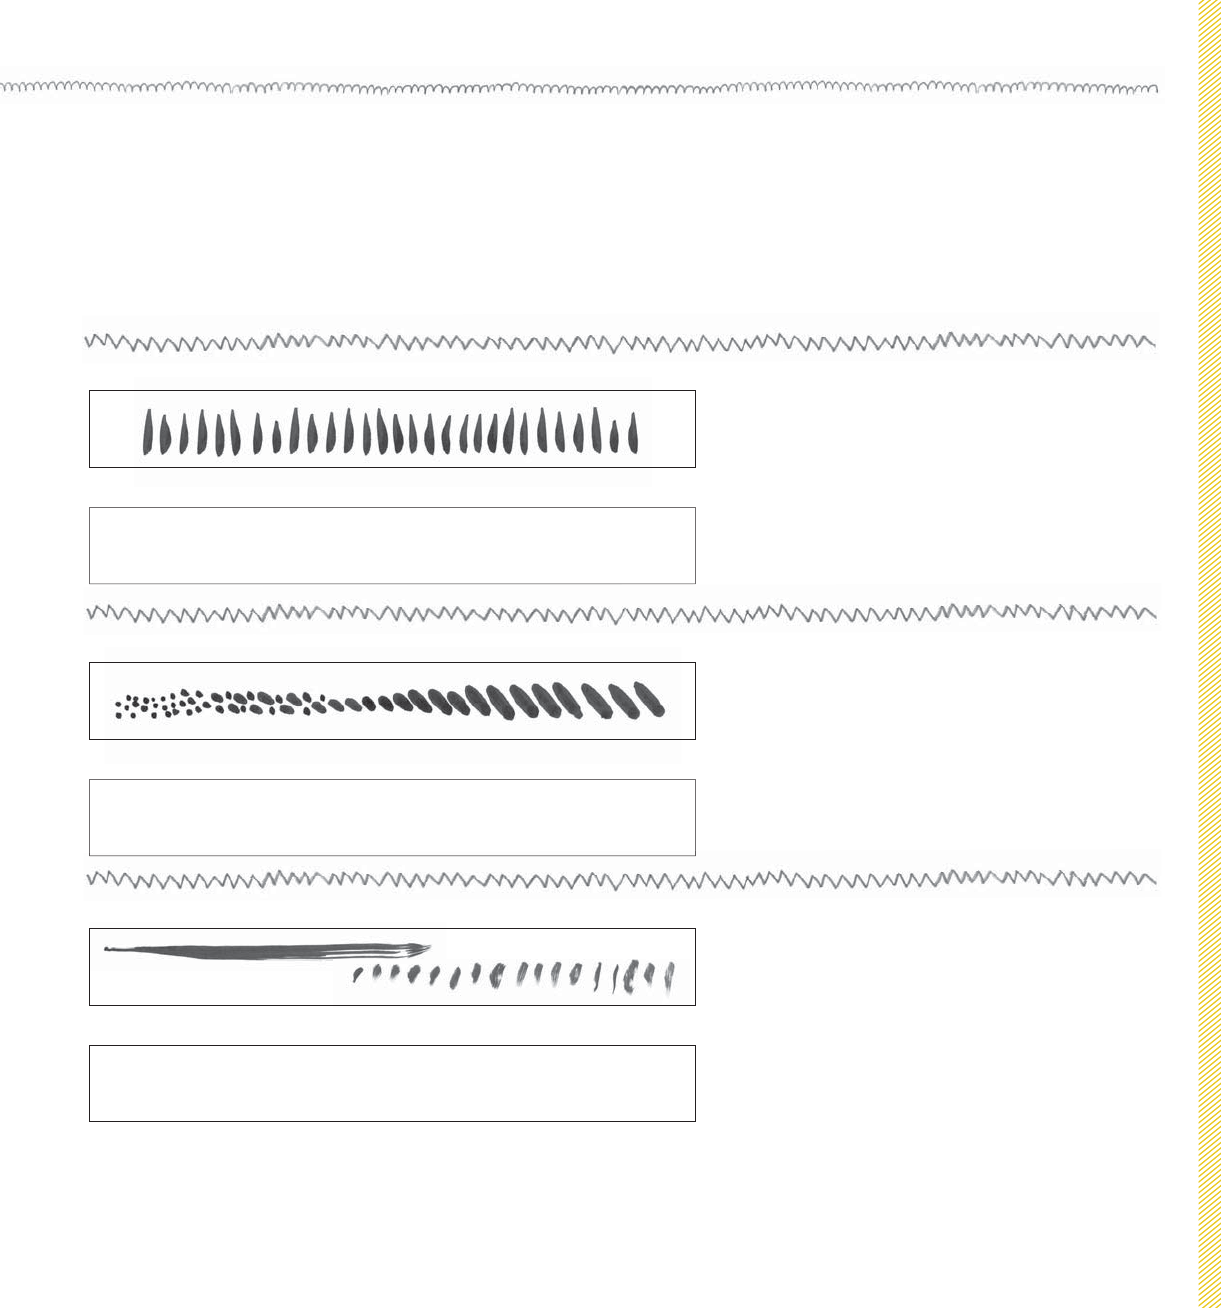
Create a flamelike flick by touching the point of
the brush to the paper and flipping your wrist
upwards.
Make a small dot by holding your brush
vertically and allowing just the very tip of the
bristles to touch the surface of the paper. To
create larger dabs, apply more pressure and
alter the angle of your brush.
When you’ve applied most of the paint to the
page and the brush is nearly dry, you will see
how the brush applies the paint in a scratchier
texture; this is called a dry brush mark.
Hello Brush > 49
Mine:
Mine:
Mine:
Yours:
Yours:
Yours:
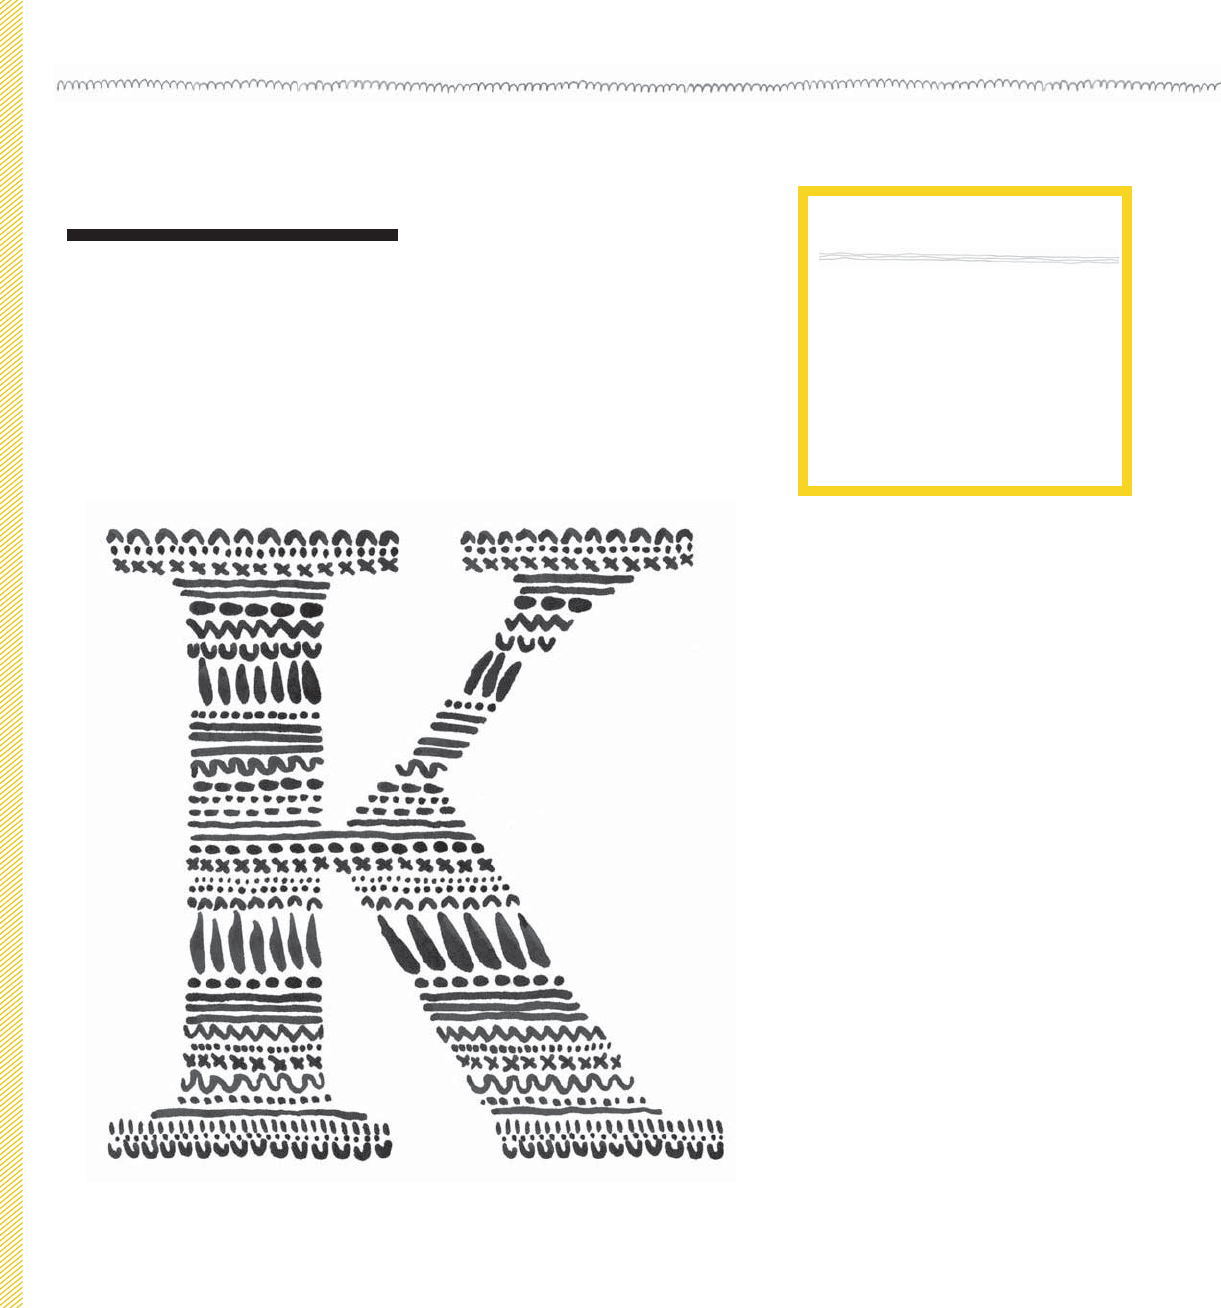
TIPS
You can lightly sketch the outline of the letter in
pencil first if you’d like, and then erase it once
you’ve finished (and it’s dried!).
I created regular lines of pattern to build up my
initial, but feel free to adopt a more spontaneous
approach, filling the area with explorative shapes
and marks for a different effect.
PAINTED INITIAL
In this practice exercise, I’ve used many of the brush strokes we’ve just tried
to paint my first initial. Paint your initial on page 51, practicing the brush
strokes we’ve just learned and inventing more of your own.
50 > Fearless Drawing
Continue to play with mark making using your brush. If you really enjoy this technique, collect a few more brushes for further
experimentation. I have a few travel paintbrushes of various sizes that I like to use whenever I’m out of the studio. Travel brushes are
great because they are designed to allow the delicate bristles to fold inside the body of the brush, protecting them while they’re
in my bag. I also have a paintbrush where the body of the brush is plastic and can be filled with water or ink (I usually fill mine with
coffee!). Then you’re able to paint simply by gently squeezing the body of the brush to release the liquid. I find these fantastic when
I’m out and about as they allow me to paint easily without too much additional equipment.
Hello Brush > 51
Get Fearless Drawing now with the O’Reilly learning platform.
O’Reilly members experience books, live events, courses curated by job role, and more from O’Reilly and nearly 200 top publishers.

