Adding Images
If you were writing out the HTML instructions for your web page by hand, you’d insert
an image into a web page using the image tag: <img>. For example, the HTML snippet <img
src="images/george.jpg"> tells a browser to display a graphic file named
george.jpg, which you can find in the
images folder. (An image tag’s primary property is called the
source [src] property; it indicates the URL or path to the graphics
file.)
Dreamweaver automatically does all the necessary coding for you when you insert a picture into your fledgling web page. Here are the steps:
Save the web page that will include the image.
To insert an image, Dreamweaver has to know where to find it, which could be anywhere on your hard drive. As with links, saving the page before you proceed lets Dreamweaver correctly determine the path from the page you just saved to the image.
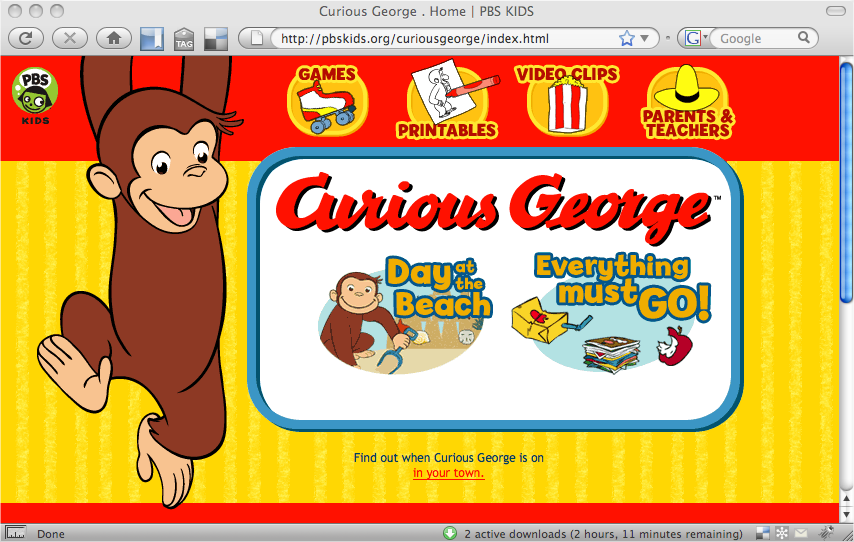
Figure 6-1. Some websites rely almost exclusively on graphics for both looks and function. The home page for the Curious George website at http://pbskids.org, for instance, uses graphics not just for pictures of the main character, but also for the page’s background and navigation buttons.
In the document window, click the place where you want to insert the image.
You can choose anywhere within a paragraph, a cell in a table (see Chapter 7), or a <div> tag (see The Insert Div Tag Tool). To set a graphic apart from other text, press Enter ...
Get Dreamweaver CS5: The Missing Manual now with the O’Reilly learning platform.
O’Reilly members experience books, live events, courses curated by job role, and more from O’Reilly and nearly 200 top publishers.

