Chapter 5. Working with Images
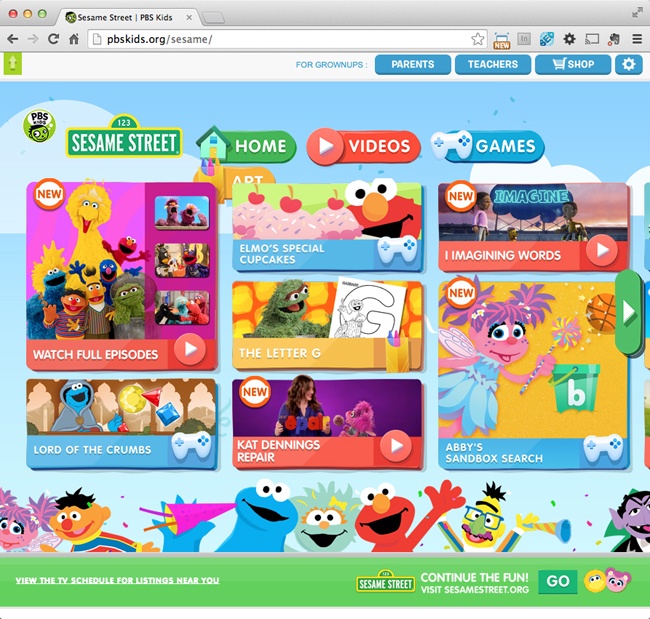
Nobody believes that a picture is worth a thousand words more than today’s web designers, as evidenced by the highly visual nature of the Internet. In fact, it’s not difficult to stumble onto a home page composed almost entirely of graphics, as you can see in Figure 5-1.
Even if you don’t want to go that far, understanding how to effectively use graphics on a web page is invaluable. Whether you want to plop a simple photo onto your page, cover it with clickable “hotspots,” or design an interactive set of buttons that light up when a cursor passes over them, Dreamweaver makes the job easy.
Adding Images
If you were writing out the HTML instructions for your web page by hand, you’d insert an image using the image tag: <img>. For example, this HTML snippet:
<img src="images/george.jpg">
tells a browser to display a graphic file named george.jpg, which it can find in the Images folder. An image tag’s primary property is the source of the picture, written in HTML as src. In the example above, the portion inside the quotes is the path to the source, which web browsers use to find the image.
Get Dreamweaver CC: The Missing Manual, 2nd Edition now with the O’Reilly learning platform.
O’Reilly members experience books, live events, courses curated by job role, and more from O’Reilly and nearly 200 top publishers.

