Chapter 21. Formatting
Custom Slicer Formatting
At this point you should be sold on the concept of business intelligence in Microsoft Excel. The one hang-up you may have is that the solution still looks like Excel. If we’re going to publish this to our SharePoint site and share this with our department or maybe the whole company we want to make it look good. No problem.
Just like PivotTables have an Options ribbon, you’ll find that when you select your slicer, an Options ribbon for slicers appears as well.
In Figure 21-1, you can see that we can select from a variety of slicer styles that ship with Office. These are great for differentiating related groups of filters. For example we may use Purple for our location-based filtering and Red for our Product Line–based filtering to visually group together our filters.
Select New Slicer Style at the bottom of the Slicer Style menu to launch a new dialog where you can custom-define the look and feel for your slicers.
The Modify Slicer Quick Style dialog is shown in Figure 21-2. This dialog enables you to provide a name for your custom slicer style and launch the Format Slicer Element dialog for each slicer. The Slicer Elements shown in bold have already had formatting set on them. To apply custom formatting to an element, select the element and click Format.
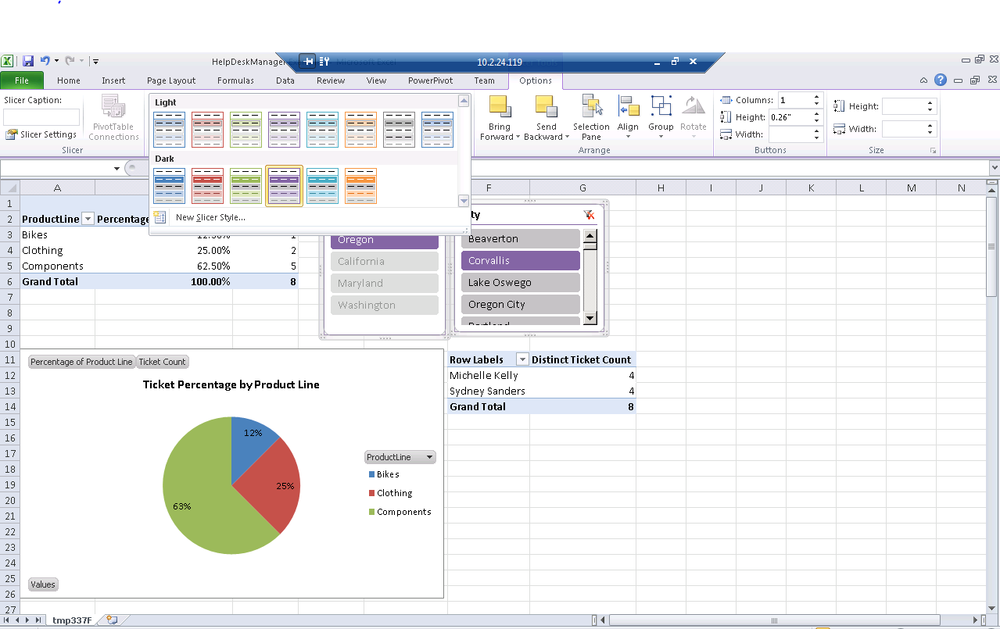
Figure 21-1. Slicer Style menu on PivotTable Options ribbon
Figure 21-2. Modify slicer ...
Get Developing Business Intelligence Apps for SharePoint now with the O’Reilly learning platform.
O’Reilly members experience books, live events, courses curated by job role, and more from O’Reilly and nearly 200 top publishers.

