Creating Your First Project with Xcode
Xcode is designed around a single window. Each of your projects will have one window, which adapts to show what you’re working on.
To start exploring Xcode, you’ll first need to create a project by following these steps:
-
Launch Xcode. You can find it by opening Spotlight (by pressing ⌘-space bar) and typing
Xcode. You can also find it by opening the Finder, going to your hard drive, and opening the Applications directory. If you had any projects open previously, Xcode will open them for you. Otherwise, the Welcome to Xcode screen appears (see Figure 1-1).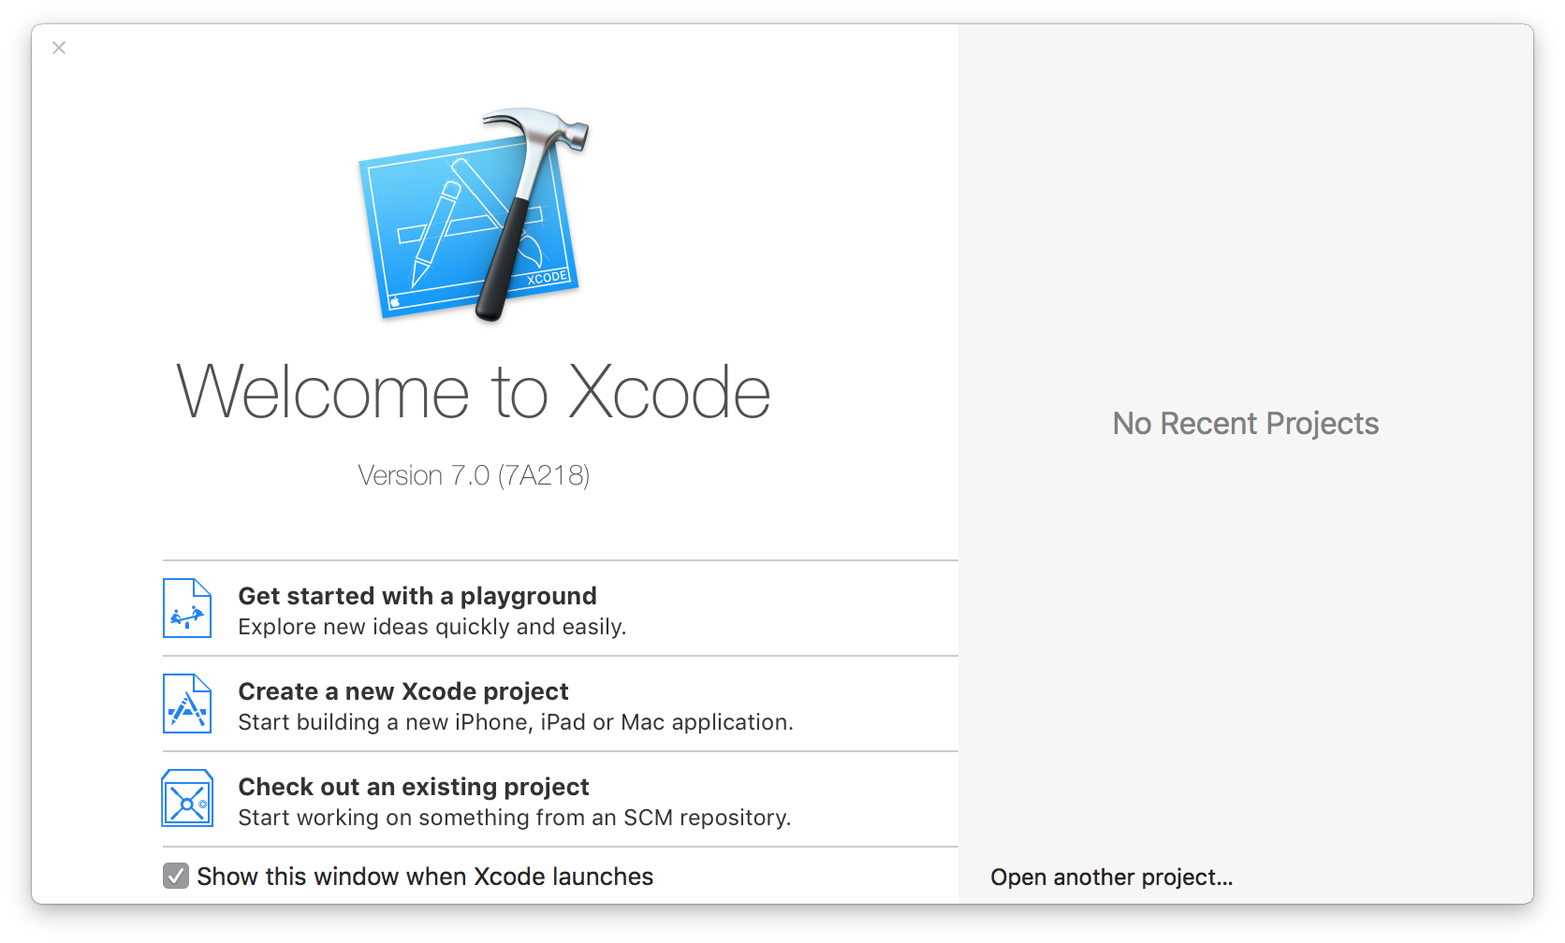
Figure 1-1. The Welcome to Xcode screen
-
Create a new project by clicking “Create a new Xcode project” or go to File→New→Project.
You’ll be asked what kind of application to create. The template selector is divided into two areas. On the lefthand side, you’ll find a collection of application categories. You can choose to create an iOS, watchOS, or OS X application from the project templates, which will set up a project directory to get you started.
Because we’re just poking around Xcode at the moment, it doesn’t really matter what we select, so choose Application under the iOS header and select Single View Application. This creates an empty iOS application and displays the project settings window shown in Figure 1-2.
Figure 1-2. The project settings window
-
Name the application. ...
Get Developing a simple Swift application now with the O’Reilly learning platform.
O’Reilly members experience books, live events, courses curated by job role, and more from O’Reilly and nearly 200 top publishers.

