Chapter XIV. Shooting Panoramas

Creating panoramas in Photoshop Elements 7 and 8 is a ton of fun—not to mention an enjoyable creative process.
In this chapter you'll find some guidelines for creating panos, which, by the way, has never been easier ... thanks to the new Photomerge feature in Photoshop Elements. It's a much-improved version of earlier Photomerge features in Elements.
Getting Started
The first step is to take the pictures for your panoramas.
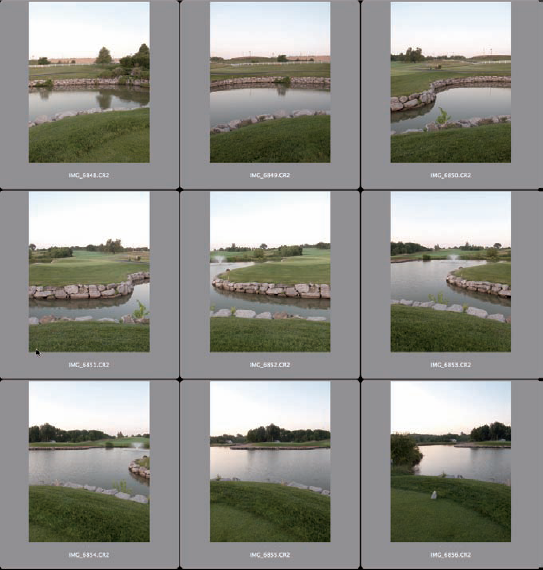
When shooting for a pano, overlap your images by at least one-third. This Adobe Bridge screen grab shows that I actually overlapped my images by a bit more than that. Better safe than sorry, I say.
Also, it's best to set your camera on the Manual exposure mode (so that the exposures match up). It's also wise to use a tripod. Better yet, use a tripod with a panorama head, so that your exposures are level.
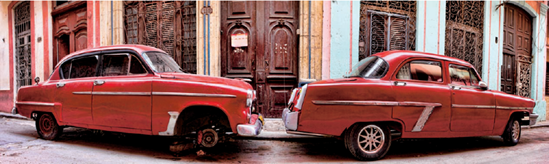
That said, I hand-held my camera and had it set on the aperture priority mode for both of the panos you saw the beginning of this chapter. Why? Because I did not have my trusty tripod with me, and I figured a less than perfect pano is better than no pano at all!
Pano from Adobe Bridge
First select your set of images for the pano in Adobe Bridge, ...
Get Confessions of a Compact Camera Shooter: Get Professional Quality Photos with Your Compact Camera now with the O’Reilly learning platform.
O’Reilly members experience books, live events, courses curated by job role, and more from O’Reilly and nearly 200 top publishers.

