Lesson 9
Creating and Displaying New Forms
Most of this book so far has dealt with building forms. Previous lessons explained how to add, arrange, and handle the events of controls on a form. They explained how to work with specific kinds of controls such as Buttons, MenuStrips, ContextMenuStrips, and ToolStrips. Using these techniques, you can build some pretty nice forms that use simple code to manipulate properties. So far, however, you've only learned how to use a single form.
In this lesson you learn how to display multiple forms in a single program. You see how to add new forms to the project and how to display one or more instances of those forms. Once you've mastered these techniques, you can make programs that display any number of forms for all kinds of different purposes.
Adding New Forms
To add a new form to a project, open the Project menu and select Add Windows Form to see the dialog shown in Figure 9.1.
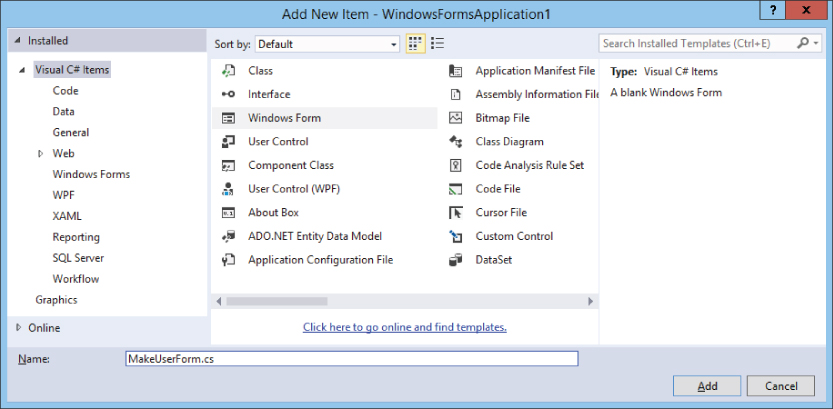
Leave the Windows Form template selected, enter a good name for the new type of form, and click Add. After you click Add, Visual Studio adds the new form type to the project. Figure 9.2 shows the new form in Solution Explorer.
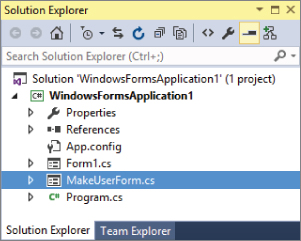
Now you can add Labels, TextBoxes, Buttons, MenuStrips, and any other controls you like to the new form. ...
Get C# 24-Hour Trainer, 2nd Edition now with the O’Reilly learning platform.
O’Reilly members experience books, live events, courses curated by job role, and more from O’Reilly and nearly 200 top publishers.

