Chapter 1. Setting Up AWS Tools
The role of the system administrator is changing. Just a few years ago, most sysadmins dealt with server farms of physical hardware and performed detailed capacity planning. Scaling up your application meant ordering new hardware and perhaps spending time racking it up in the datacenter. Now there is a huge section of the industry that has never touched physical hardware. We scale up by issuing an API call or clicking a button in a web page to bring new capacity online.
Although the term has been co-opted by marketers, the cloud is an amazing thing. In this context, we are using cloud to refer to the idea of scalable, on-demand computing and application services, rather than cloud-based services like Google Mail.
As more competition enters the cloud market space, its appeal for sysadmins and business owners alike is increasing on an almost daily basis. Amazon Web Services continues to drive the cloud computing market forward by frequently introducing new tools and services (in fact, they are introduced with such regularity that writing a book about them is a never-ending pursuit).
Economies of scale are constantly pushing down the price of cloud services. Although environments like AWS or Google Compute Engine are not yet suitable for every application, it is becoming increasingly clear that cloud skills are becoming a required part of a well-rounded sysadmin’s toolkit.
For businesses, the cloud opens up new avenues of flexibility. Tech teams can do things that would have been prohibitively expensive just a few years ago. The games and applications that are lucky enough to become runaway hits often require a high amount of backend computing capacity. Bringing this capacity online in hours rather than weeks enables these companies to quickly respond to success, without requiring multiyear lease commitments or upfront capital expenditure.
In the age of the Lean Startup, developers and managers know how important it is to quickly iterate and improve their application code. Services like AWS allow you to treat your infrastructure the same way, letting a relatively small team manage massively scalable application infrastructures.
Getting Started
The first step to get your own AWS infrastructure started is to head to aws.amazon.com and create a new account, if you do not already have one, as shown in Figure 1-1.
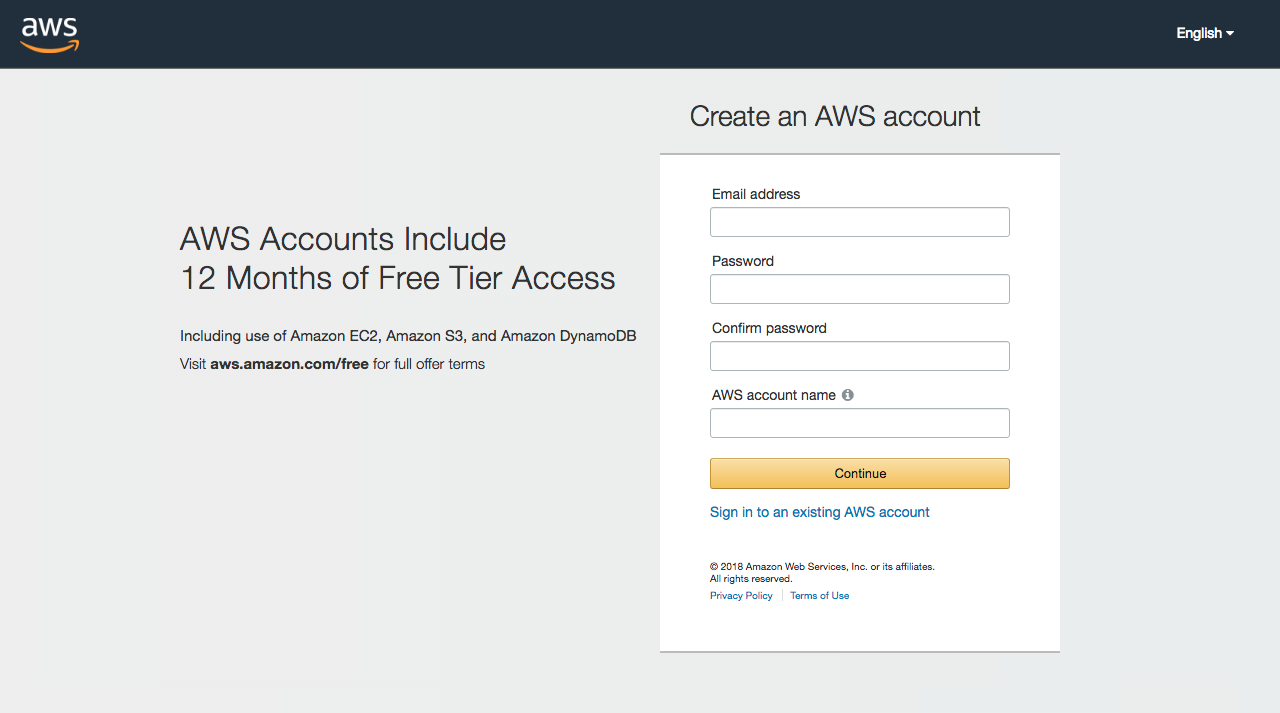
Figure 1-1. Sign up and create your AWS account
AWS accounts do not incur charges until computing, storage, or network resources are allocated for actual use, but you will need to provide a valid credit card number as part of the signup process. The account will be linked to either an email address or a mobile phone number identity that Amazon will require you to verify during the initial setup (see Figure 1-2). While entering payment information and accepting the terms of service you will want to take notice of the current Free Tier offering. At the time of this writing Amazon welcomes new account holders with 750 hours of EC2 compute time per month and 5 GB of free storage for their first year. Currently this includes free access to 42 different services.
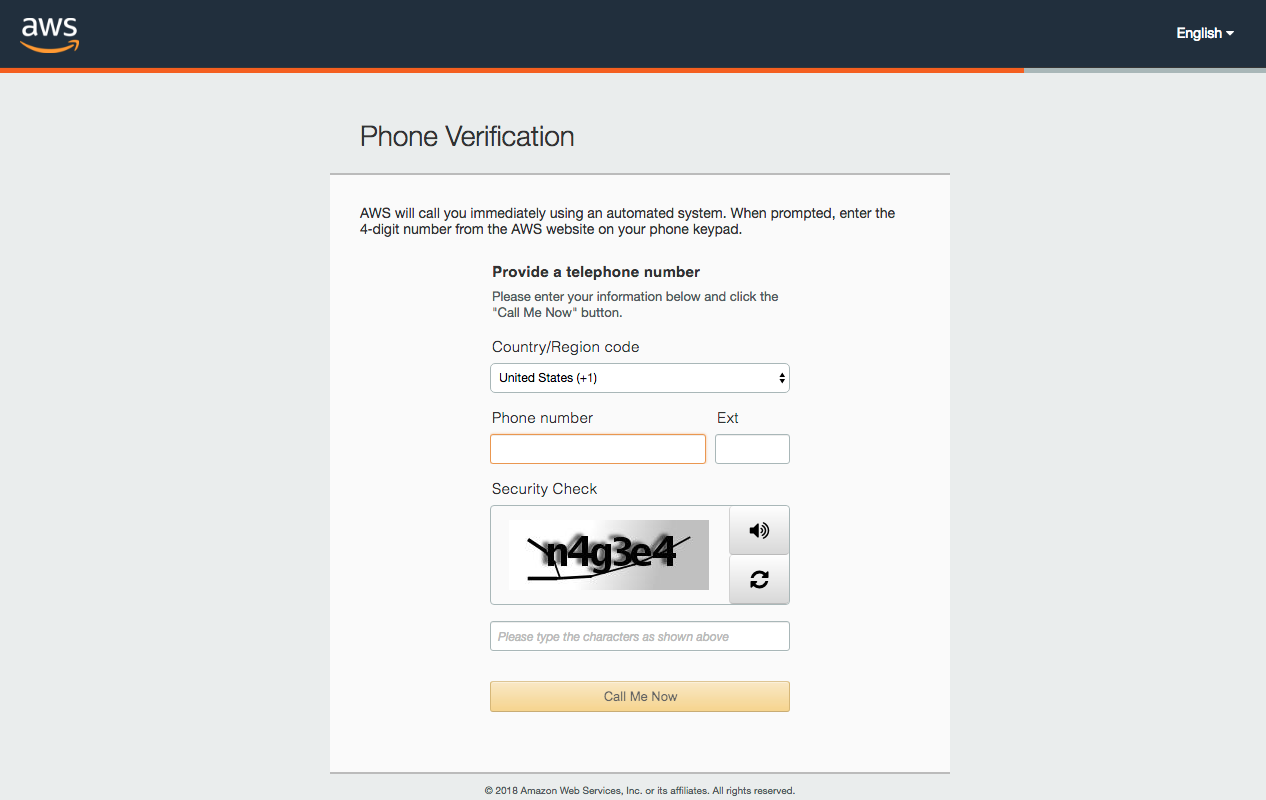
Figure 1-2. Identity validation of new accounts requires a telephone number
The final step of account creation consists in selecting a support plan. You are not required to initiate a support subscription at this time, and we recommend you select the basic, free plan to start. You will be able to revisit this decision at a later time, and selecting the free plan avoids the recurring monthly support charges you would otherwise immediately incur. Amazon has refined its support offerings over the years, and you may find the developer subscription a valuable resource if you want a more predictable turnaround on your technical questions than free community resources like ServerFault or AskUbuntu may provide.
Account activation will require a few minutes and may take up to several hours. As Amazon completes your account’s activation, you will receive an email notice.
Preparing Your Tools
There are various ways to manage your AWS infrastructure components. The AWS Management Console is the first interface most users see (see Figure 1-3). Although great for exploring and learning about the services, it does not lend itself to automation.
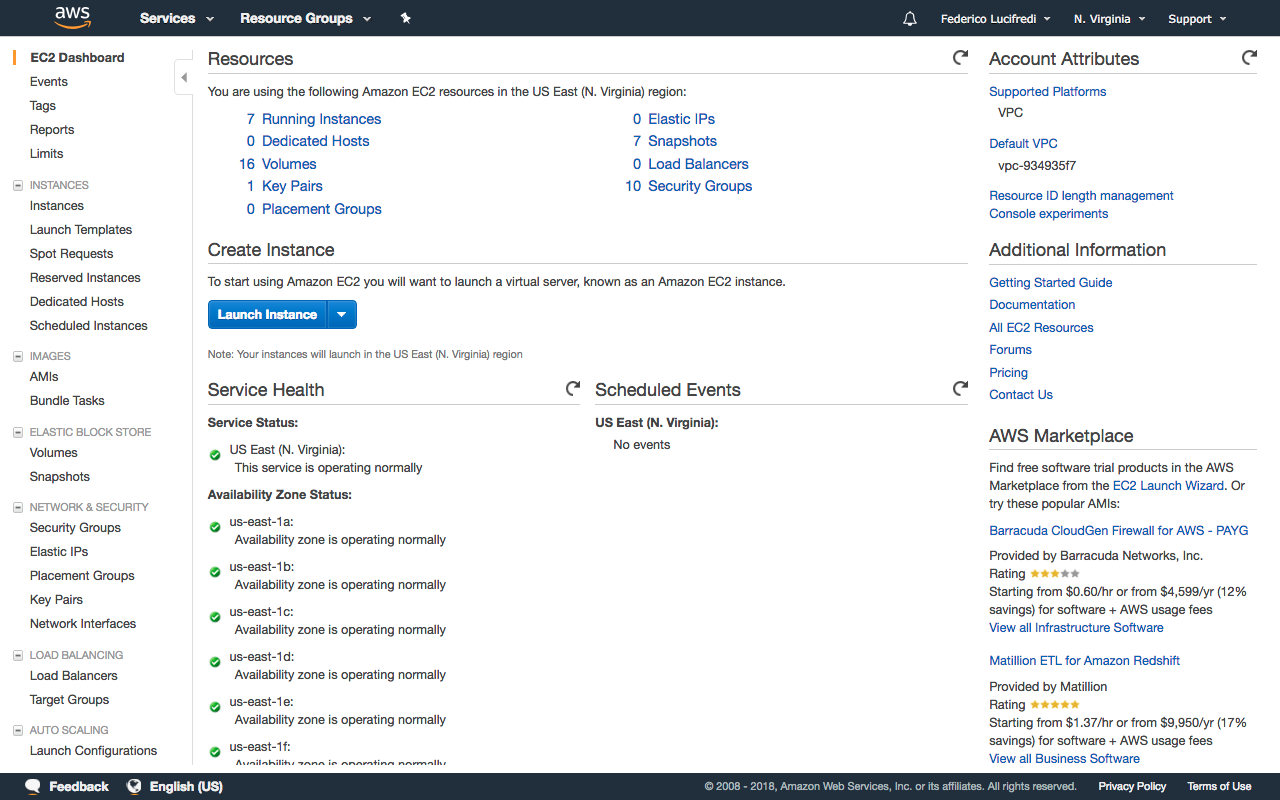
Figure 1-3. The EC2 Dashboard section of the AWS Management Console
The AWS APIs are a collection of API endpoints that can be used to manage AWS services from your own application. There are implementations in many popular programming languages and platforms, which can be downloaded from the AWS site.
The AWS Command Line Interface (AWS CLI) is a command-line tool released by Amazon that directly consumes the AWS API. It can be used to control any AWS component from the command line, making it suitable to use in automated build systems and continuous integration scripts. Before AWS CLI was released, Amazon provided a separate management tool for each service. That is, EC2 was managed by one program and SQS by another. The legacy tools did not all use a consistent naming convention for parameters, making them much less convenient to use.
Amazon’s API interface uses access keys composed of an ID and a secret access key. The pair authenticates and authorizes every programmatic request sent to Amazon AWS. AWS provides very sophisticated, advanced access control through the Identity and Access Management service (IAM), but for the sake of simplicity we will start by using the account’s root access keys. As a security best practice, AWS recommends avoiding any use of the root access keys and using IAM instead.
Head to the Security Credentials section of the IAM service dashboard. You may see warnings comparable to those you heard about using the root user in any UNIX system, and with good reason: the account credentials provide unlimited access to your AWS resources. Click the Create New Access Key button (see Figure 1-4), and you will receive immediate confirmation your new account’s access keys have been created. You need to download and save the rootkey.csv credentials file once offered, as AWS will not retain the secret component of the key and retrieval at a later time is therefore not possible. Keep the credentials file confidential, never email it, and never share it outside of your organization: it is your virtual datacenter’s root password (see “Throwing Away the Root Password” for the most forward-thinking best practice in the matter).
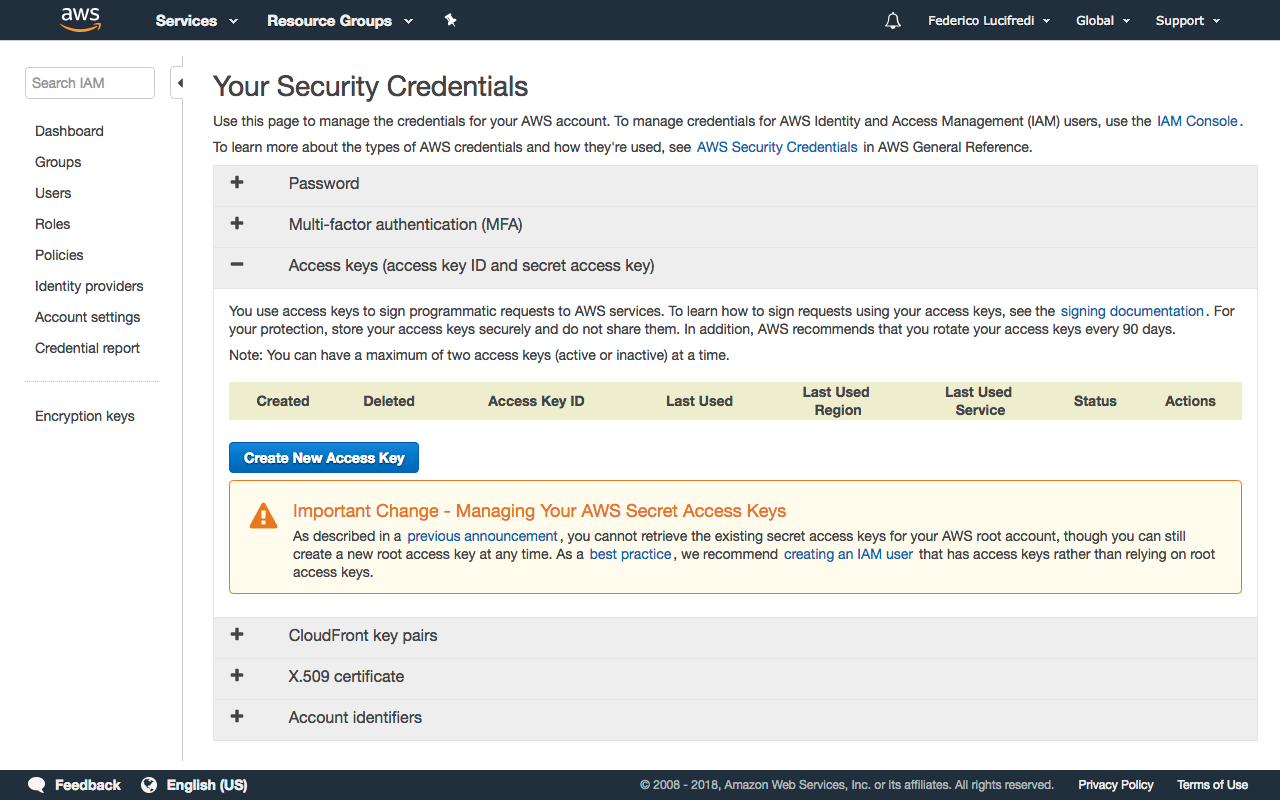
Figure 1-4. Creating the master access key
Warning
Make sure you do not accidentally commit these security keys to a public code repository such as GitHub. There have been reports of hackers scanning for accidentally published AWS keys and using them to gain unauthorized access to AWS accounts.
Installing the AWS Command Line Interface
The AWS CLI is written in Python and requires Python in either version 2.6.5, 2.7, 3.3, 3.4, 3.5, or 3.6 as its only prerequisite; this information will change and is kept updated on the project’s GitHub site. Because AWS CLI is a Python package, it can be installed with pip, the Python package management tool. This is included on many systems by default, but you might need to install it manually. On Ubuntu systems, this can be done with the following:
sudo apt install python-pip
On OS X, the same task can be accomplished thusly:
sudo easy_install pip
Once you have pip on your system, the AWS CLI installation is incredibly simple:
sudo pip install awscli
Once you have installed the AWS CLI, you can see general usage
information and a list of the services that can be managed with aws help. For help
on a specific service, you can use aws ec2
help. Finally, help on a specific command can be displayed
with aws ec2 run-instances help. For
example:
| Command | Action |
|---|---|
| |
| |
|
Tip
We have installed AWS CLI from a source other than the Linux distribution’s own repositories, therefore we cannot count on the operating system’s security team to alert us to any security issue that may arise with this package. A production environment should monitor the AWS Security Bulletins site, which can also be tracked via its RSS feed.
You can verify at any time which version of AWS CLI is installed with the command
aws --version
to determine if any advisories apply to your present setup.
Command completion is a convenient facility configured by default on all Amazon Linux instances, which come with AWS CLI preinstalled. On Ubuntu, you can add this facility to the default Bash shell with the command:
complete -C '/usr/local/bin/aws_completer' aws
On other Linux distributions, or if you used a Python virtual environment in your installation, you will want to validate the path location. An active command completion helper will promptly expand partial commands when the Tab key is pressed, or present you with alternatives when more than one completion is applicable:
$ aws ec2 ter<TAB>
$ aws ec2 terminate-instances
This will assist your recall of less-used commands, not to mention speed up your typing.
You will need to run aws configure to initialize the
tool with your AWS access key ID and secret access key we retrieved
earlier:
$more rootkey.csvAWSAccessKeyId=AKIAIKVKZ6IGBVXNRSDA AWSSecretKey=hCJ/Fn3nE378Hb7WjGpHSYa9TRCsia/U4cAd+MG7 $aws configureAWS Access Key ID [None]:AKIAIKVKZ6IGBVXNRSDAAWS Secret Access Key [None]:hCJ/Fn3nE378Hb7WjGpHSYa9TRCsia/U4cAd+MG7Default region name [None]:us-east-1Default output format [None]:json$
Once this step is completed, you have all the resources of Amazon AWS’s global infrastructure at your fingertips. For example, let’s verify this account is currently not running any cloud instance:
 $ aws ec2 describe-instances
   {
       "Reservations": []
   }
 $
The output format can be controlled with the
--output option of the command. While JSON output is ideal for parsing in
our scripts, it is hardly readable to a human operator as it quickly
becomes verbose. The text and
table formats come to our rescue when using
aws in interactive mode:
$ aws ec2 describe-instances --output table
--------------------------------------------------------------------------
|                             DescribeInstances                          |
+------------------------------------------------------------------------+
||                              Reservations                            ||
|+------------------------------------+---------------------------------+|
||  OwnerId                           |  740376006796                   ||
||  ReservationId                     |  r-e047ce48                     ||
|+------------------------------------+---------------------------------+|
|||                               Instances                            |||
||+-------------------------+------------------------------------------+||
|||  AmiLaunchIndex         |  0                                       |||
|||  Architecture           |  x86_64                                  |||
|||  ClientToken            |                                          |||
|||  EbsOptimized           |  False                                   |||
|||  Hypervisor             |  xen                                     |||
|||  ImageId                |  ami-d05e75b8                            |||
|||  InstanceId             |  i-6dd1e1ec                              |||
|||  InstanceType           |  t2.micro                                |||
|||  LaunchTime             |  2016-01-17T05:45:01.000Z                |||
|||  PrivateDnsName         |  ip-172-31-55-216.ec2.internal           |||
|||  PrivateIpAddress       |  172.31.55.216                           |||
|||  PublicDnsName          |  ec2-54-86-1-51.compute-1.amazonaws.com  |||
|||  PublicIpAddress        |  54.86.1.51                              |||
...
$
Caution
Relying on the system-wide Python installation may be undesirable in a production environment, as it creates an update dependency between the AWS tools and any other Python program in the system. You can separate the two by using Virtualenv, a tool designed to create isolated Python environments. Install it with:
sudo pip install virtualenv
virtualenv ~/.python
This creates a separate Python environment, including
executables, in the .python directory. Switching
environments is easy with the built-in activate
script:
$echo $PATH/usr/local/sbin:/usr/local/bin:/usr/sbin:/usr/bin:/sbin:/bin $source ~/.python/bin/activate(.python) $echo $PATH/root/.python/bin:/usr/local/sbin:/usr/local/bin:/usr/sbin :/usr/bin:/sbin:/bin (.python) $
This adds the virtualenv’s bin directory as the first argument
of your $PATH variable, and modifies the
prompt to remind you of what environment is currently active. As the
separate environment includes its own copy of pip, installing awscli
into it requires no special procedure:
pip install awscli
If awscli will be regularly used from the
user’s shell, we recommend adding the activate script to your
.profile to ensure the correct environment is
always loaded at login. Should you need to exit the virtualenv, this can be done with deactivate.
The account’s root credentials provide unlimited access to your AWS resources, and you should revisit their use as you learn more about AWS IAM in Chapter 3. You will also be prompted to optionally configure a default region and output format.
The AWS team maintains an extensive command-line interface User Guide that details additional native-executable install formats for Microsoft Windows, Linux, and macOS, as well as steps to uninstall and upgrade. A reference to all command options is also available online.
Parsing JSON Output with jq
The aws command will often
print out JavaScript Object Notation, commonly known as JSON, as part of its results. For
example, if you retrieve information about your DNS zones with the
aws route53 list-hosted-zones
command, you will see something similar to the following:
{ "HostedZones": [ {
      "ResourceRecordSetCount": 9, "CallerReference":
      "A036EFFA-E0CA-2AA4-813B-46565D601BAB", "Config": {}, "Id":
      "/hostedzone/Z1Q7O2Q6MTR3M8", "Name": "epitech.nl." }, {
      "ResourceRecordSetCount": 4, "CallerReference":
      "7456C4D0-DC03-28FE-8C4D-F85FA9E28A91", "Config": {}, "Id":
      "/hostedzone/ZAY3AQSDINMTR", "Name": "awssystemadministration.com." } ]
      }
In this example, it is trivial to find any information
you might be looking for. But what if the results span multiple pages
and you are interested in only a subset of the returned information?
Enter jq. This handy tool is like sed for JSON data. It can be used to parse,
filter, and generate JSON data, and is an excellent partner to the
aws command.
jq is not installed by default in Amazon Linux
or Ubuntu. On the latter, this can be resolved as follows:
sudo apt install jq
Continuing the DNS zones example, imagine we want to filter the previous list to include only the domain name:
$ aws route53 list-hosted-zones | jq '.HostedZones[].Name'
  "epitech.nl."
  "awssystemadministration.com."
The output of the aws command is piped to jq in this example. .HostedZones[].Name is a jq filter, which acts in a similar way to CSS selectors. It parses the JSON
object and returns only the Name
element of each of the HostedZones.
Tip
jq play provides a
convenient online environment that enables you to test
jq filters with consistent arbitrary input right in
your web browser, potentially accelerating your development cycle when
complex queries need to be crafted.
jq can also be used to filter the results.
Let’s say we want to find the ResourceRecordSetCount for the epitech.nl domain:
aws route53 list-hosted-zones | jq \
'.HostedZones[] | select(.Name=="epitech.nl.").ResourceRecordSetCount' 9
This example uses two filters. The first returns all of the HostedZones. This list is passed to the next
filter, which uses the select()
function to perform a string comparison. Finally, we request the
ResourceRecordSetCount element for
the item that matched the string comparison.
For installation instructions, extensive documentation, and more usage examples, see the jq homepage.
Tip
Before resorting to grep,
jq, or bringing your Perl skills to the party, make
sure you have exhausted the capabilities of the aws
command’s own --query option. You can limit the
default page of JSON output that launching a new instance produces to
the bare essential InstanceId with:
aws ec2 run-instances --region us-east-1 \
--instance-type t2.micro --image-id ami-43a15f3e \
--output text --query 'Instances[*].InstanceId'
This is particularly useful in shell scripts, where the expressive --query command option can keep your code shorter and
easily readable. The following script terminates all instances in the default EC2 account,
a handy way to end an experiment:
 #! /bin/bash
 KILL_LIST=$(aws ec2 describe-instances --output text \
 --query 'Reservations[*].Instances[*].InstanceId')
 aws ec2 terminate-instances --instance-ids $KILL_LIST
The --query option uses the JMESPath library to implement a JSON
query language. The project site hosts the language’s formal
specification and a helpful tutorial.
Legacy AWS Command-Line Tools
Prior to AWS CLI, Amazon provided separate tools for each service rather than a unified command-line tool. Mostly obsolete, these tools are still useful in some situations. One such case is evaluating an older script’s functionality without refactoring it first. The legacy tools coexist effortlessly with the AWS CLI without side effects (and sometimes even share configuration), so feel free to experiment. We think you should be aware of the existence of these older tools, but advise against using them as part of any new infrastructure design.
Each service had its own collection of tools, which must be downloaded separately. Because the installation procedure does not vary much between packages, this section uses the EC2 tools as an example. The process is essentially the same for the rest of the tools.
Unfortunately, the legacy tools cannot be found in consistent locations. This inconsistency means it is more difficult than necessary to write a script that automates the installation of these tools, especially as the URLs for some tools change with each release.
Note
Alestic, a great blog full of useful AWS tips, has a handy guide containing links to all of the AWS command-line tools, along with shell snippets (suitable for copying and pasting) to download, extract, and install each of the packages.
By convention, it is common to store the tools in a subdirectory specific to that tool, so EC2 tools go in /usr/local/aws/ec2, and Auto Scaling tools go in /usr/local/aws/as. The following commands create this directory, download the EC2 tools, and move the extracted files into the destination directory:
      mkdir -p /usr/local/aws/ec2
      wget http://s3.amazonaws.com/ec2-downloads/ec2-api-tools.zip
      unzip ec2-api-tools.zip
      mv ec2-api-tools-*/* /usr/local/aws/ec2
Another difference between the legacy tools is in how they handle authentication. Some require a set of access keys, whereas others use X.509
certificates or SSH keys. The EC2 tools use access keys, which can be specified in two ways:
by setting environment variables containing the access key and secret, or by using the
--aws-access-key and --aws-secret-key arguments on the command line. Using environment variables is
more convenient and can be more secure—because specifying the credentials as command-line
options means they will be visible in your shell history and the list of running
processes—so I recommend using this approach where possible.
All of the AWS command-line tools require some environment variables to be set before they can be used. Set the environment variables as follows, updating the paths where necessary:
      export JAVA_HOME=/usr
      export EC2_HOME=/usr/local/aws/ec2
      export AWS_ACCESS_KEY=your_access_key_ID
      export AWS_SECRET_KEY=your_secret_access_key
      export PATH=$PATH:/usr/local/aws/ec2/bin
Note
JAVA_HOME should point to the directory used as the base when Java was
installed. For example, if the output of which java
is /usr/bin/java, JAVA_HOME should be set to /usr.
After setting these variables, you can start using the legacy command-line tools. For example:
| Command | Action |
|---|---|
| |
|
Note
By default, all AWS command-line tools will operate in the US East region (us-east-1). Because US East is one of the cheapest EC2
regions, this is a sensible default. You can override this behavior by setting the EC2_REGION environment
variable, or otherwise by passing the --region option on the command line.
Of course, setting these environment variables every time you wish to run the EC2 tools will quickly become tiresome, so it is convenient to set them automatically upon login. The method for achieving this will vary depending on which shell you use. If you are using Bash, for example, you will need to add the variables to your $HOME/.bashrc file. The Alestic blog post mentioned earlier includes an example .bashrc that sets the environment variables required for most of the tools, as well as adding each of the tool-specific directories to your PATH. Once you have installed all of the tools, your .bashrc might look something like this:
 export JAVA_HOME=/usr
 export EC2_HOME=/usr/local/aws/ec2
 export AWS_IAM_HOME=/usr/local/aws/iam
 export AWS_RDS_HOME=/usr/local/aws/rds
 export AWS_ELB_HOME=/usr/local/aws/elb
 export AWS_CLOUDFORMATION_HOME=/usr/local/aws/cfn
 export AWS_AUTO_SCALING_HOME=/usr/local/aws/as
 export CS_HOME=/usr/local/aws/cloudsearch
 export AWS_CLOUDWATCH_HOME=/usr/local/aws/cloudwatch
 export AWS_ELASTICACHE_HOME=/usr/local/aws/elasticache
 export AWS_SNS_HOME=/usr/local/aws/sns
 export AWS_ROUTE53_HOME=/usr/local/aws/route53
 export AWS_CLOUDFRONT_HOME=/usr/local/aws/cloudfront
 for i in $(find /usr/local/aws -type d -name bin)
   do
    PATH=$i/bin:$PATH
   done
 PATH=/usr/local/aws/elasticbeanstalk/eb/linux/python2.7:$PATH
 PATH=/usr/local/aws/elasticmapreduce:$PATH
 export EC2_PRIVATE_KEY=$(echo $HOME/.aws-default/pk-*.pem)
 export EC2_CERT=$(echo $HOME/.aws-default/cert-*.pem)
 export AWS_CREDENTIAL_FILE=$HOME/.aws-default/aws-credential-file.txt
 export ELASTIC_MAPREDUCE_CREDENTIALS=$HOME/.aws-default/aws-credentials.json
 #Some tools use AWS_ACCESS_KEY, others use AWS_ACCESS_KEY_ID
 export AWS_ACCESS_KEY=< your access key ID >
 export AWS_SECRET_KEY=< your secret access key >
 export AWS_ACCESS_KEY_ID=< your access key ID >
 export AWS_SECRET_SECRET_KEY=< your secret access key >
 # Change the default region if desired
 # export EC2_REGION=us-east-1
For more tools and utilities, including all of the AWS command-line tools, visit the AWS developer tools site.
Managing Your Costs
AWS service charges are structured in a very granular fashion that attempts to fairly charge customers in proportion to their use of each service. Any and all pricing models inherently have trade-offs, and the potential volatility of your monthly AWS expenditures is the most dramatic one in this case. Not having to face the huge upfront capital outlay that was once required to build a traditional datacenter, CIOs have now begun finding fault with the variability of their operational costs month-to-month.
Managing costs in AWS is a subject worthy of a book in its own right. We certainly do not aspire to settle the eternal game between vendors and CIOs here, but in a more limited scope we wish to offer a few tips to new users that may feel some degree of anxiety at being charged per API call, per resource, or per command executed. In most cases these charges amount to merely a few cents, but the multiple pricing models applicable to different AWS services and their potential interaction can make it rather difficult to forecast more accurately than the order of magnitude of the charges incurred. CIO-level executives could aspire to see the infrastructure reach a kind of steady-state where charges become more roughly predictable, yet one of Amazon AWS’s greatest strengths is in its ability to dynamically respond to changes in user demand by scaling according to the volume of service requests—a very desirable property, but also a fact running counter to that very same desire for a predictable budget.
At the individual scale, you can prevent sticker shock in a variety of ways as you learn your way to Amazon AWS mastery. In Chapter 2 we will show you how to set up custom alerts that trigger as you exhaust your free service credit or incur charges crossing a certain predefined threshold. You may also monitor your charges in a more interactive fashion through the billing and cost management dashboard (Figure 1-5), which not only displays current charges but also helpfully tries to forecast what the monthly total cost will be based on your current resource usage. The cost management dashboard lets you drill down into every line item to determine from which service (and in what region) the charge originated. You can then track down and discontinue your perhaps inadvertent use of a service that is padding the bottom line of your bill.
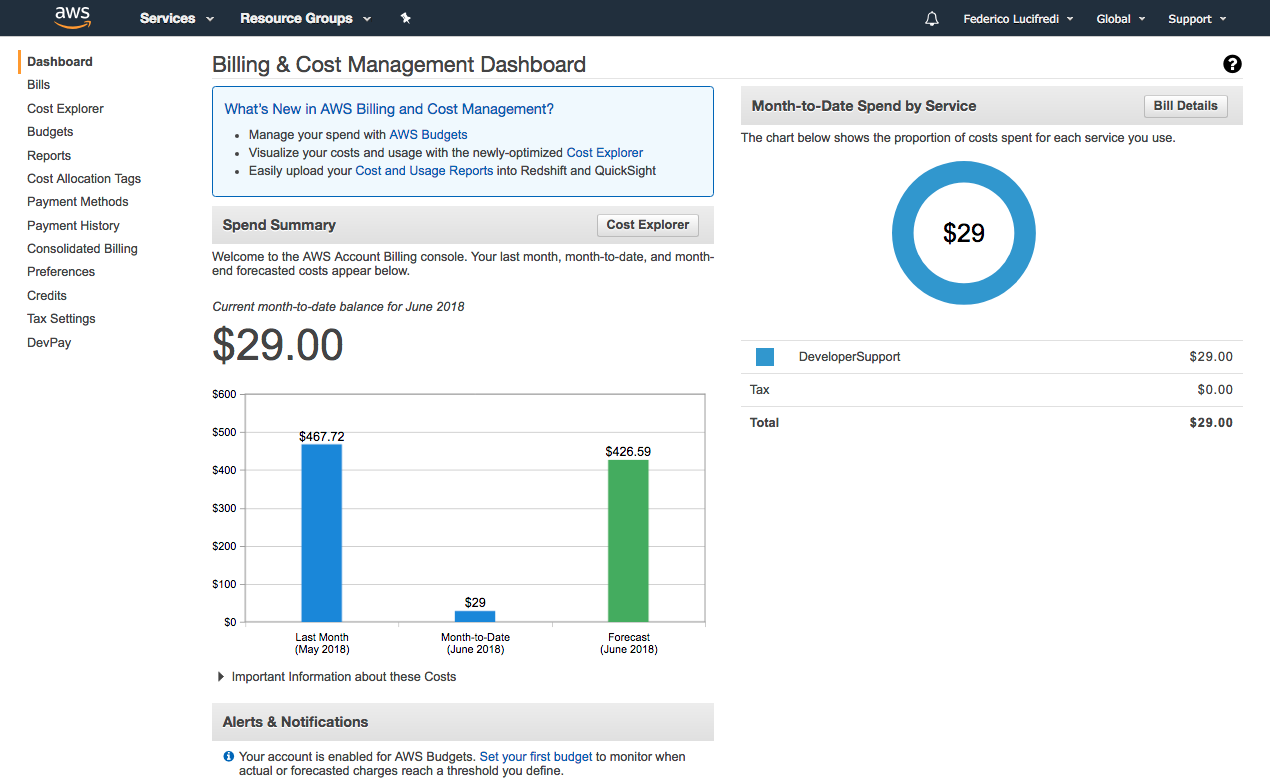
Figure 1-5. The billing and cost management dashboard
Tip
Julio Faerman’s amusingly named AWS Daleks tool delivers a scripted interface to itemizing and optionally removing every resource associated with an AWS account. Exterminating your AWS account is a rather drastic approach to cost management, but the very existence of this option should make new users more confident in their ability to manage costs during their learning.
Another potentially interesting use of Julio’s tool is to easily reset an account to its pristine original state, without needing to create a new account to this end. This can be quite handy where AWS is used as a demo or training environment.
Get AWS System Administration now with the O’Reilly learning platform.
O’Reilly members experience books, live events, courses curated by job role, and more from O’Reilly and nearly 200 top publishers.

