Rendering a 3D Model
After you add lights, apply materials, and define a background for your 3D model, you're ready to press the magic button! Clicking Render tells AutoCAD to round up all the materials and apply them to the objects and faces to which they're assigned. After materials are assigned, the background is applied to the current viewport, and then finally AutoCAD calculates light and shadows based on all those property settings you made earlier in the chapter.
 By default, rendering is performed in the Render Window (see Figure 23-9). To start rendering your virtual fat into digital lard (and how's that for a grisly image?), click Render on the Render tab's Render panel (another offering from the Department of Redundancy Department).
To help make rendering as easy as possible, AutoCAD comes with five render presets. A render preset is a configuration of rendering settings that you can use to get predictable results when rendering a model. The presets range in quality of output, from Draft, through Low, Medium, and High, to Presentation quality.
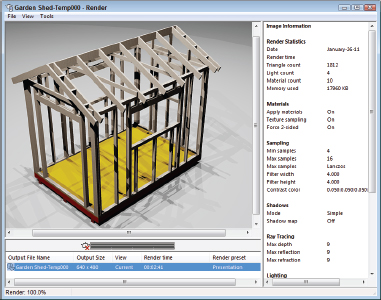
Figure 23-9: Rendering a rendering in the Render Window.
To set a render preset current, choose the Render Presets drop-down on the Render tab's Render panel. Choose Manage Render Presets at the bottom of the Render Presets drop-down ...
Get AutoCAD® 2012 FOR DUMMIES® now with the O’Reilly learning platform.
O’Reilly members experience books, live events, courses curated by job role, and more from O’Reilly and nearly 200 top publishers.

