Starting a New Project in Eclipse
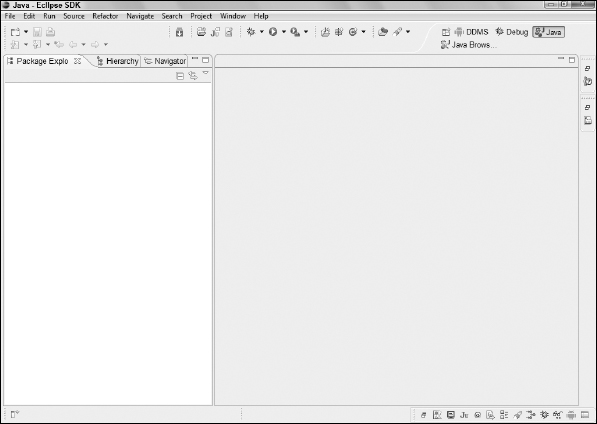
First things first: You need to start Eclipse. (Refer to Chapter 4.) After you do, your screen should look similar to the one in Figure 5-1. Now you're ready to start cooking with Android.
Figure 5-1: The Eclipse development environment.
In Chapter 4, I show you how to install the Eclipse Android Development Tools (ADT) plug-in. The ADT plug-in gives you the power to generate new Android applications directly from within the Eclipse File menu. That's exactly what you're about to do. To create your first Android Application project, follow these steps:
- In Eclipse, choose File
 New Project.
The New Project/Select a Wizard dialog box opens, as shown in Figure 5-2.
- From the New Project/Select a Wizard dialog box, expand the Android item by clicking the Android folder.
- Click Android Project within the expanded folder and then click the Next button.
The New Android Project dialog box appears, as shown in Figure 5-3.
Figure 5-2: The New Project/Select a Wizard dialog box.
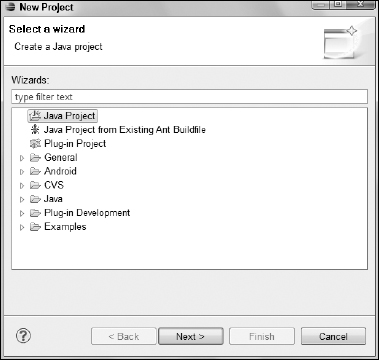
Figure 5-3: The New Android Project dialog box.
- In the Project Name field, type Hello ...
Get Android™ Tablet Application Development For Dummies® now with the O’Reilly learning platform.
O’Reilly members experience books, live events, courses curated by job role, and more from O’Reilly and nearly 200 top publishers.

