Figure 3-1: The Eclipse development environment.
Starting a New Project in Eclipse
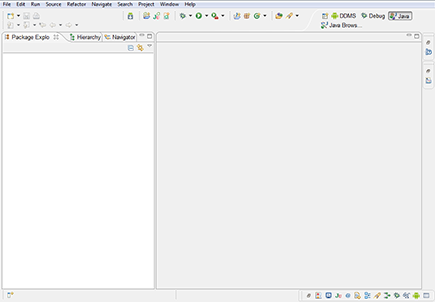
First things first: Start Eclipse. You should see a screen that looks similar to the one shown in Figure 3-1. Now you’re ready to start cooking with Android.
 If you haven’t set up your development environment yet, turn to Chapter 2. It shows you how to set up all the tools and frameworks necessary to develop Android applications and, in the process, install the Eclipse Android Development Tools (ADT) plug-in. It gives you the power to generate new Android applications directly from within the Eclipse File menu.
Follow these steps to create your first Android application project:
1. In Eclipse, choose File⇒New⇒Other. Select Android Application Project.
The New Android App Wizard opens, as shown in Figure 3-2.
2. Enter Hello Android as the application name.
The application name is the name of the application as it pertains to Android. When the application is installed on the emulator or physical device, this name appears in the application launcher.
The Project and Package names should autocomplete for you. The Project Name field is important. The descriptive name you provide identifies your project in the Eclipse workspace. After your project is created, a folder in the workspace is named ...
Get Android Application Development For Dummies, 2nd Edition now with the O’Reilly learning platform.
O’Reilly members experience books, live events, courses curated by job role, and more from O’Reilly and nearly 200 top publishers.

