
IT’S TIME TO push the boundaries of your Arduino! In previous adventures you used Digital and Analog Pins on your Arduino Uno, but what’s the difference between a digital and analogue signal? You have output on a Digital Pin in Adventures 1 through 3, have read in from a Digital Pin in Adventures 2 and 5, and read in from an Analog Pin in Adventure 2, but what about outputting analogue signals? Well, that comes next. But then what? After you’ve tackled outputting analogue signals, is that it? Is that the end of Arduino coding? Not at all!
You can push your Arduino even further by using libraries. This allows you easily to incorporate clever functions, which have been written by other people, into your sketches. In this adventure you will use a library that lets you turn (almost) anything you like into a touch sensor. You are then going to build a magical crystal ball that glows when you wave your hands over it.
What You Need
You need the following items for the first part of this adventure. The electronic components are shown in Figure 6-1.
- A computer
- An Arduino Uno
- A USB cable
- A breadboard
- 4 jumper wires
- 1 LED
- 1 RGB common cathode LED
- 3 220Ω resistors
- 1 10 MΩ resistor
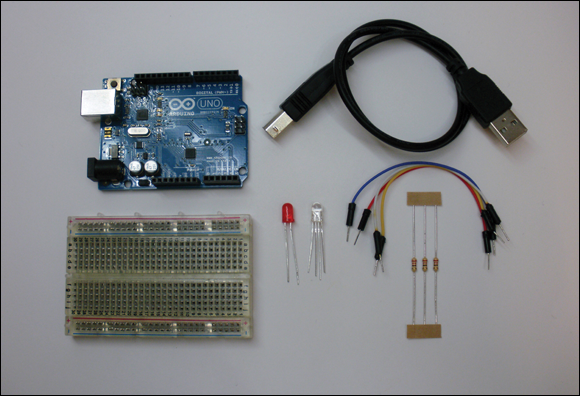
Figure 6-1 The electronic components you need for the first part of this adventure
Analogue Out
If you ...
Get Adventures in Arduino now with the O’Reilly learning platform.
O’Reilly members experience books, live events, courses curated by job role, and more from O’Reilly and nearly 200 top publishers.

