Lesson 12: Using Photoshop for 3D
In this lesson, you will be introduced to the 3D functionality included in Photoshop CC, using some of the basic tools and features needed to leverage 3D content in your image editing workflow.
What you’ll learn in this lesson:
- • Creating 3D objects
- • Controlling object appearance with textures and lighting
- • 3D scene management
Starting up
Before starting, make sure that your tools and panels are consistent by resetting your preferences. See “Resetting Adobe Photoshop CC preferences” in the Starting up section of this book. You will work with several files from the advps12lessons folder in this lesson. Make sure that you have loaded the advpslessons folder onto your hard drive from www.digitalclassroombooks.com/cc/advphotoshop. For more information, see “Loading lesson files” in the Starting up section of this book.
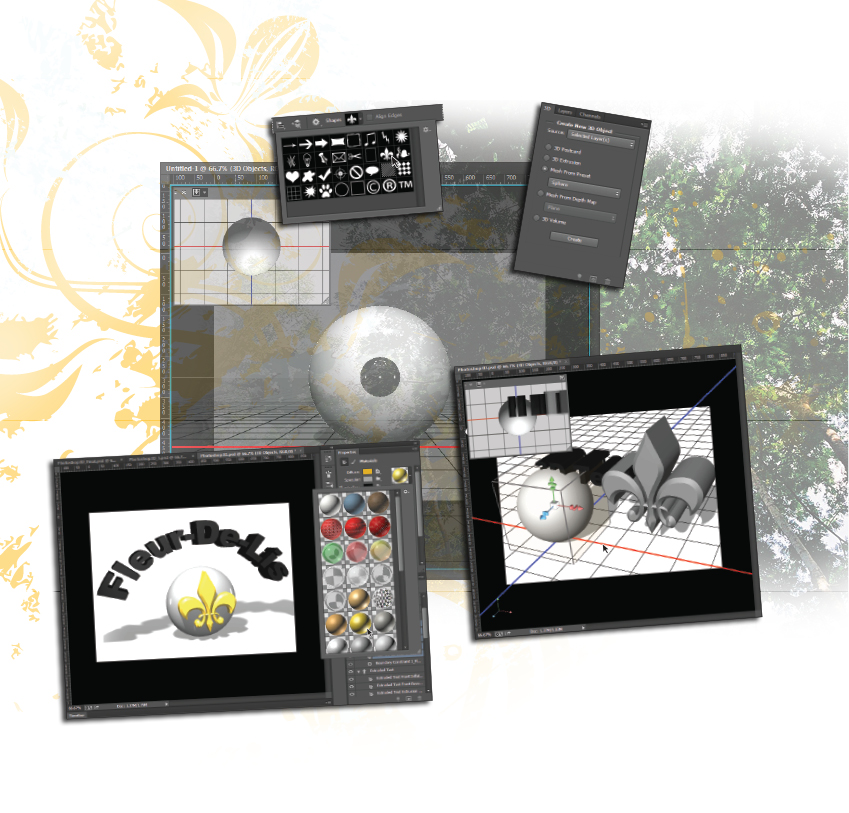
Creating 3D objects
One of the most common questions asked about 3D in Photoshop is how to create the 3D content. Complex models, also called “meshes”, need to be created in other dedicated 3D modeling applications, such as Cinema4D, Autodesk Maya, or 3ds Max. However, you can create simple 3D objects directly in Photoshop, and use 2D layers to create 3D meshes.
Get Advanced Photoshop CC for Design Professionals Digital Classroom now with the O’Reilly learning platform.
O’Reilly members experience books, live events, courses curated by job role, and more from O’Reilly and nearly 200 top publishers.

