Chapter 10. FINISHING THE IMAGE
In the preceding chapter, you learned about various methods for repairing damaged photos. The results of those types of processes are often beyond amazing. However, repair techniques represent only half of the restoration process. The second half of the process involves finishing the image so it looks its best and is ready to be shared with others. This chapter explores the second part of this two-stage process.
Working with Black-and-White Photos
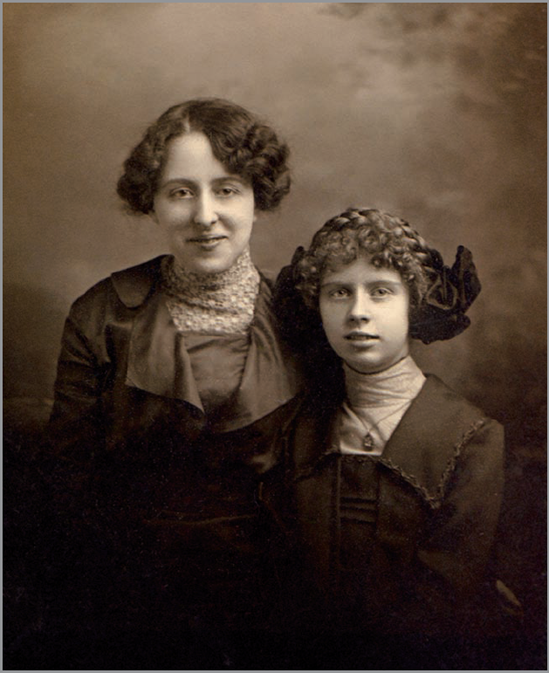
Many photos being scanned and restored today began their lives as black-and-white prints. Some of these originals have faded over the years, turning a yellowish color. This color is generally referred to as sepia, though isn't a true sepia-toned print, as you learn in this chapter. When you restore an old photo you should be aware of this because you may want the restored version to be black and white so that it resembles what the image originally looked like.
Tip
I scan black-and-white prints as color files and convert them to black and white in Photoshop. I do this because my scanner does a better job of capturing information in the full-color mode. Also, if the old photo has a faded color tone, I can record it in the scan in case I want to try to preserve it.
There are a number of methods you can use in Photoshop for converting color files to black and white. A couple of years ago, I researched the subject and ...
Get Adobe® Photoshop® CS5 Restoration and Retouching for Digital Photographers Only now with the O’Reilly learning platform.
O’Reilly members experience books, live events, courses curated by job role, and more from O’Reilly and nearly 200 top publishers.

