179
PATHFINDER OPERATIONS
PRIMITIVES, as you learned in Lesson 2, are the building
blocks of all illustrations, but sometimes such simple objects can’t
accurately represent your work. The alternative—drawing com-
plex shapes by hand with the pen tool—can be tedious and time-
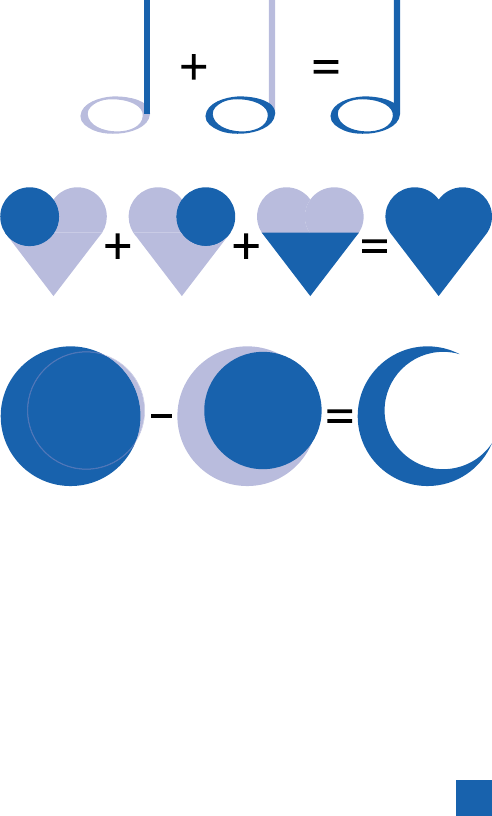
consuming. Fortunately, Illustrator provides a shortcut: pathfi nder
operations. Pathfi nders allow you to quickly combine simple objects
to create more complex ones, as shown in Figure 6-1. A line plus an
ellipse is a musical note. Two circles next to each other and a tri-
angle below become a valentine. A circle minus a smaller, offset
circle becomes a crescent moon. A door, some drywall, and a
couple of windows—not to mention some electrical, plumbing,
heating, AC, roofi ng, and a really big loan—make a
house. These are all pathfi nder operations (well, except
for the house), and they’re amazing timesavers, one
and all. To get a sense of how they work, keep reading.
Compound Paths versus
Compound Shapes
The pathfi nder joins shapes in a few ways, each with
their own level of permanence. By default, the path-
fi nder will simply perform the operation and perma-
nently alter the target path; this change is irrevocable,
short of an undo command. A compound path is two or more sub-
paths that merge to form a single path—hence it appears as a single
object in the Layers panel. You can move one subpath independently
of another, but intersecting regions are always transparent holes
(also called the exclusion mode, which I explain further later in
this lesson). Compound shapes are the most fl exible. A compound
shape is composed of two or more paths as well, but you can see
individual paths in the Layers panel, and even set each to a differ-
Figure 6-1 .
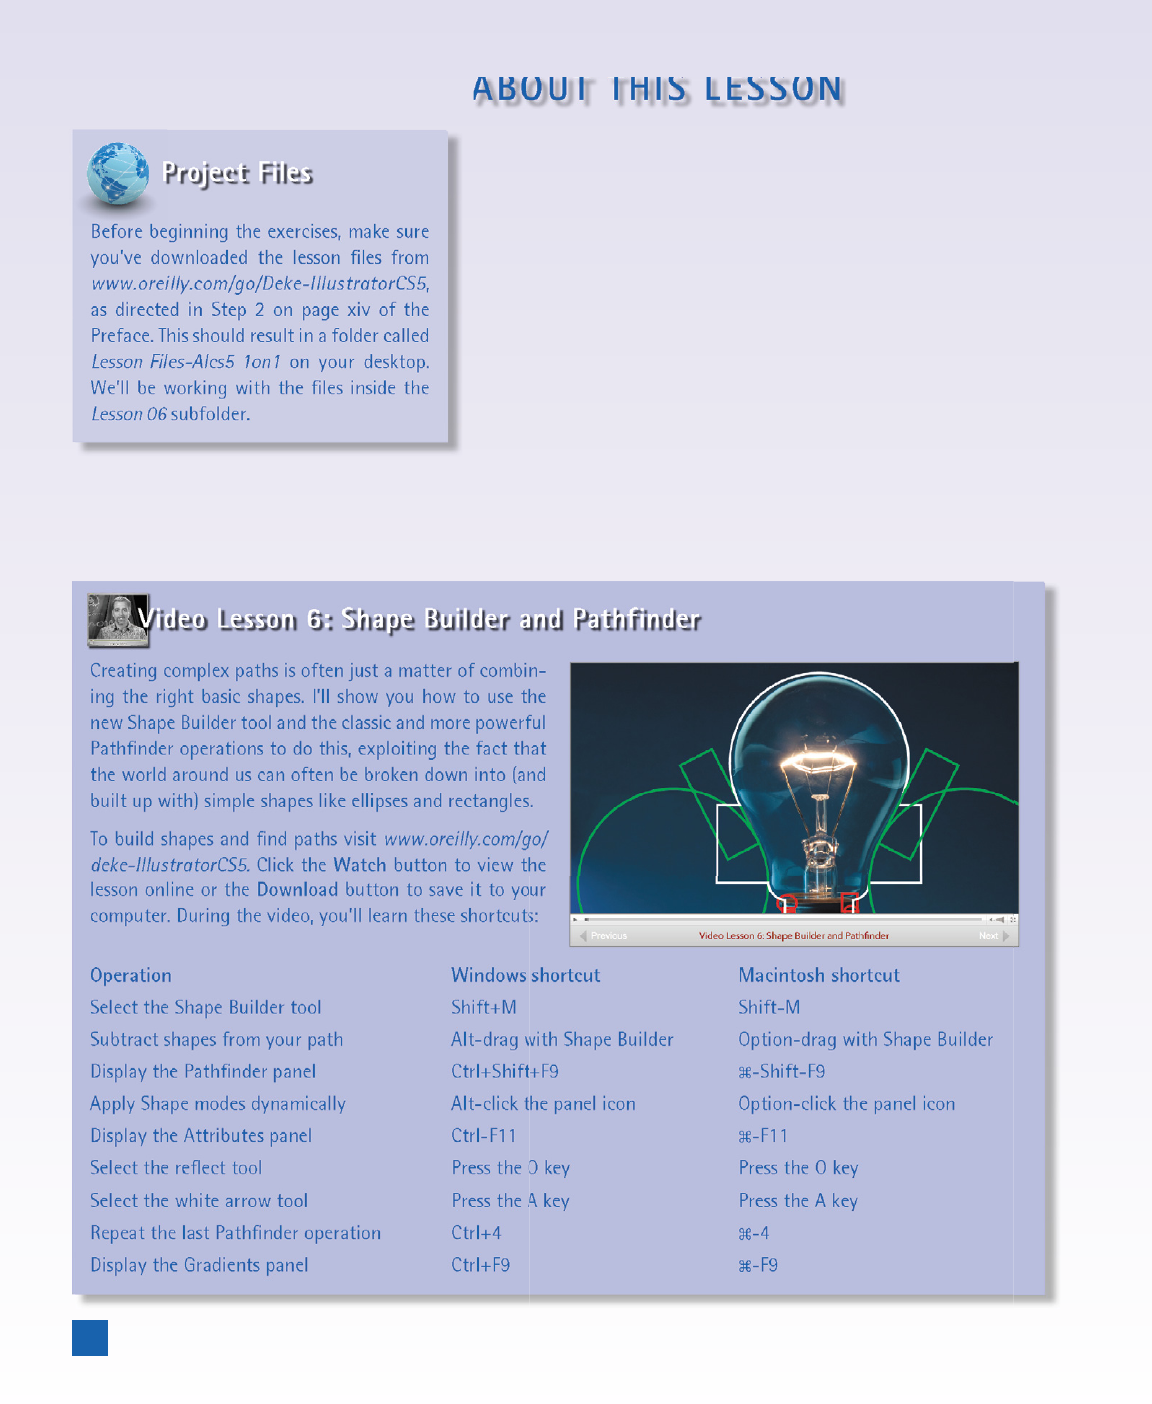
ABOUT THIS LESSON
you’ve downloaded the lesson fi les from
www.oreilly.com/go/Deke-IllustratorCS5,
as directed in Step 2 on page xiv of the
Preface. This should result in a folder called
Lesson Files-AIcs5 1on1 on your desktop.
We’ll be working with the fi les inside the
Lesson 06 subfolder.
Pathfi nder operations are simple operations, but used wisely, they
can produce powerful results. In this lesson, you’ll learn how to:
• Navigate the interface of the Pathfi nder panel, and
learn its fundamentals . . . . . . . . . . . . . . . . page 181
• Add and subtract overlapping shapes using
Pathfi nder operations . . . . . . . . . . . . . . . . . page 185
• Divide shapes using the Pathfi nder function . . . . page 188
• Use the Crop, Exclude, and Intersect functions
to create complex shapes . . . . . . . . . . . . . . . page 193
Video Lesson 6: Shape Builder and Pathfinder
Creating complex paths is often just a matter of combin-
ing the right basic shapes. I’ll show you how to use the
new Shape Builder tool and the classic and more powerful
Pathfi nder operations to do this, exploiting the fact that
the world around us can often be broken down into (and
built up with) simple shapes like ellipses and rectangles.
To build shapes and fi nd paths visit www.oreilly.com/go/
deke-IllustratorCS5. Click the Watch button to view the
lesson online or the Download button to save it to your
computer. During the video, you’ll learn these shortcuts:
Operation Windows shortcut Macintosh shortcut
Select the Shape Builder tool Shift+M Shift-M
Subtract shapes from your path Alt-drag with Shape Builder Option-drag with Shape Builder
Display the Pathfi nder panel Ctrl+Shift+F9 -Shift-F9
Apply Shape modes dynamically Alt-click the panel icon Option-click the panel icon
Display the Attributes panel
Ctrl-F11 -F11
Select the refl ect tool Press the O key Press the O key
Select the white arrow tool Press the A key Press the A key
Repeat the last Pathfi nder operation Ctrl+4 -4
Display the Gradients panel Ctrl+F9 -F9
180
Lesson 6: Pathfi nder Operations
Get Adobe Illustrator CS5 One-on-One now with the O’Reilly learning platform.
O’Reilly members experience books, live events, courses curated by job role, and more from O’Reilly and nearly 200 top publishers.

