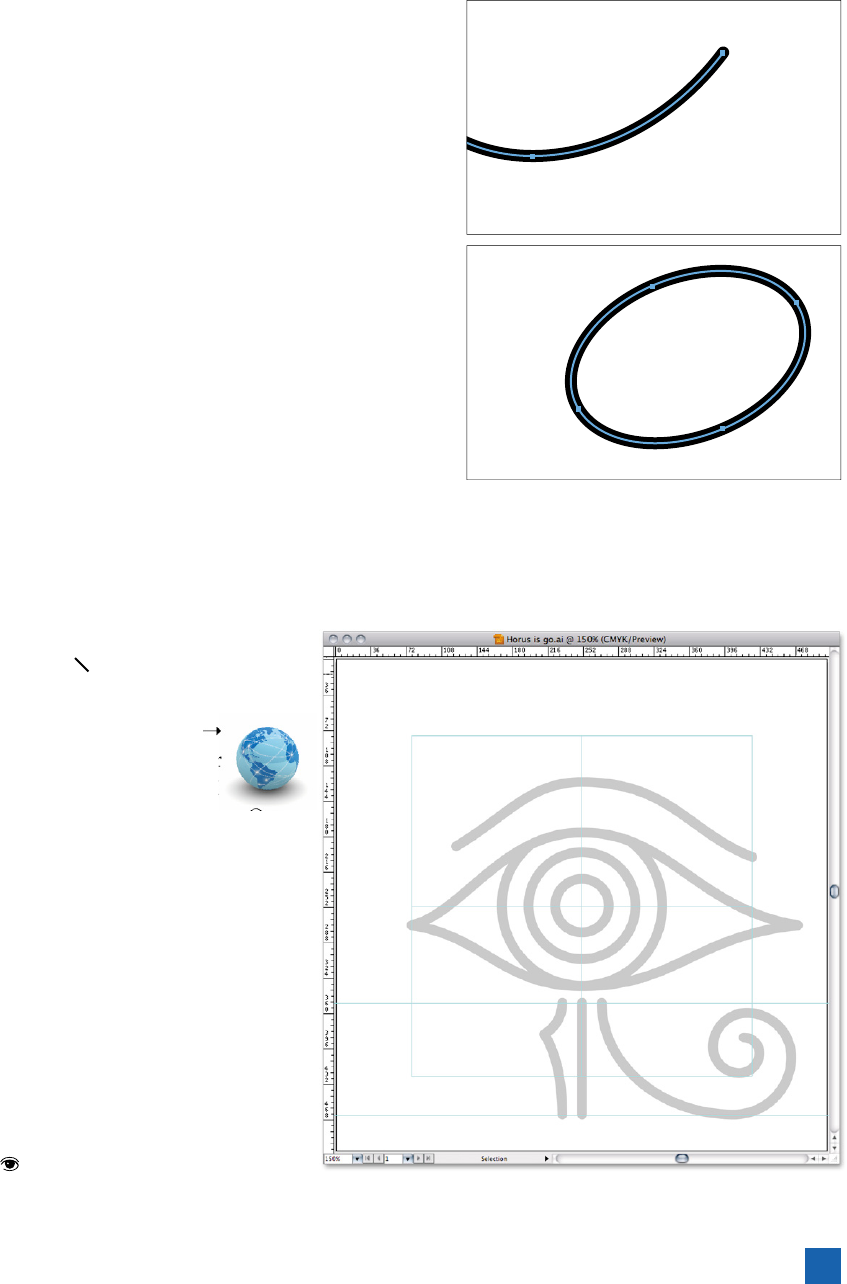
Endpoints and Closed Paths
Where to begin? Let’s start simply and build our way up. First, we’ll
look at lines, which Illustrator calls open paths because they have
endpoints—points at the end of the lines, points that stop. (The
upper half of Figure 2-2 shows one of an open path’s endpoints.)
They’re out there, on the market. They’re single points. Maybe
they fi nd another point, maybe they don’t. They’re not quite ready
to settle down.
Then we’ll move on to shapes. Illustrator calls these closed paths
because they don’t have endpoints. These shapes aren’t closed in
the sense of “shut down,” it’s just that they aren’t accepting new
points. The points are married, really. Except that they’re binoga-
mous—every point is joined to two other points, so the shape con-
tinues forever and ever, as shown in the lower half of Figure 2-2.
Drawing Lines, Arcs, and Spirals
In these fi rst two exercises, we’re going to be working with a fi le
you fi rst saw in the preceding lesson—the eye of Horus. This time,
however, you’ll get to actually illustrate in Illustrator, not simply set
up guides. The fi rst exercise will focus on draw-
ing paths using the various tools available from
the line segment tool ( ) fl yout menu. Time to
start drawing!
1.
Open an illustration. Choose File
Open. Navigate to the Lesson 02 folder
inside the Lesson Files-AIcs5 1on1
folder, which should be on your desktop. Open
the fi le named Horus is go.ai. You should see
the same familiar eye, but this time in a light
gray, as shown in Figure 2-3.
2.
Examine the document’s layers. Bring up the
Layers panel by pressing F7. This document is
split into three layers—one to house the trac-
ing template (Horus), one to hold the guides
(Guides), and fi nally the layer where you’ll be
drawing (Draw Here). The fi rst two layers are
locked and should stay locked. Click the fi rst
column to the left of the Draw Here layer to
turn on the and make the layer visible. (You’ll
Figure 2-2 .
Figure 2-3 .
Closed paths continue
endlessly.
Open paths
contain endpoints.
41
Drawing Lines, Arcs, and Spirals
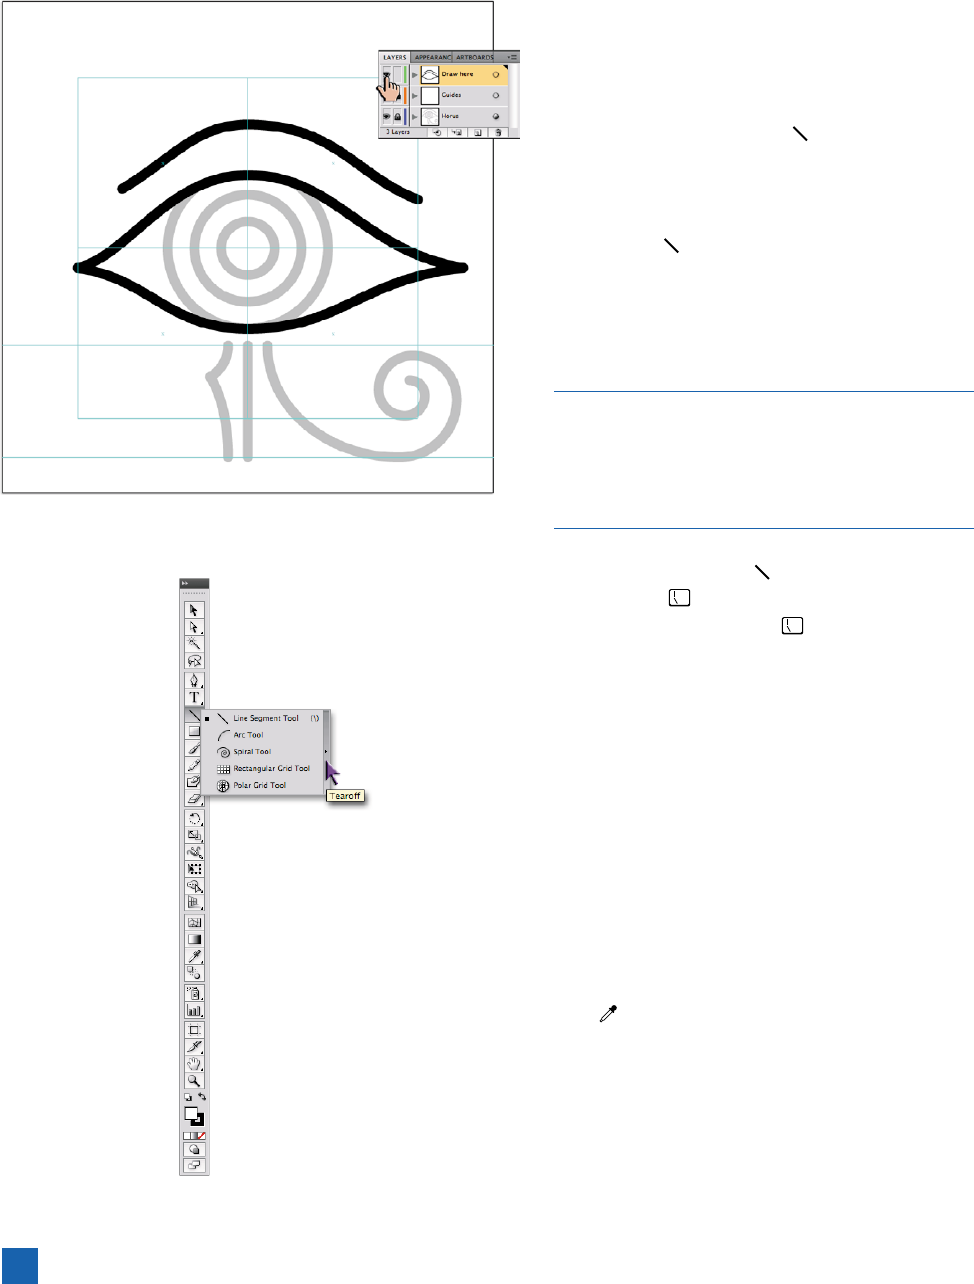
see that I’ve already drawn the eyebrow and the
outline of the eye for you, as in Figure 2-4.)
3.
Detach the group of line tools from the tool-
box. You’re going to be using a number of these
tools, all grouped under the tool in the toolbox.
Rather than having to click and hold, waiting each
time you want to switch tools, you can detach the
group and make a standalone minitoolbox. Click
and hold the tool until the fl yout menu appears,
and then move over the tear-off bar shown in
Figure 2-5 before your release the mouse. Presto!
You now have a minitoolbox you can position
anywhere in your workspace.
You can repeat this tear-off as many times as you want.
If you have a large monitor, for instance, you might
want to create multiple copies of this minitoolbox and
position them around the screen so that you always
have one nearby.
Figure 2-4 .
Figure 2-5 .
4. Draw the center vertical line. The tool should already be
selected; if not, press the key to select it. (The tool itself
looks like a backslash, which is why the key is the keyboard
shortcut.) Starting at the top of the center vertical line, click and
hold the mouse, dragging down toward the bottom of the line.
Hold the Shift key while dragging to constrain the line to regu-
lar angles (45 degrees, 90 degrees, etc.—only multiples of 45
degrees). When you’ve reached the bottom of the line (a smart
guide should appear with the label anchor, as in Figure 2-6 on
the facing page), release the mouse.
5. Fix the line’s attributes. You have your fi rst line, but it might
be hard to see at the moment—its attributes don’t match the
other lines in the drawing. Fortunately, you can lift the proper-
ties of other objects and apply them to the selected object using
the eyedropper tool. Here’s how:
•
Switch to the tool by clicking it in the toolbox or by
pressing the I key.
•
Move your cursor over one of the existing heavy paths;
when the green smart guide path appears under your cur-
sor, click to lift that path’s attributes and apply them to
your newly drawn line, as in Figure 2-7.
42
Lesson 2: Lines, Shapes, and Color
Get Adobe Illustrator CS5 One-on-One now with the O’Reilly learning platform.
O’Reilly members experience books, live events, courses curated by job role, and more from O’Reilly and nearly 200 top publishers.

