Prevent misuse of confidential and copyrighted material by printing watermarks on reports.
If someone is bent on taking your intellectual property, you have no fool-proof way to prevent it. However, common sense dictates that we do our best to protect our assets. Often, putting some wording on the page or in the report header or footer saying the material is confidential serves this need. However, this method doesn't necessarily make the message stick out like a sore thumb.
An additional measure is to put watermarks on reports. A watermark sits right within the body of a report, page after page. It ends up underneath the actual text and is somewhat transparent; that way, it doesn't obscure the text, but it is evident enough to get the message across in a big way.
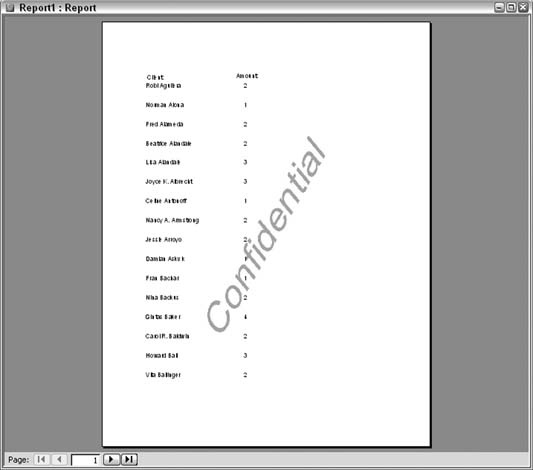
Figure 4-16 shows a report in which a watermark sits mixed in with the data. The word "Confidential" stretches diagonally from the lower left to the upper right. The text appears to sit on top of the watermark.
To create a watermark, you need to create a graphic that you will set to the Picture property on a report. You will need a graphics program to create a decent watermark. Several good graphics programs are available. I use an excellent, affordable program called Paint Shop Pro by Corel Corp. (http:// www.jasc.com.) Whichever graphics program you use, it must be able to do the following:
- Work with text as a graphic
You want to be able to stretch and orient the data.
- Apply transparency settings
The final graphic should be in the ballpark of 75% transparent. It's best to determine the actual setting via trial and error.
- Specify the size of the graphic
When creating the graphic, it's important to make it almost as large as the paper you are using. Whatever size you make the graphic is the size it appears on the report (based on a property setting described later in this hack).
- Save the graphic as a .jpg, .bmp, and so on
You can use any file format that can be used when tapping the
Pictureproperty on the report.
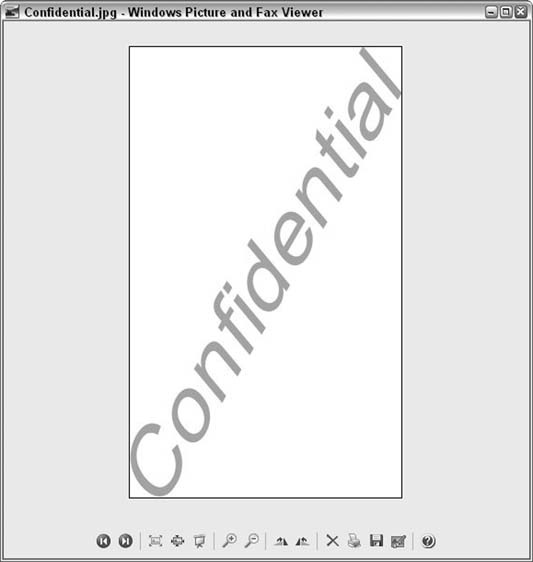
Creating such a graphic is beyond the scope of this hack, but for your information, the graphic in Figure 4-16 is 70% transparent and was saved as a .jpg file. The graphic is about 4 x 7 inches. Figure 4-17 shows how the graphics file appears on its own.
Once you save the watermark as a file, go into the report's Design mode. In the property sheet, click the
Picture property, and browse to select the graphics file, as shown in Figure 4-18.
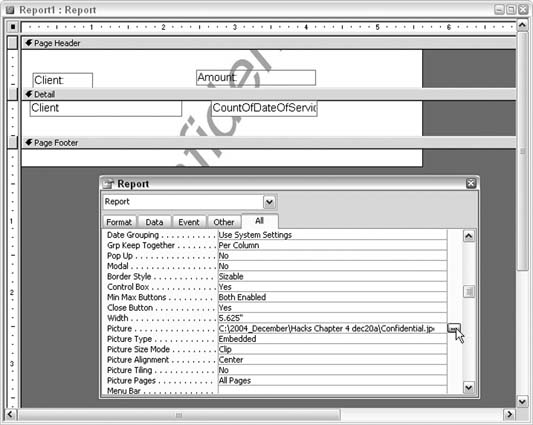
A few other relevant settings work with the Picture property:
- Picture Type
You have a choice of Embedded or Linked. Embedded is the correct choice here. Linked will attempt to open the graphic separately, which isn't the point of using a watermark.
- Picture Size Mode
The choices are Clip, Stretch, and Zoom. Each treats how the graphic is placed on the report in a different manner. Experimenting with these settings is the best way to understand how they work. However, as mentioned earlier, if you sized the graphic correctly when you created it, use the Clip setting here. Following this approach helps to avoid having to guess your way through the picture's placement on the report.
- Picture Alignment
You have five choices: Top Left, Top Right, Center, Bottom Left, and Bottom Right. Most people choose Center, but you might find a different setting serves your needs.
- Picture Tiling
The settings are Yes and No. The No setting places the graphic once on the page. The Yes setting tiles the graphic, which creates a repeating pattern. Try both of them to see which is better for you. The Yes setting makes a busier-looking watermark, but perhaps that is what you want.
- Picture Pages
This lets you designate on which pages the watermark will appear. The choices are All Pages, First Page, and No Pages. I hope you don't choose No Pages, or you won't see your watermark!
You also might have to change the Back Style property on the report. You might have to do this because the watermark appears under the text, and text boxes can take up more room than the actual text they display. Figure 4-19 demonstrates this dilemma. In the report, the rectangular shape of the text box covers up part of the watermark. You don't actually see the text box, but the rectangular shape becomes apparent when it's contrasted with the watermark underneath.

To avoid this behavior, go into the design of the report. For any text boxes that sit over the watermark, change the Back Style property from Normal to Transparent. This forces the text boxes to display just the text, which is exactly the effect you want. Figure 4-20 shows how the report appears when the text boxes are transparent.

Get Access Hacks now with the O’Reilly learning platform.
O’Reilly members experience books, live events, courses curated by job role, and more from O’Reilly and nearly 200 top publishers.

