Preventing “Halos”
Occasionally, you see transparent graphics on the Web with light-colored fringe around the edges (called a “halo”) that doesn’t blend into the background color (see Figure 29-5).
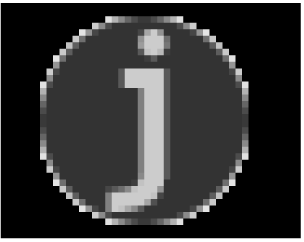
Figure 29-5. A “halo” effect created by anti-aliased edges in a transparent graphic
This effect is the result of anti-aliasing , the slight blur used on curved edges to make smoother transitions between colors (like the image on the right in Figure 29-6). Aliased edges, by contrast, are blocky and stair-stepped (like the image on the left). The images below have been enlarged to make pixel-level detail more prominent.
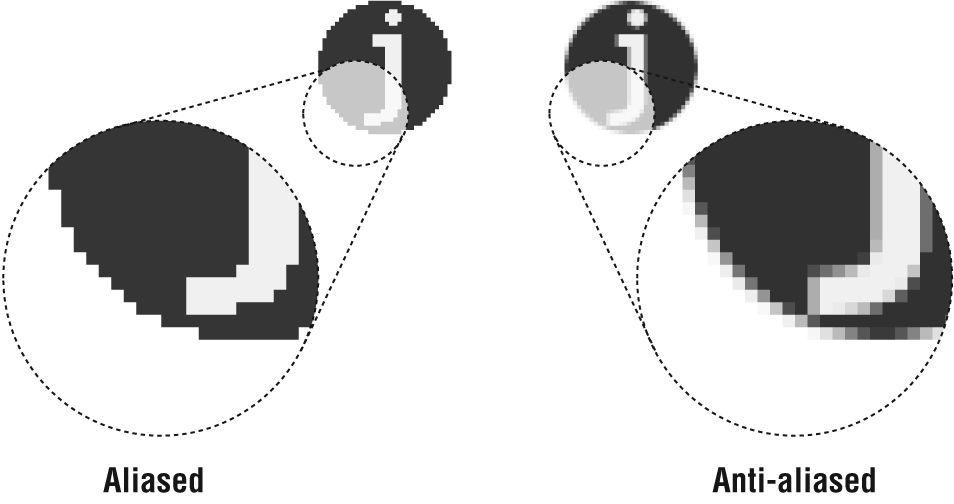
Figure 29-6. Aliasing versus anti-aliasing
When the color around an anti-aliased edge is made transparent, the blur along the edge remains intact, and you can see all those shades of gray between the graphic and the darker background. Halos make graphics look messy and unprofessional.
Unfortunately, once an image is saved as a GIF, the only way to fix a halo is to get in there and erase the anti-aliased edge, pixel by pixel. Even if you get rid of all the edges, you’ll be left with blocky edges, and the quality of the image will suffer.
However, halos are very easy to prevent. Following are a few techniques to avoid that unwanted fringe in transparent graphics.
Get Web Design in a Nutshell, 3rd Edition now with the O’Reilly learning platform.
O’Reilly members experience books, live events, courses curated by job role, and more from O’Reilly and nearly 200 top publishers.

