Type Masks: Setting an Image in Type
So far in this chapter, you've been reading about how to create regular type and how to glam it up by applying Layer styles and effects. But in Elements, you can also create type by filling letters with the contents of a photo, as shown in Figure 14-11. (You'll find gourds.jpg, the photo used as the basis for Figure 14-11 and Figure 14-13, on the "Missing CD" page at www.missingmanuals.com.)
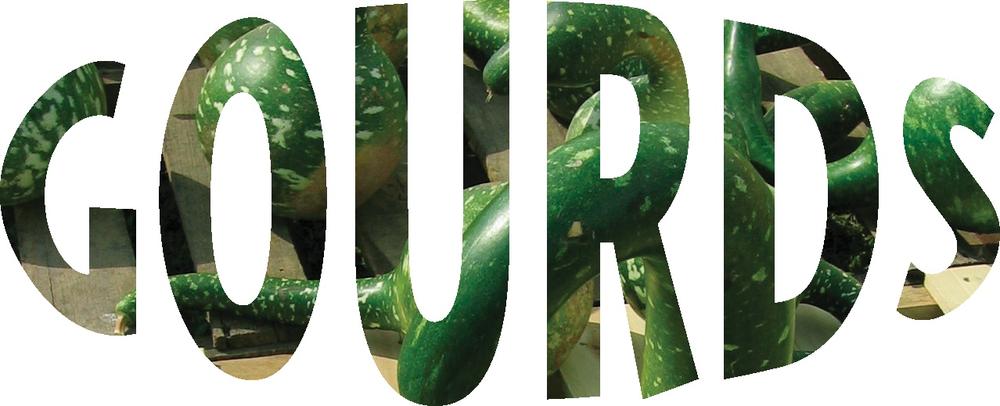
Figure 14-11. By using the Type Mask tools, you can create type that's made from an image. You can also use the Type Mask tools to emboss type into your photo (see Figure 14-13).
The Type Mask tools work by making a selection in the shape of your letters. Essentially, you're creating a kind of stencil that you'll place on top of your image.
Once you've used the Type Mask to create your text-shaped selections, you can perform all sorts of neat modifications to your text. You can emboss type into your image (which makes it looks like it's been stamped into your image); you can apply a stroke to the outline of your text (useful if your font doesn't have a built-in outline option); or you can copy and move your text to another document entirely.
Using the Type Mask Tools
The following steps show you how to create a Type Mask and lay it over an image so that the letters you create are filled with whatever's in your image:
Open the image that you want to use as your source ...
Get Photoshop Elements 6: The Missing Manual now with the O’Reilly learning platform.
O’Reilly members experience books, live events, courses curated by job role, and more from O’Reilly and nearly 200 top publishers.

