Final Image Adjustments of your HDR Output Image
Even the best tonemapped image benefits from some final image adjustments in a regular bit-space program, such as Adobe Photoshop CS2 or Adobe Photoshop Elements 5. The tonemapping process should do the majority of the work, and a light hand in Photoshop to add the finishing touches is usually all that's needed.
Post-processing your HDR output image in Photoshop differs little from prepping a normal single shot image with basic digital darkroom techniques. We're dealing with a single-layer file here, although many of the processes can be applied to an adjustment layer, if that's more comfortable for you. We're working in Photoshop CS2, although most of the commands and functions are also in Elements, perhaps with a slightly different interface.
We're going to prep the street scene from the FDRTools tutorial for display. You'll work with the full-sized image, and will downsample for web display as a last step.
Open your HDR output image into Photoshop. As the image below shows you, there's a great tonal range with amazing detail, but the overall feel is a bit flat.
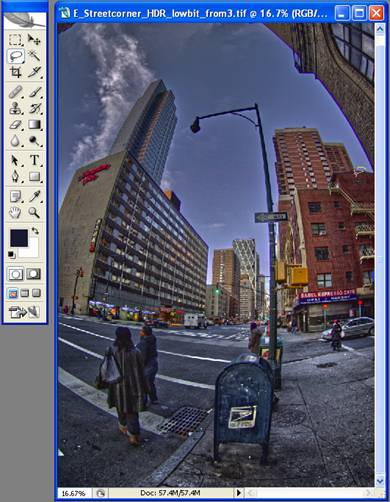
Figure 36. This is the output file from FDRTools, which appears a bit flat.
We're going to start by adjusting the overall levels, which lack white and highlight values due to the HDR processes. We'll pull the white histogram point just to the edge of the curve to squeeze the tonal ...
Get HDR: An Introduction to High Dynamic Range Photography now with the O’Reilly learning platform.
O’Reilly members experience books, live events, courses curated by job role, and more from O’Reilly and nearly 200 top publishers.

