Form Basics
A form begins and ends with the HTML <form> tag. The opening tag (<form>) indicates the beginning of the form, and sets its properties; the closing tag (</form>), of course, marks the form’s end.
You add different objects between these tags to deck out your pages with the elements your visitors interact with—radio buttons, text fields, and pull-down menus are just a few ways you can gather input. It’s perfectly OK to include other HTML elements inside a form, too. In fact, your visitors would be lost if you didn’t also add (and format) text that explains each element’s purpose. And if you don’t use a table or Cascading Style Sheets to lay out a form in an organized way, it can quickly become an unreadable mess (see the box on Giving Order to Your Forms).

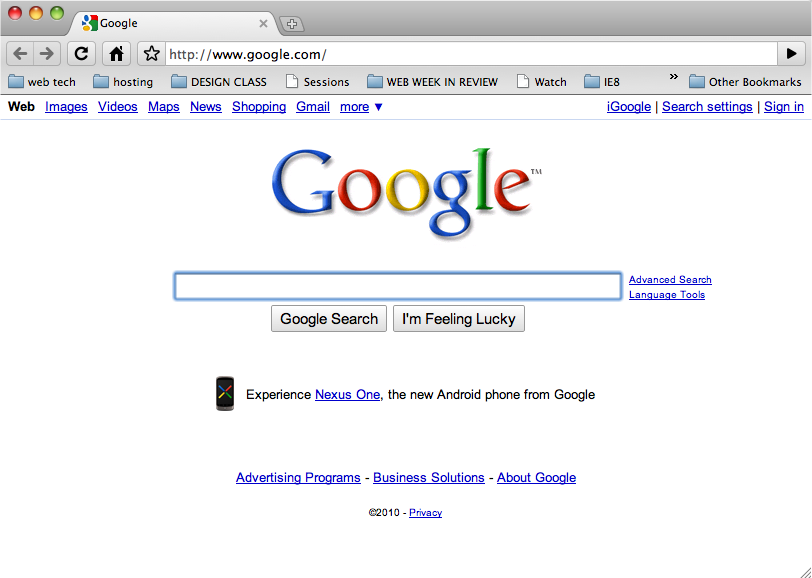
Figure 12-1. A form can be as simple as a single empty text box (a field) and a button, or as complex as a 100-question survey composed of fill-in-the-blank and multiple-choice questions.
Every form element, whether it’s a text field or a checkbox, has a name and a value. You supply the name, which should reflect the information you’re trying to collect. For example, if you want visitors to type their email addresses into a text field, you might name that field email. The value, on the other hand, is what the visitors’ actually type in—the text they enter into a text field, for example, or the selections they make from a ...
Get Dreamweaver CS5: The Missing Manual now with the O’Reilly learning platform.
O’Reilly members experience books, live events, courses curated by job role, and more from O’Reilly and nearly 200 top publishers.

